

It is not often that you can fully try out an entire solution from a vendor in your own lab environment with all the management tools to get the full experience. StarWind is doing something unique and extremely cool with their StarWind HCI solution. They are providing a download of something they are calling the StarWind HCI Evaluation Kit. What is the StarWind HCI Evaluation Kit? How do you deploy it and use it to evaluate the StarWind HCI solution? Let’s look at StarWind HCI Evaluation Kit Released: config walkthrough to find out.
What is StarWind HCI Evaluation Kit?
StartWind’s HCI Evaluation Kit is a great option for trying out the StarWind HCI solution. While the evaluation kit works on either a physical host or virtual machine, for most, the beauty of the solution is going to be trying this out in a VM. When deployed in a virtual machine, the StarWind solution uses a “nested” virtualization environment. What is a nested environment? A nested environment means you are running a hypervisor inside a virtual machine. In this case, StarWind is making use of Windows Server 2019 Hyper-V to deploy a nested environment.
The Windows Server 2019 virtual machine has the Hyper-V role installed and deploys the required components on the VM to allow evaluating the StarWind HCI solution, including deploying StarWind Command Center. Let’s dive into the included components, prerequisites, and system requirements
Installed components
- Windows Server 2019 Evaluation
- Ubuntu Linux 16.04
- StarWind Virtual SAN
- StarWind Command Center
Prerequisites
- Windows Server 2019 host (physical or virtual using nested virtualization)
- Hyper-V role installed
System requirements
- 60 GB or 110GB of free space (this depends on the option you choose for the StarWind HCI Evaluation, single or two-node configuration
- 14 GB of free RAM on the hypervisor host (single-node), or 24 GB (two-node configuration)
StarWind HCI Evaluation Kit Released: Config Walkthrough
Let’s take a look at the StarWind HCI Evaluation Kit config walkthrough and see how you spin up the environment. First things first, I spun up a Windows Server 2019 virtual machine in my vSphere environment and installed the Hyper-V role.

You will need to create an External virtual switch in Hyper-V. You can do this in the Hyper-V manager console.

You will need to download the StarWind HCI Evaluation Kit. You can do that by visiting the site here:
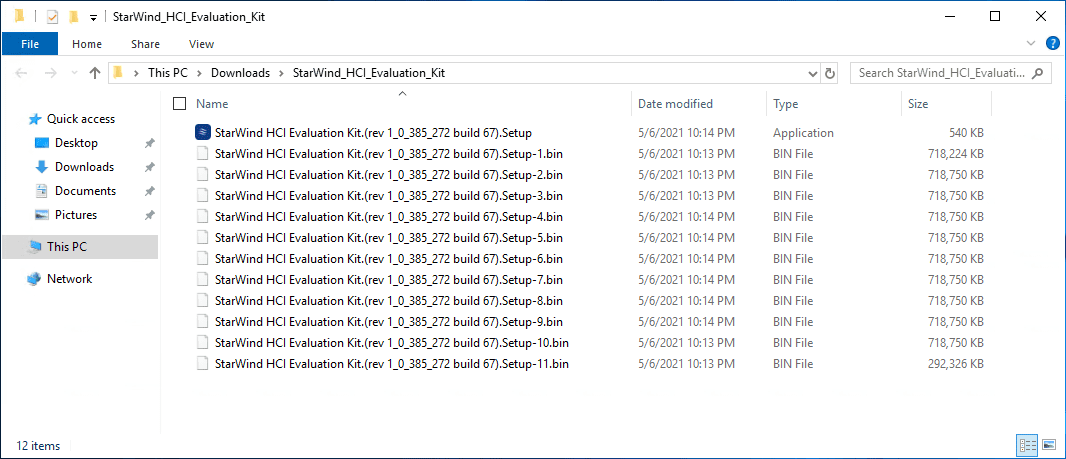
Sign-up using a business email address and you will be emailed the links for downloading the appliance as well as a license key for the Evaluation. After downloading and unzipping the StarWind HCI Evaluation Kit, you will see a bundle of BIN files and an executable. Run the exe to get started deploying the StarWind HCI Evaluation Kit.
Running the installation basically installs the first VM in the environment. This is the Ubuntu VM that will run the web-based management UI for deploying the rest of the solution. This is a simple “next, next, finish” install.


If you take a look at the Hyper-V Management console now, you will see the StarWind HCI Evaluation VM created and ready to be powered on.

Power on the appliance.

As you can see, this is an Ubuntu VM. Once the VM fully boots, it will display your IP for the web console picked up from DHCP.

Running through the configuration of the StarWind Evaluation Kit
Once you browse out in a web browser to the StarWind HCI Evaluation Kit URL, you will see the management dashboard presented.

The Welcome screen shows the components and prerequisites as we described earlier.

Accept the EULA.

On the hypervisor settings, fill in the information for the Windows Server 2019 Hyper-V host. One little detail is you need to create the directory it uses, even if you accept the default path as shown below. If you don’t, it will error out.

Select your deployment size. StarWind shows you the resource requirements for each option you select.

Have your StarWind HCI Evaluation license downloaded and handy. On this screen you will upload the license file.

Configure your network settings. It will prepopulate the screen with the External virtual switch. Choose a cluster name.

Select the Guest OS image. You can have StarWind download the Windows Server 2019 Evaluation media for you or if you have this available, you can upload it. A note here. You can’t use LTSC media that you may already have downloaded. It expects the Evaluation media and will error out if you use something else.

After downloading, it will import the guest OS ISO.

Import process completes successfully.

The Summary screen showing the options configured.

The installation completes successfully.

On the installation completed screen, you can view the readme file. Once you click Close, StarWind Command Center launches automatically.

Use the following credentials to login:
Login: demo
Password: demo
Concluding
StarWind is just one of those cool companies that empowers customers and prospective customers to try out their solutions thoroughly. The StarWind HCI Evaluation Kit is a great way to quickly experience the StarWind HCI solution in an automated way. With just a few clicks and the time to allow the automated installer and provisioning to do the trick, you can have a fully functioning StarWind HCI environment up and running in no time and in a nested environment, which is great.
Download the StarWind HCI Evaluation Kit here.null


0 Comments