

 |
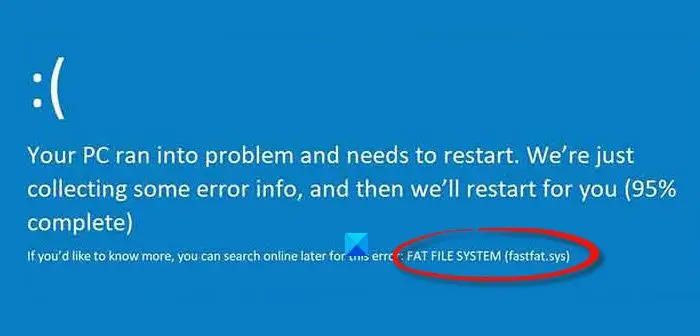
| The FAT_FILE_SYSTEM bug check has a value of 0x00000023. This indicates that a problem occurred in the FAT file system. |
You may see FAT FILE SYSTEM Blue Screen because of many different reasons such as faulty Hardware, bad sectors in Hard Drive, etc. The main cause is disk corruption in the file system or bad blocks (sectors). Corrupted SCSI and IDE drivers can also cause the error.
In this article, we are going to fix the FAT FILE SYSTEM (fastfat.sys) Blue Screen on Windows 10 with the help of some simple solutions. Fastfat.sys is a Windows operating system driver file.
Fix FAT FILE SYSTEM (fastfat.sys) Blue Screen
These are the things you can do to fix FAT FILE SYSTEM (fastfat.sys) Blue Screen on Windows 10.
- Run CHKDSK
- Run Verifier to find Driver Problem
- Update drivers using Optional Updates
- Repair Windows 10 using Installation Media
- Check the Hardware for fault.
You will need to use the Command Prompt. If you can log in normally, good; else you will have to boot into Safe Mode, enter the Advanced Startup options screen, or use the Installation Media to boot to be able to carry out these instructions.
1] Run CHKDSK
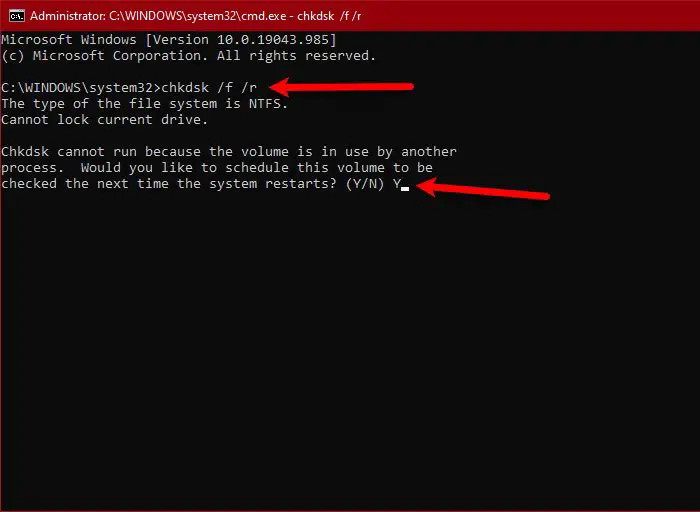
As mentioned earlier, the problem can be because of a bad sector in the hard drive. So, to fix it, you have to run the CHKDSK command.
However, before running the command, boot your computer in Clean Boot State or Advanced Option using the Installation Media. Now, open the Command Prompt as an admin in either of the two and run the following command.
chkdsk /f /rYou will be asked to confirm your action, so, hit “Y” to do that.
Finally, boot your computer in a normal state and check if the issue persists.
2] Run Verifier to find Drive Problem
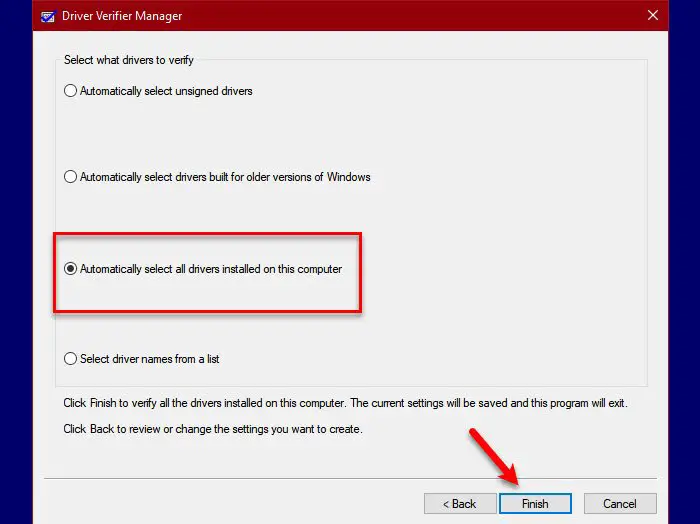
One of the things you can do to fix the error is to run Driver Verifier to find if there’s a problem with the installed drivers.
So, open Command Prompt as an administrator and run the following command.
verifierA wizard, Driver Verifier Manager, will pop up. Click Create standard settings > Next > Automatically select all drivers installed on this computer > Finish.
Now, wait for the process to complete and your problem will hopefully be resolved.
3] Update drivers using Optional Updates
Open Windows 10 Settings > Update and Security and check if any Optional Driver Updates are available. You may want to install them.
4] Repair Windows 10 using the installation Media
Another thing you can do to fix the error is to repair your OS with Installation Media. This will fix your OS without deleting any personal files.
5] Check the Hardware for fault
Now this one is meant for hardware experts – so if you are not one, we suggest you consult a hardware technician.
You need to is to check if the error is because of a fault in the Hardware. The chances are that it could be your Hard Disk!
For that, you have to disassemble your PC and then add the component one by one to see which device is faulty.
- Remove all the USB ports, external drives, and SD Cards and keep checking for fault.
- If you have multiple RAMs, unplug them and plug them one by one to see if one of them has malfunctioned.
- Remove one of the SSDs and HDDs, if you have multiple ones, and check for fault.
- Hard Drives are usually responsible for these errors, so, pay close attention to this one.
- Remove Graphic Card, expect the Integrated one.
Now, start adding the components one by one to recheck if the error is because of them. This may take a while but do not skip a single step.


0 Comments