

Containers are becoming more relevant to what everyone is doing these days in the enterprise. Businesses are developing microservice architectures for housing business-critical applications. As IT admins, virtualization admins, and IT Ops, we must be familiar with how to interact with these new types of technologies. VMware vSphere with Tanzu makes running containerized workloads in Kubernetes-driven container infrastructures extremely easy with familiar tools we have worked with for years now. In developing and working with infrastructure as code, I use Visual Studio Code, a very popular tool among DevOps professionals. How do you work with Docker containers directly from Visual Studio Code and interact with them? Let’s look at how to run Docker containers from Visual Studio Code and see the steps for doing this.
Prerequisites to run Docker Containers in VS Code
There are a few things that you will want to have in place before you begin working with Docker Containers inside of VS Code. For the below, I am running this on a Windows 10 workstation to level set. However, Docker has some great reference material on how to set up your environment on other platforms as well.
- Install Docker – You can also install Docker Desktop on Windows
- Windows Subsystem for Linux v2 – WSL 2 backend – Check out the documentation here on how to install WSL 2: Install WSL on Windows 10 | Microsoft Docs
- Visual Studio Code installed
- Official Docker plugin installed
So make sure your Windows system meets these requirements (WSL 2 and Docker Desktop installed) before moving on to getting Docker integrated with Visual Studio Code. I am not showing the installation steps below for WSL 2, however, these have already been completed.
Installing Docker Desktop
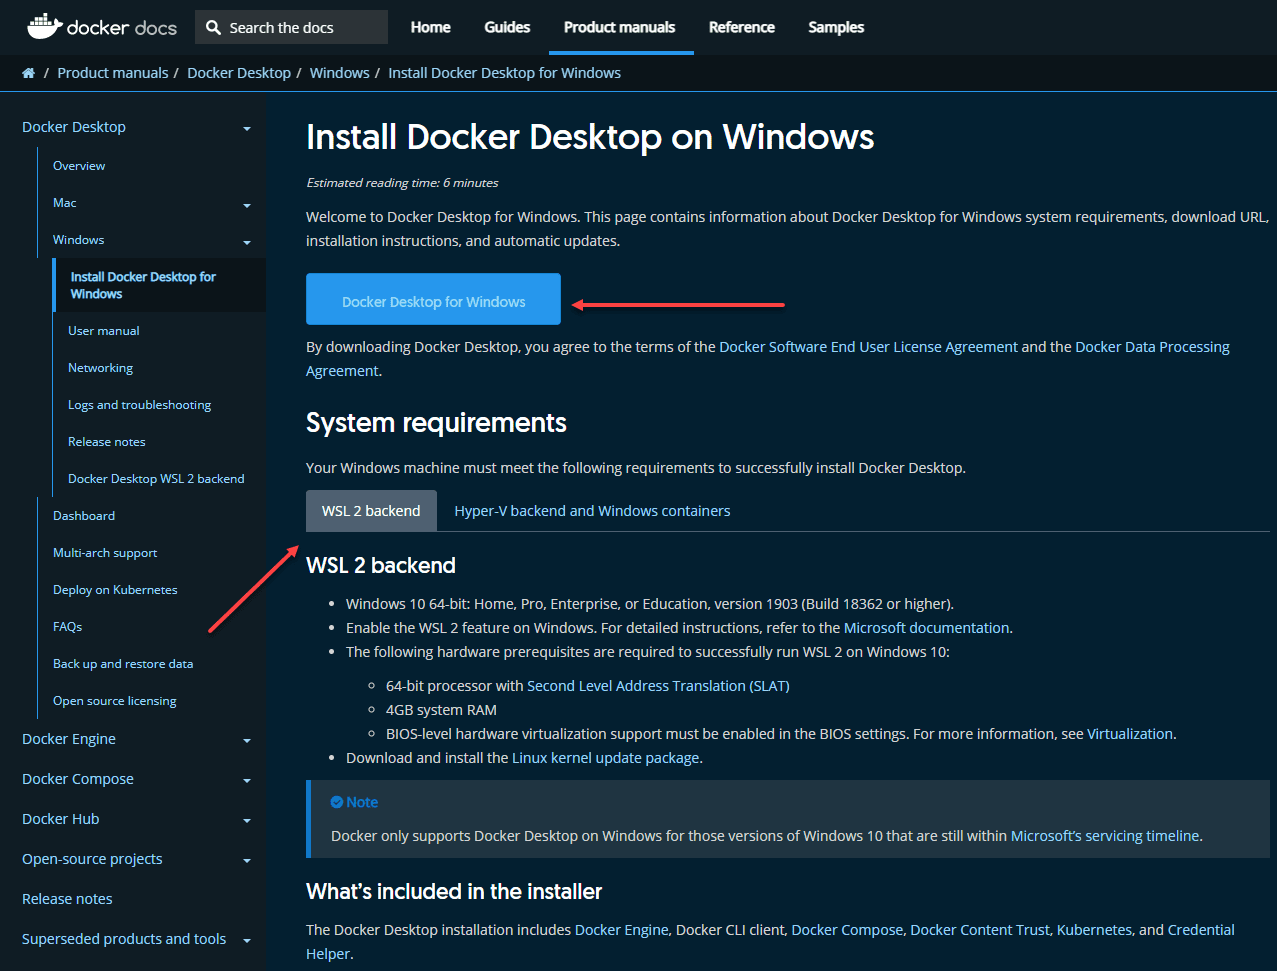
Take a look at the specific requirements as documented by Docker here: Docker Desktop overview | Docker Documentation. Expand the platform that you are using. The Docker documentation will detail the installation steps. Click the Docker Desktop for Windows to download the installer for Docker Desktop. Note the system requirements detailed on this page as well.
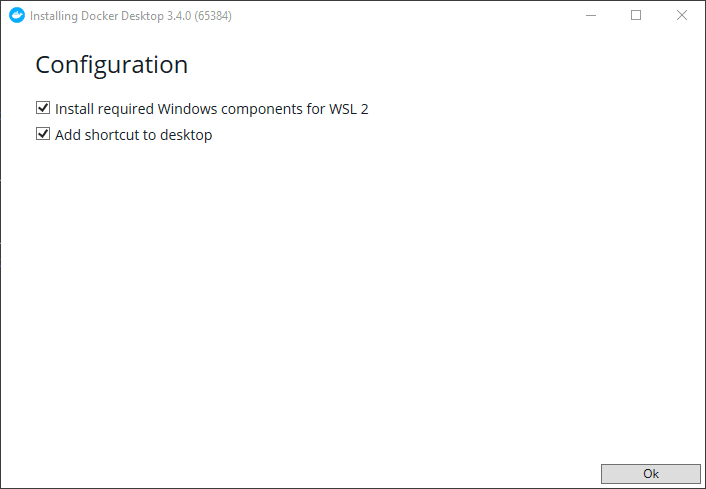
Once you download the Docker Desktop installation, execute the file to begin the installation. Below is running the Docker Desktop installation. As noted, it will install required Windows components for WSL 2 and Add shortcut to desktop, both of which can be checked or unchecked.
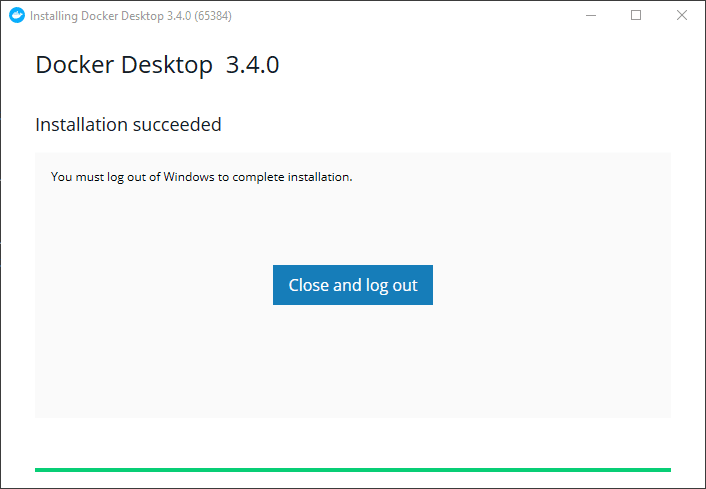
After a couple of minutes, the Docker Desktop installation will complete. As a note, you will need to log out of your Windows desktop (not reboot) and log back in. Keep this in mind. If you click the button, it will immediately begin closing your apps and forcing the log out.
After logging back in, the Docker installation should be complete and ready to go. Now, let’s look at the Visual Studio Code side of things. We need to install the Docker extension in VS Code.
Install the Visual Studio Code official Docker extension
Next, you need to install the official Docker extension for Visual Studio Code. In the extensions dashboard, just search for Docker. Below is a screenshot after I have installed the Docker extension. However, if you need to install it, just click the Install button for the extension.

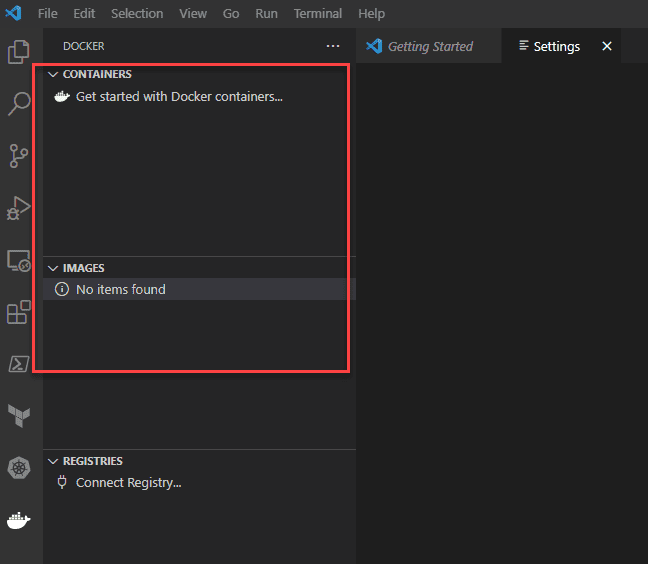
Once installed, you will see the “whale” icon in the left-hand side of the Visual Studio Code interface underneath any other extensions you may have installed already. If you click it, you will see a blank canvas with no containers running or images found. Let’s add one.
Run Docker Containers from Visual Studio Code
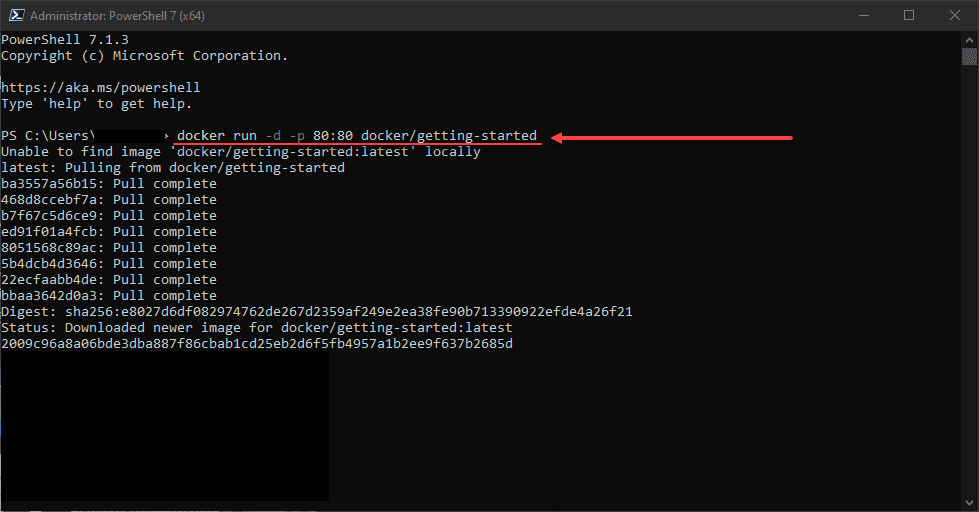
Now let’s start a container using Docker. There is a “getting started” container that is easily used to interact with Docker for the first time. Use the command:
docker run -d -p 80:80 docker/getting-startedAs you see below, if you don’t have a copy locally, it will reach out and pull the image down from Docker.
Flipping back to Docker Desktop, you can navigate the Docker Desktop interface and see the container run details, images, etc.
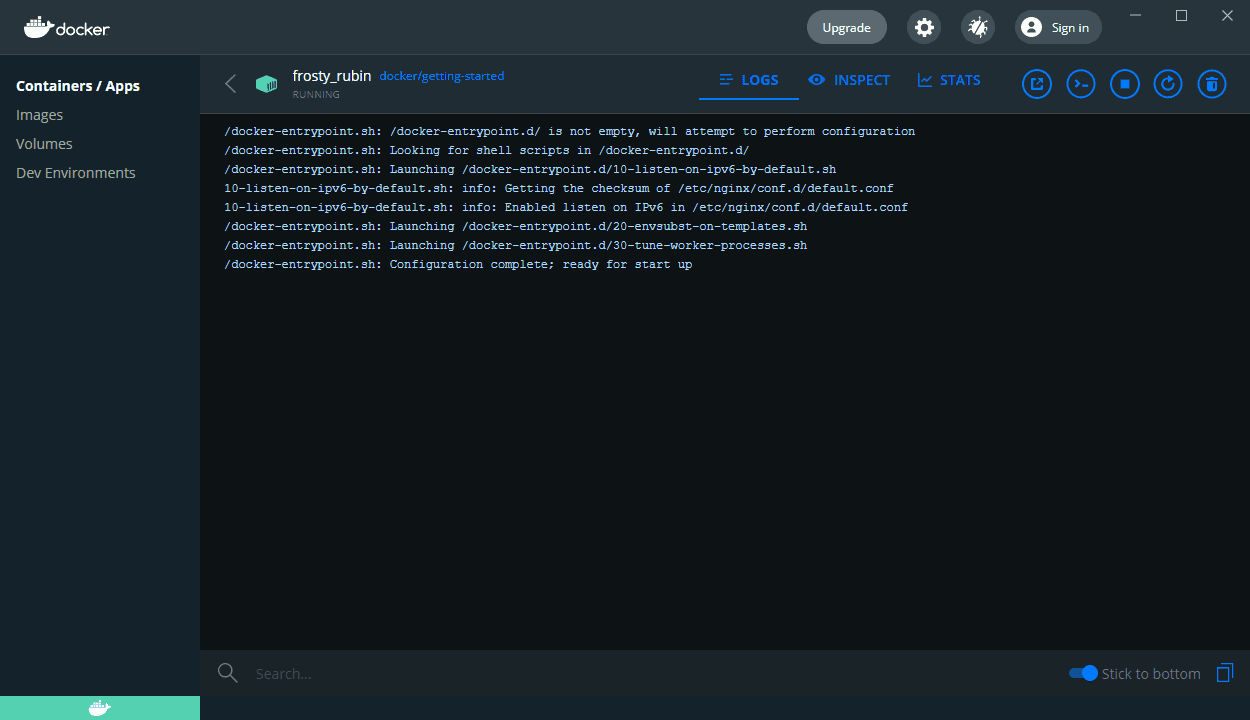
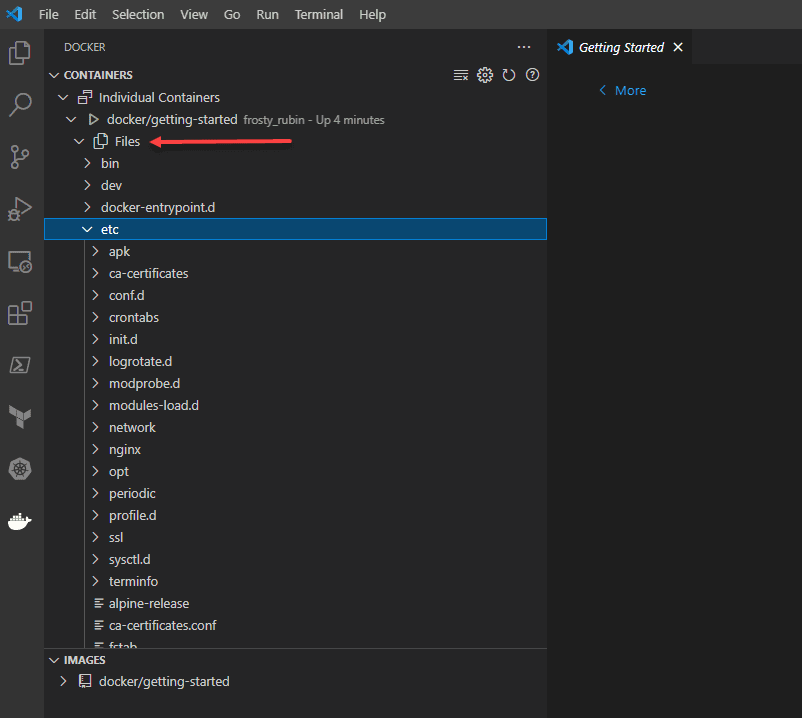
Now, if we refresh the Docker Containers and Images from Visual Studio Code, we now see the getting started container and image.
Refreshing the view in visual studio code shows the getting started containerNote how from Visual Studio Code, you can browse the files in the container. This can be extremely handy if you are needing to verify files in a container image or
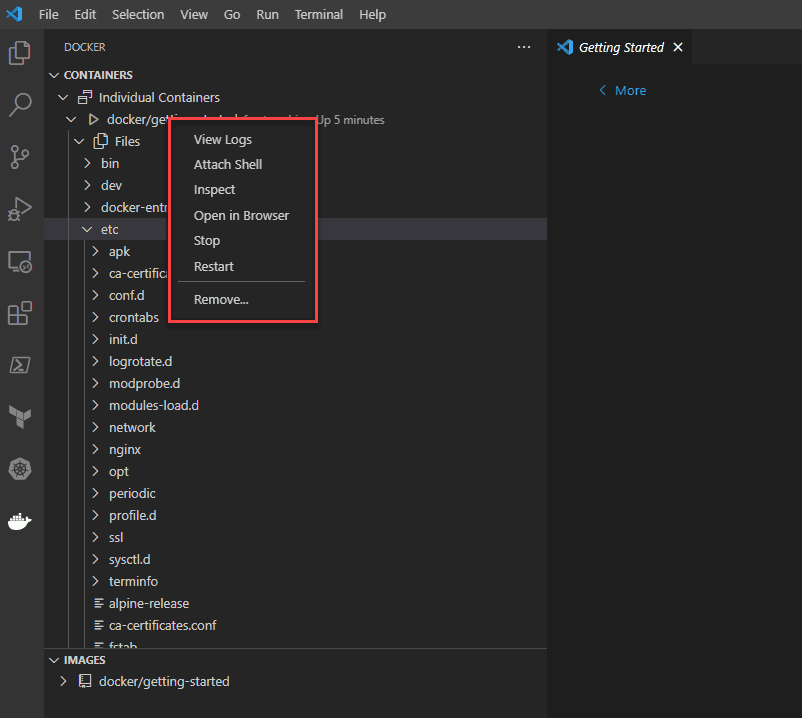
Also, if you right-click on the container displayed in the containers pane in Visual Studio Code, you have the options to interact with the container:
- View Logs
- Attach Shell
- Inspect
- Open in Browser
- Stop
- Restart
- Remove…
Having the ability to interact with Docker containers from Visual Studio Code is really great and provides the ability to have a single pane of glass tool where you have all your other extensions available along with a terminal all in the same place. While there are a few prerequisites such as installing Docker and WSL 2, this is easily accomplished and allows VS Code to interact directly with Docker using the official Docker extension.


0 Comments