

In the lab environment, I have been playing around with Windows 11 deployments and have started updating a few methods I use in the lab to deploy images of Windows 11. These tools include Microsoft Deployment Toolkit (MDT). As a note, currently, MDT is not supported for Windows 11. However, in this post on how to deploy Windows 11 with MDT, you will see how you can easily use MDT for installing Windows 11 on your workstations in a test or lab environment.
Why use Microosft Deployment Toolkit (MDT)?
Why should you use MDT to deploy Windows 11 or any other operating system for that matter? I have covered this in previous blog posts. However, the main reason I see is organizations that have already invested in MDT and are currently using MDT to deploy client and server operating systems today.
Most, in this case, will be well-versed in MDT and the time to get up and running quickly is going to be short. MDT also provides the GUI approach to image-based deployments without much coding or other syntax worries that are necessary with other deployment solutions such as Terraform. So, between the time-to being productive with existing MDT infrastructure, and the easier approach to an image-based deployment, MDT is a great choice for many organizations.
I personally do think there is a greater benefit to migrating to more DevOps approaches such as with Terraform as it is aligned with modern infrastructure as code approaches, whereas MDT – not so much. However, this post is not a comparison, but rather a look at MDT in general deploying Windows 11.
Deploy Windows 11 with MDT
MDT uses a build and capture approach to deploying images. First, MDT installs the operating system from source Windows media, and then it captures the installation to a .wim image. With MDT, even though it isn’t really supported with Windows 11 as of yet, I was able to successfully build and capture Windows 11 and then deploy it using the captured .wim file without any issues. I was a bit surprised that MDT made it through the new mini-setup wizard and other new screens with Windows 11, but it did.
My deployment of Windows 11 using MDT looks like the following:
- Create the Windows 11 operating system folder
- Import the Windows 11 operating system files
- Create a new Windows 11 task sequence
- Build and capture using the Windows 11 task sequence
- Deploy the Windows 11 image captured with MDT
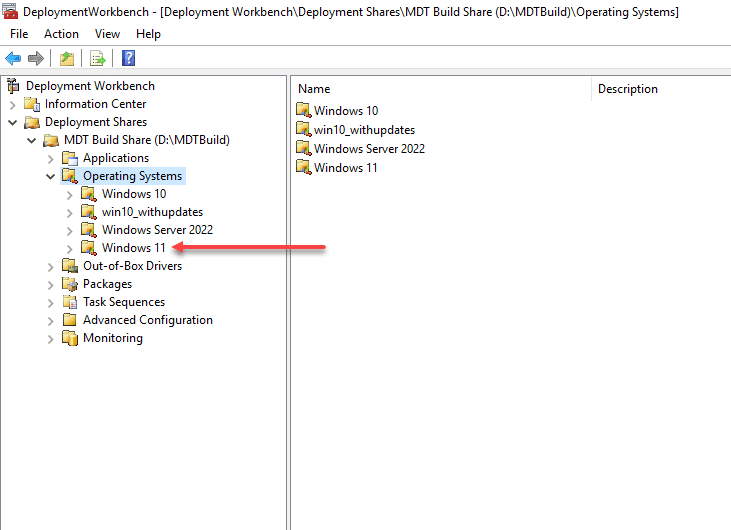
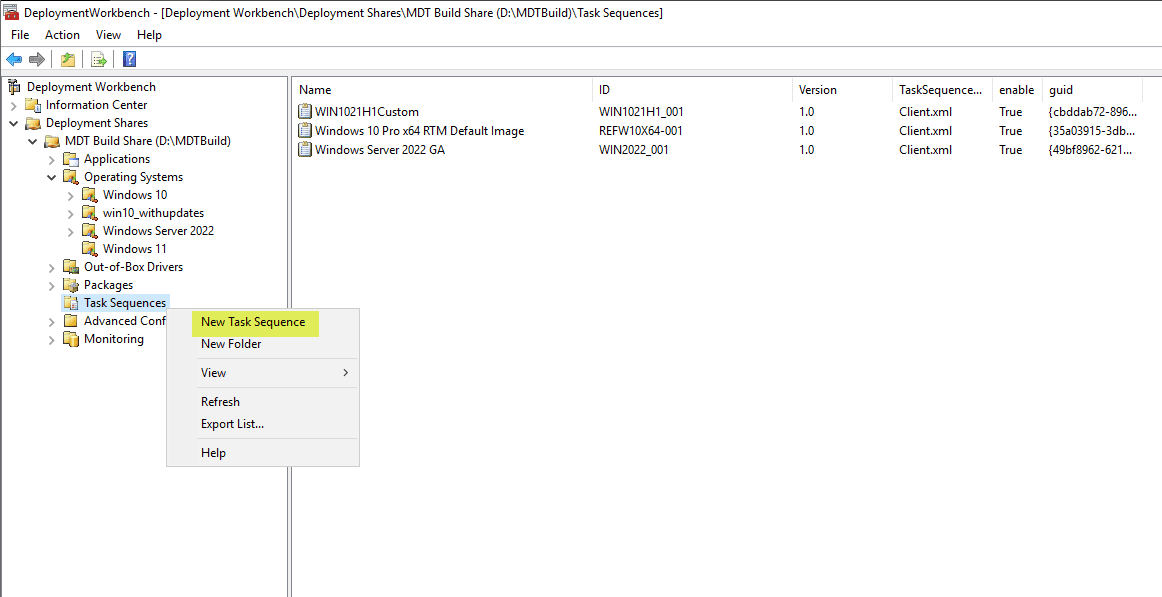
1. Create the Windows 11 operating system folder
This is a small step. However, first, let’s create the folder containing the Windows 11 operating system files. You can do this by right-clicking the Operating Systems parent folder and selecting to create a new folder.
2. Import the Windows 11 operating system files

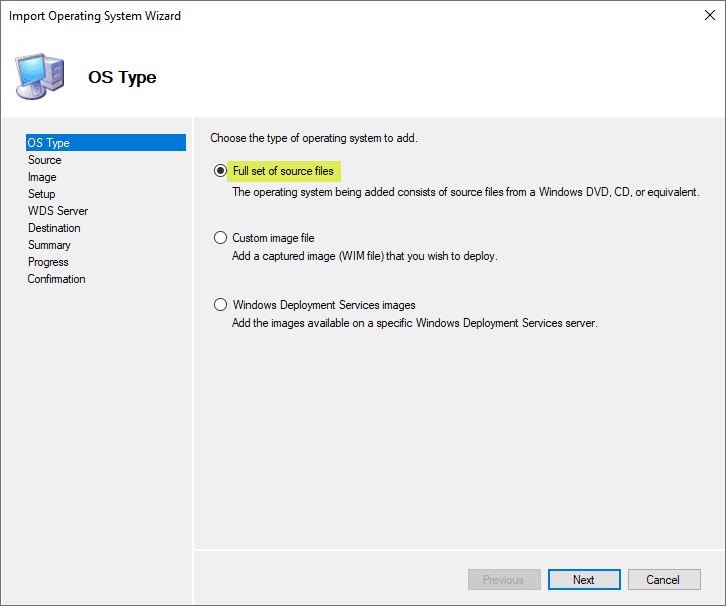
This begins the Import Operating System Wizard where we will choose Full set of source files. For this to work, you need to have the ISO for Windows 11 downloaded and mounted in Windows. You can’t just point directly to the ISO file. It must be mounted.
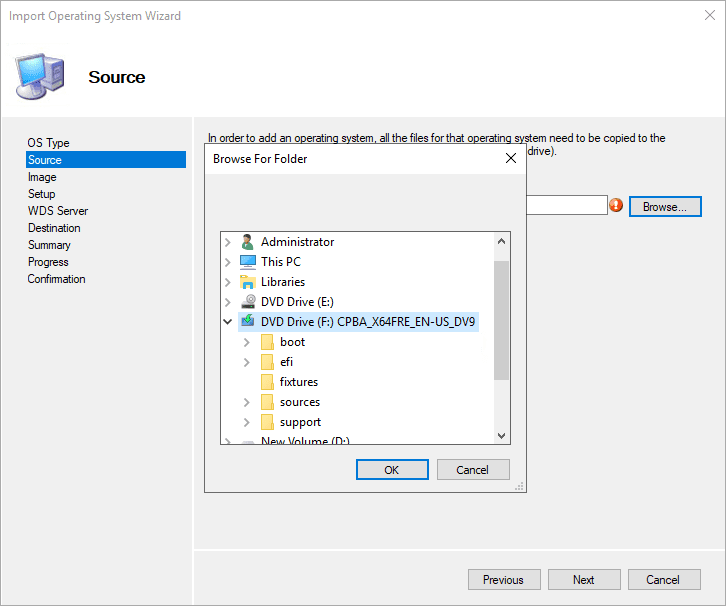
Select the drive letter where the ISO is mounted.
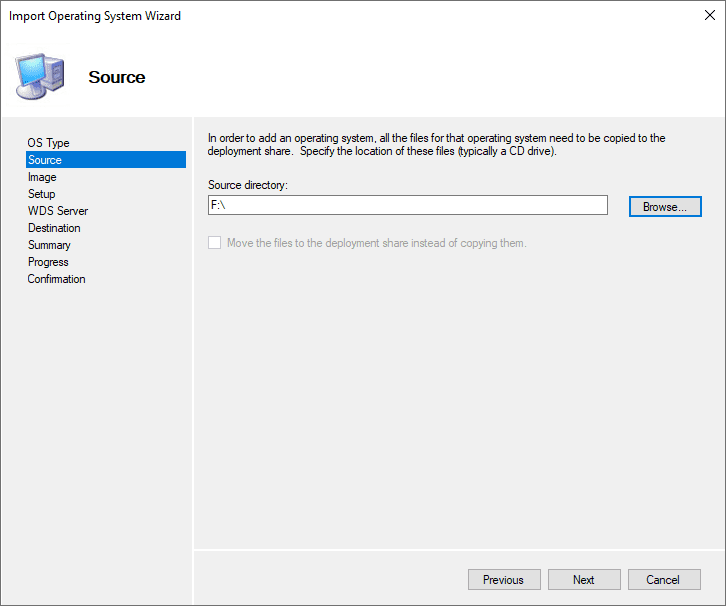
The source directory is selected and ready to move forward with the import of Windows 11.
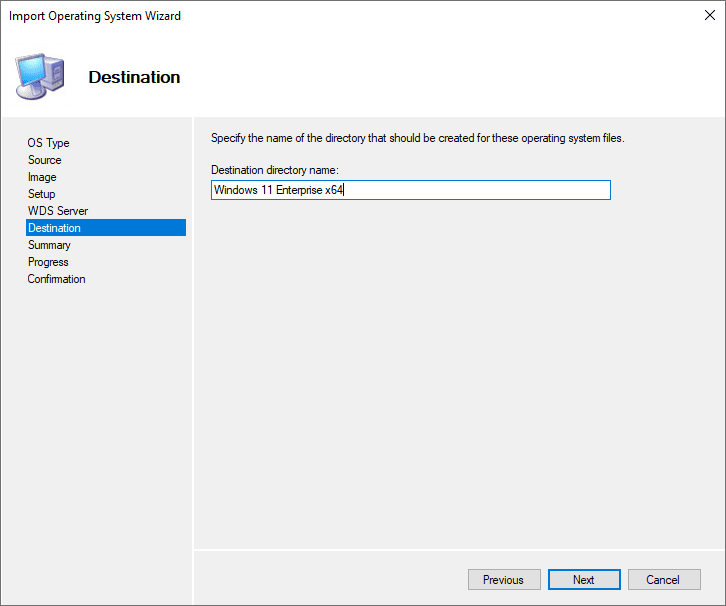
Select the destination of the imported files.
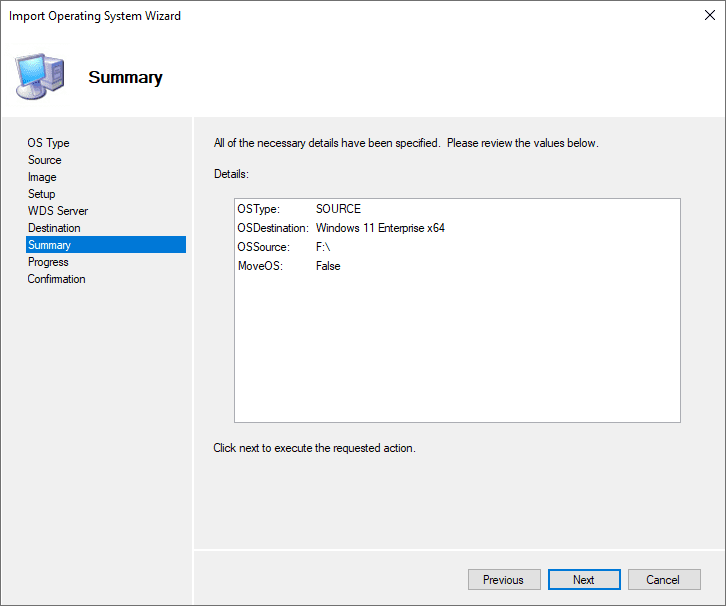
On the summary screen, click Next.
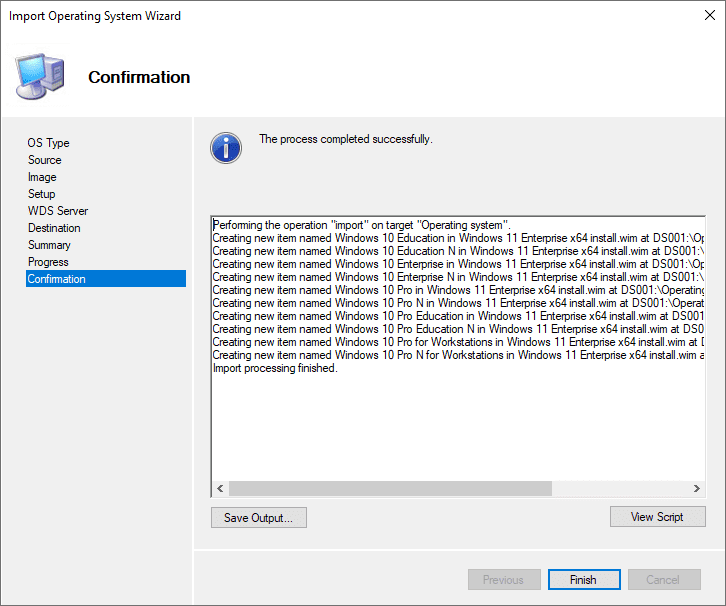
The confirmation screen displays the Windows 11 images that are imported. As you note below, since MDT isn’t really supported with a release that understands Windows 11, you will see the Windows 10 naming displayed in front of the image. However, the install.wim images are named with the appropriate Windows 11 names.
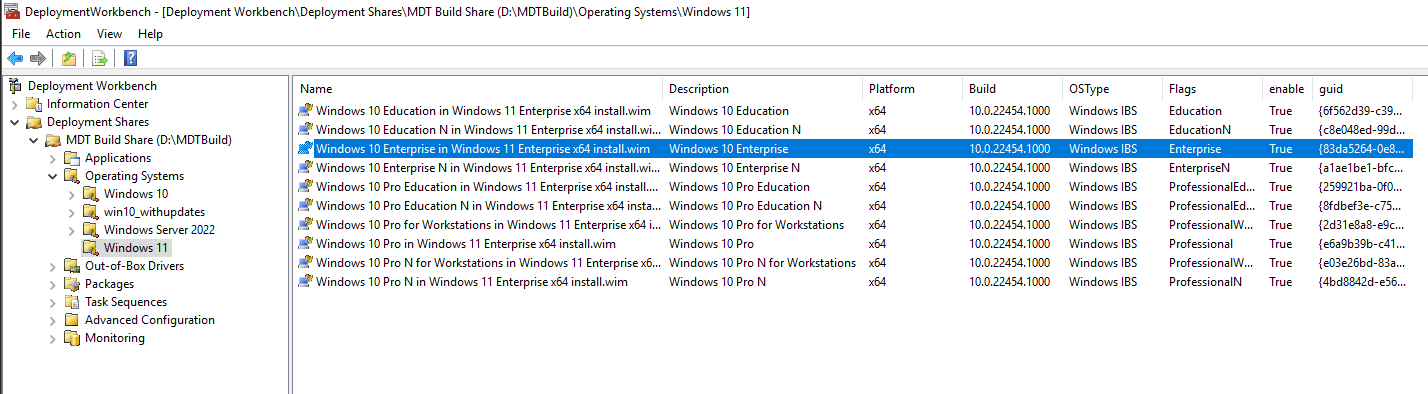
After clicking Finish, you see the images listed in the Windows 11 folder after the import.
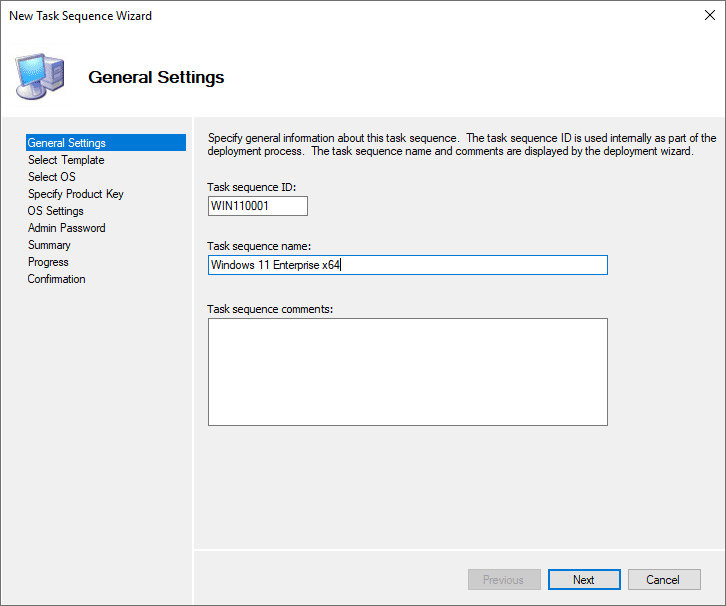
3. Create a new Windows 11 task sequence
To build and capture the Windows 11 image imported into MDT, we have to create a task sequence. If you use the defaults for the task sequence process, this is a fairly simple next, next, finish type operation, where you basically just point the task sequence to the Windows 11 image you want to deploy (imported in step 2).
Set the task sequence ID and task sequence name.
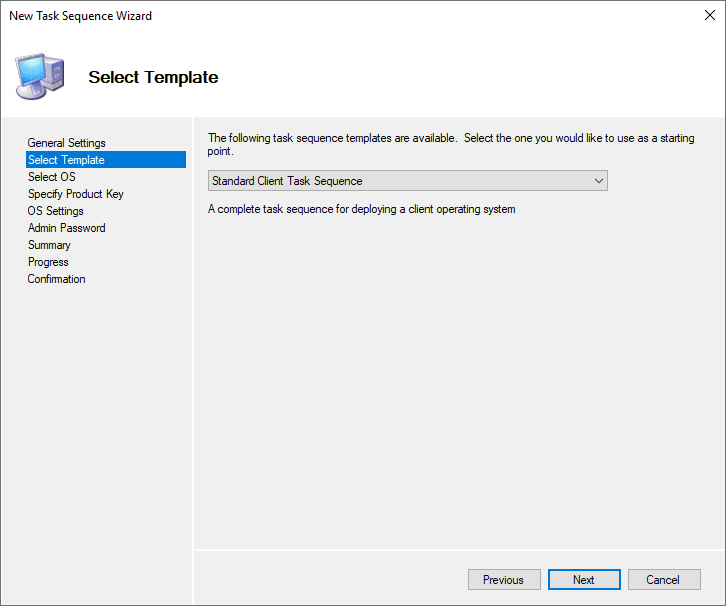
Select the Standard Client Task Sequence.
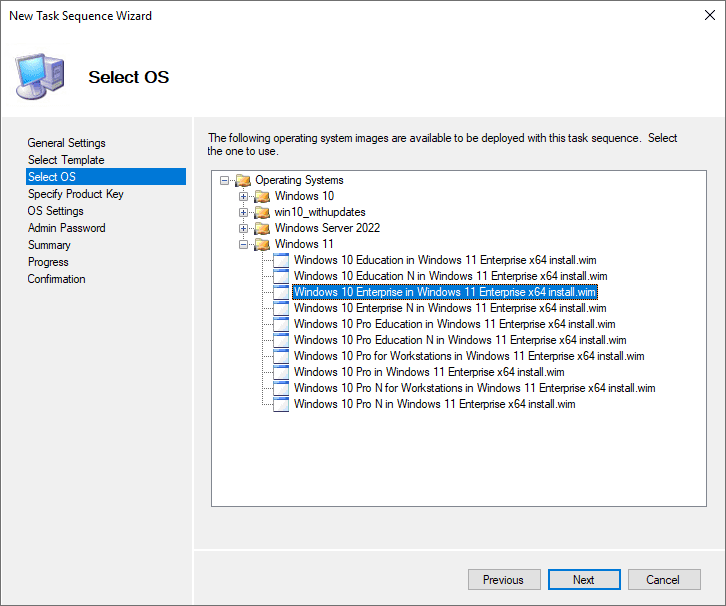
On the Select OS screen, select the Windows 11 image you want to use for the deployment.
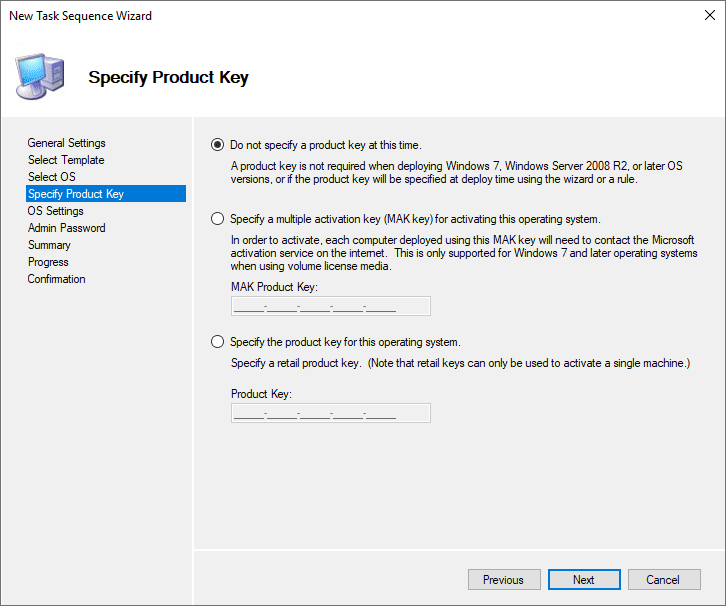
Configure your product key settings. Here I am leaving at the Do not specify a product key at this time.
Configure the OS settings.

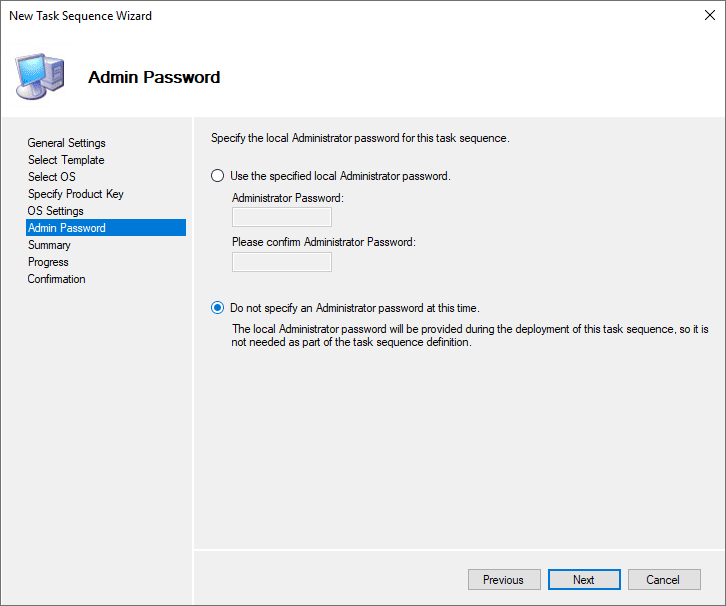
Configure admin password settings.
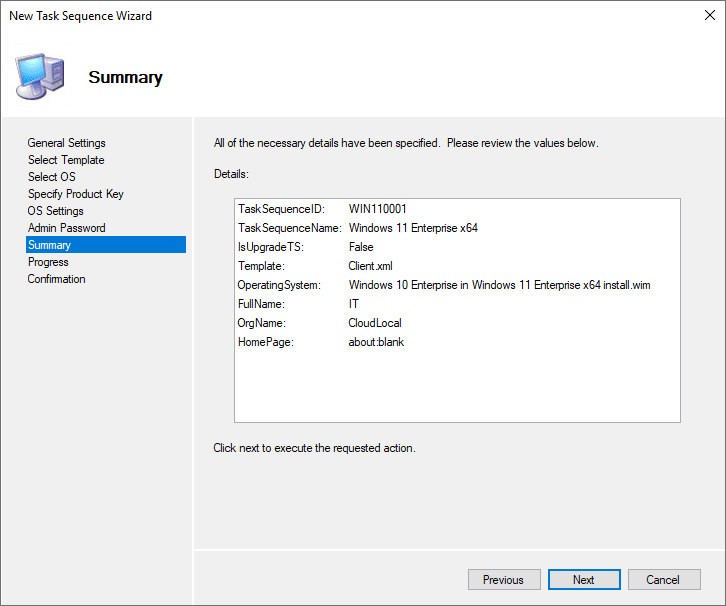
Review the settings listed on the summary screen.
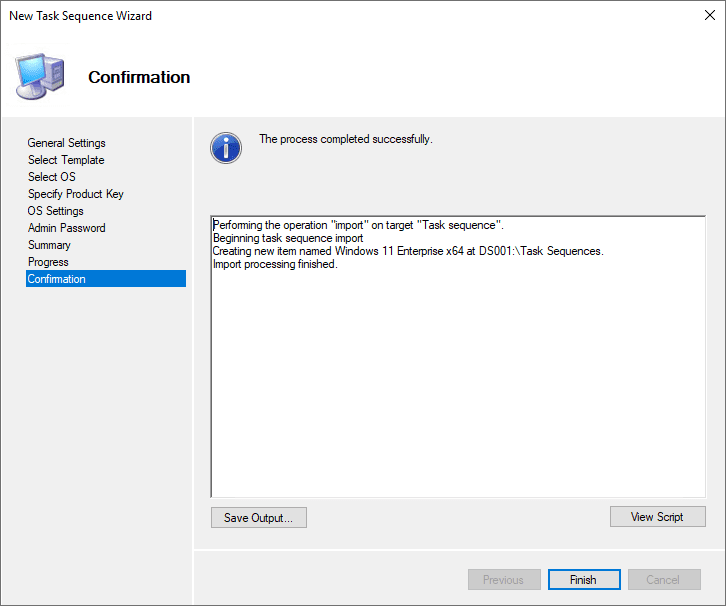
On the confirmation screen, click Finish.
4. Build and capture using the Windows 11 task sequence
Now that we have the task sequence in place, we can boot a machine from the MDT Lite touch image and perform the steps to build and capture Windows 11 to a .wim image for deploying using MDT. Below, I am booting a virtual machine using PXE and selecting the MDT lite touch image.
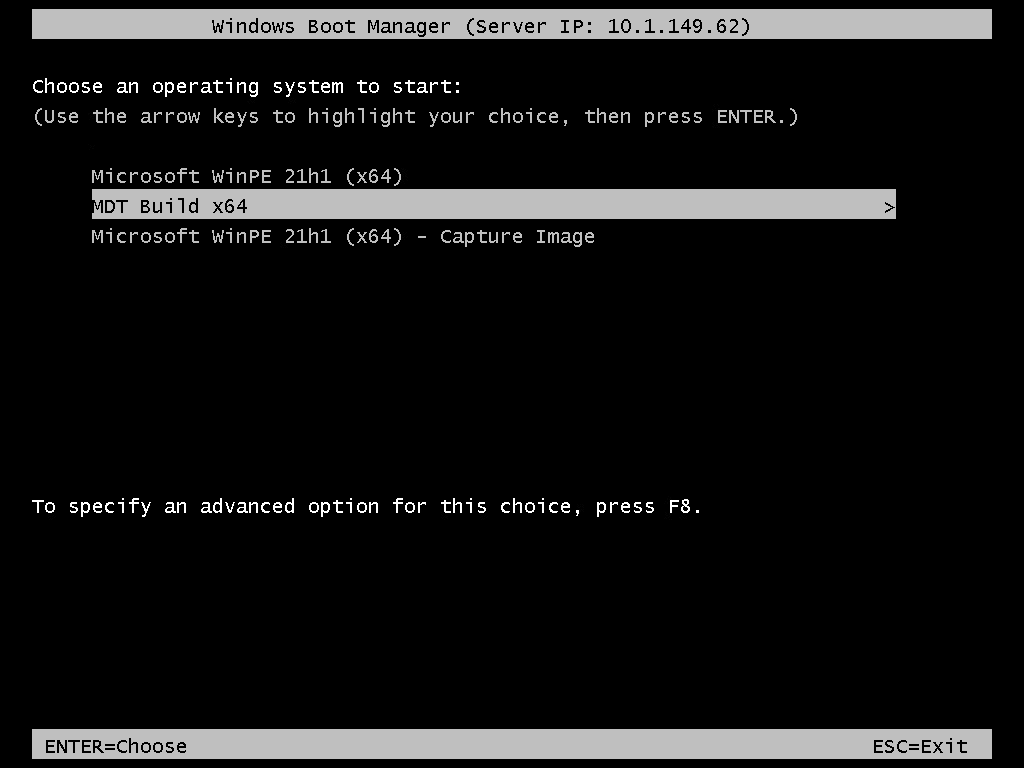
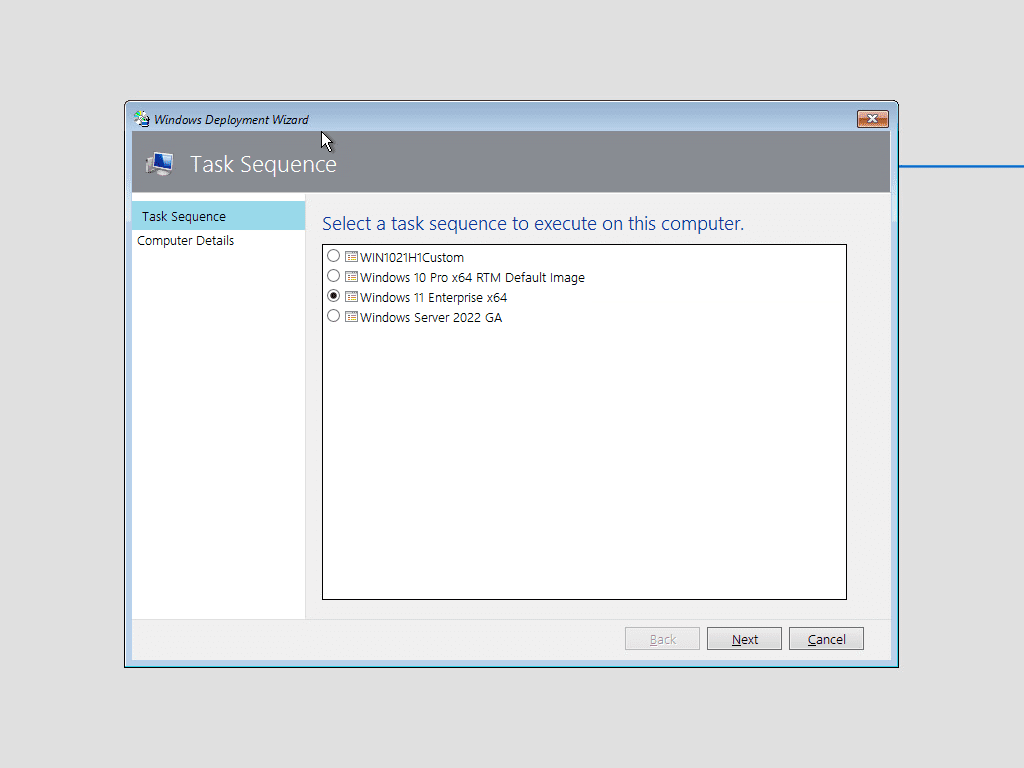
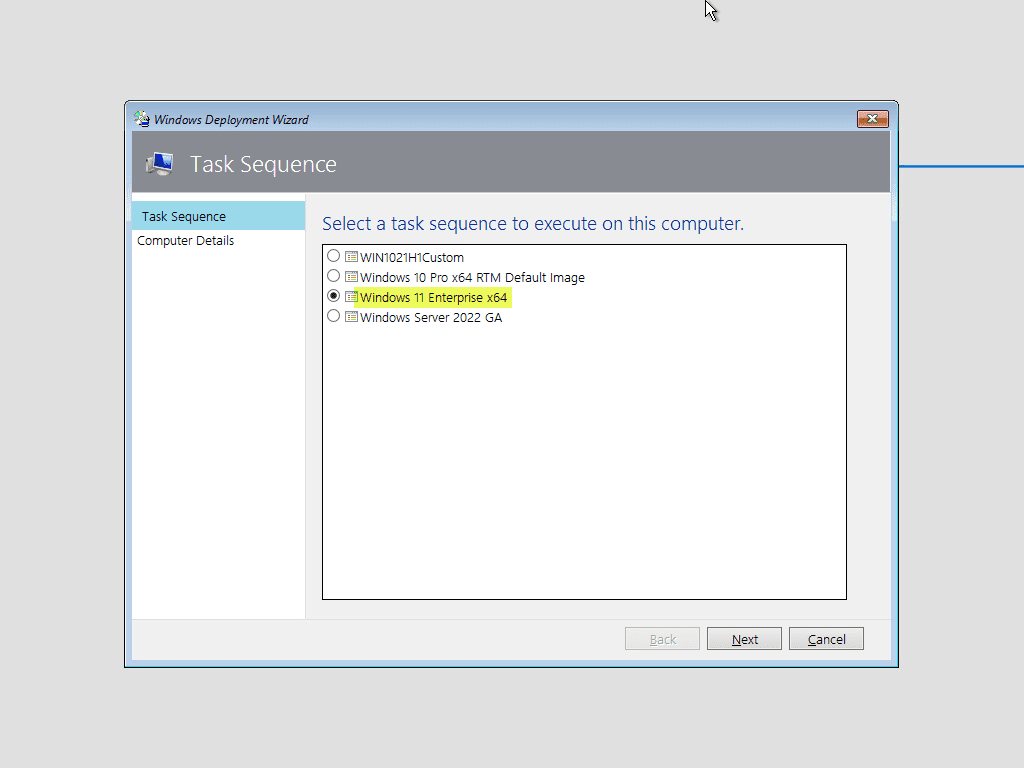
Select the newly created Windows 11 task sequence.
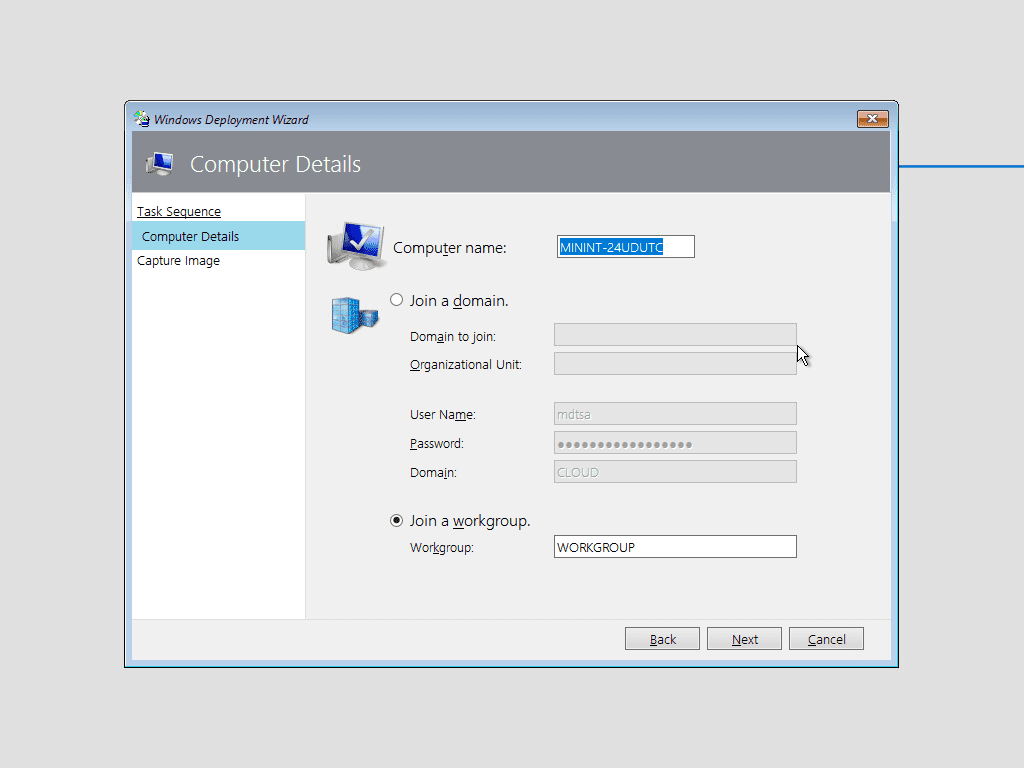
If you don’t have this configured in your MDT Build share rules, you can configure the computer details on the next screen.
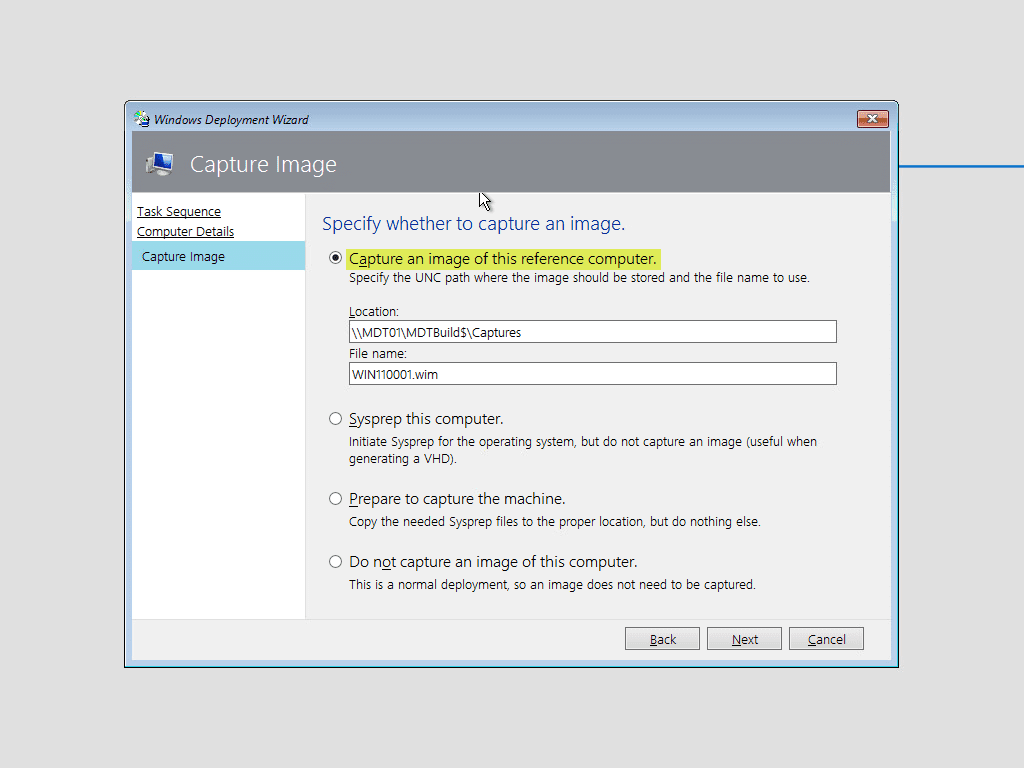
On the Capture image screen, here we select Capture an image of this reference computer since we want MDT to first build the Windows 11 workstation and then capture an image of it.
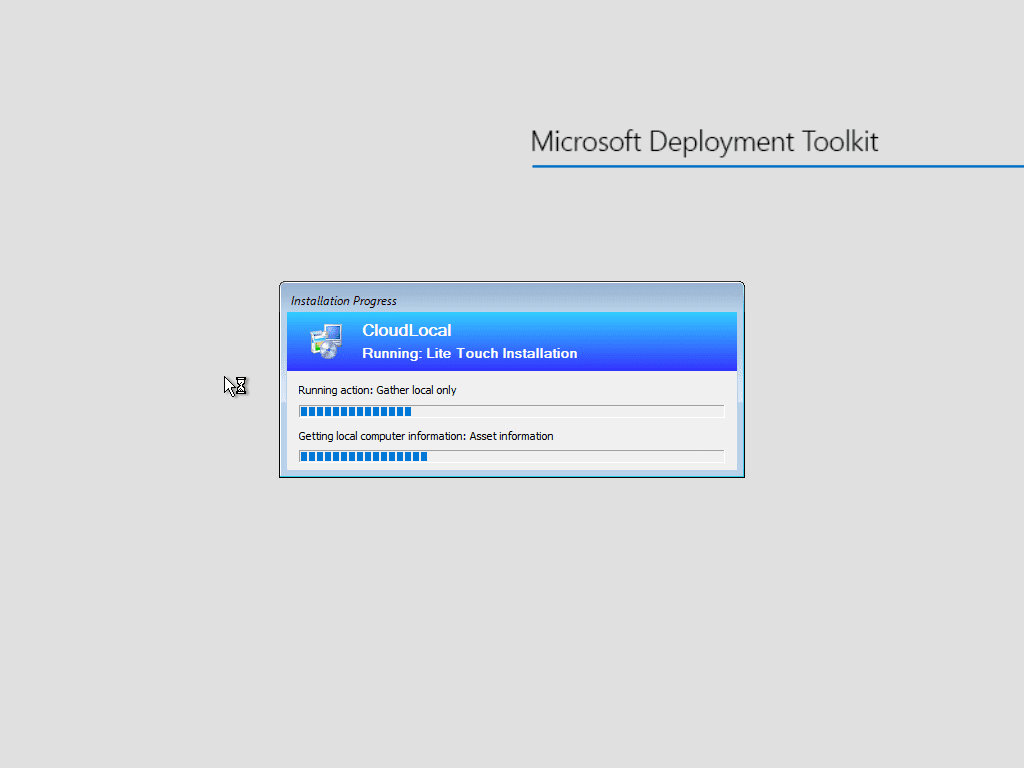
The build and capture process begins.
After building, it begins creating the Windows 11 wim file.
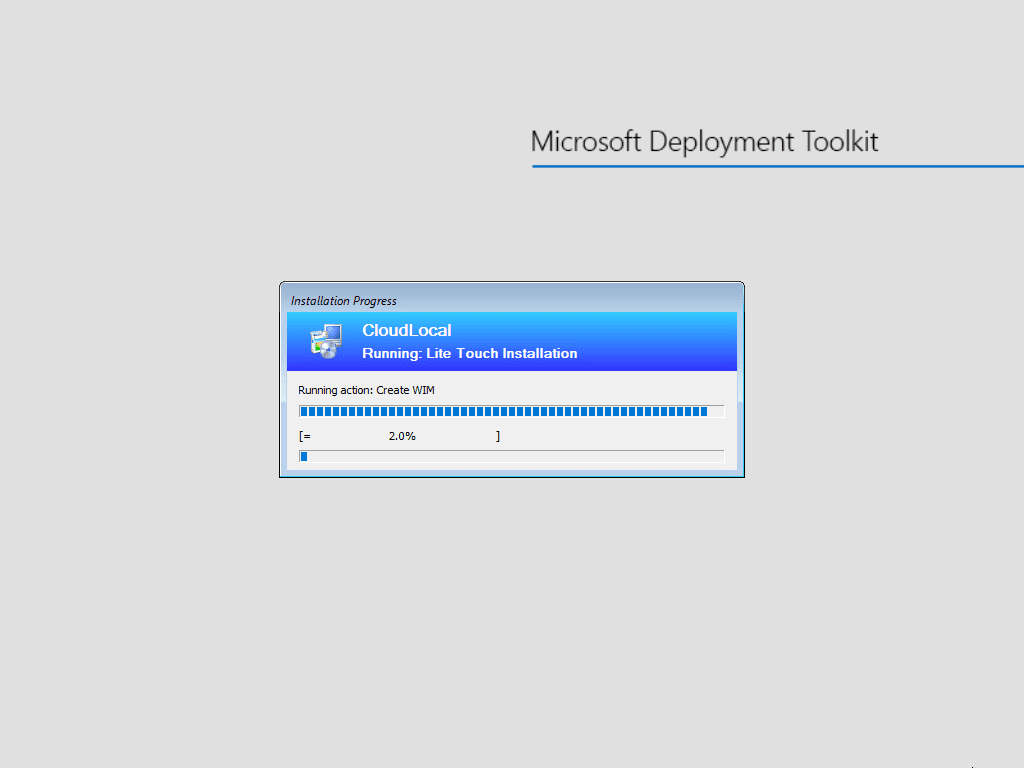
At this point, I had no issues with the MDT build and capture. It will save the WIM file which will take a few minutes and then it will power off the VM.
5. Deploy the Windows 11 image captured with MDT
Once the image build and capture of Windows 11 is created, we can now boot the target VM or workstation from PXE boot, select the MDT lite touch image and then again select the Windows 11 task sequence.
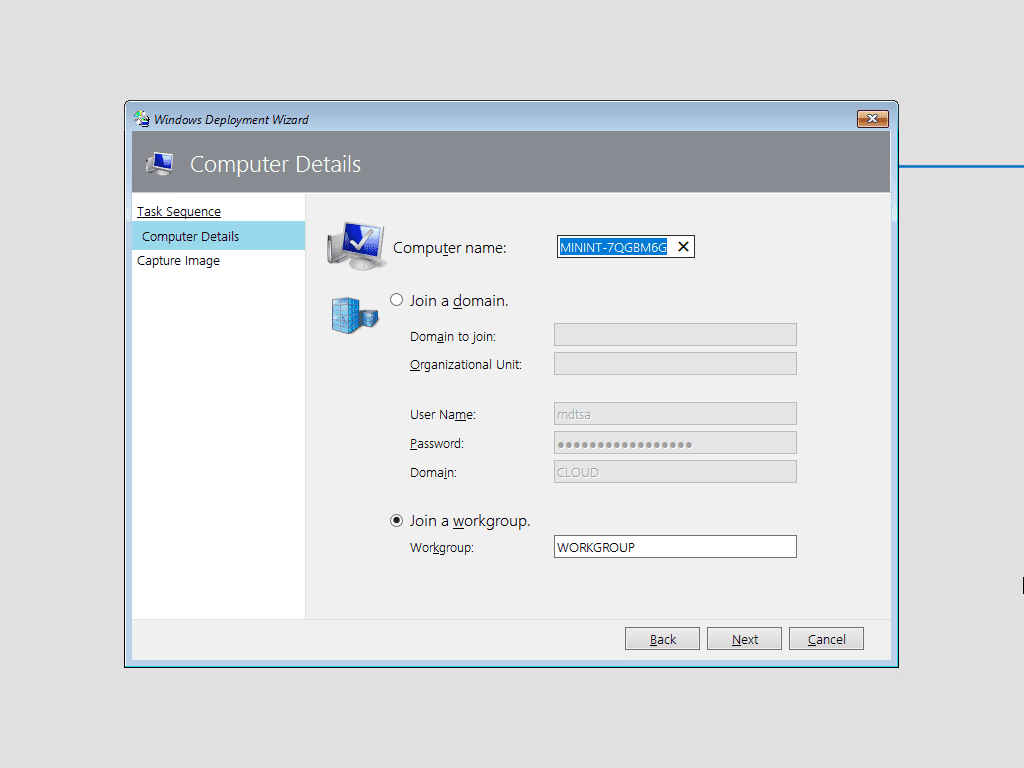
Configure the computer details.
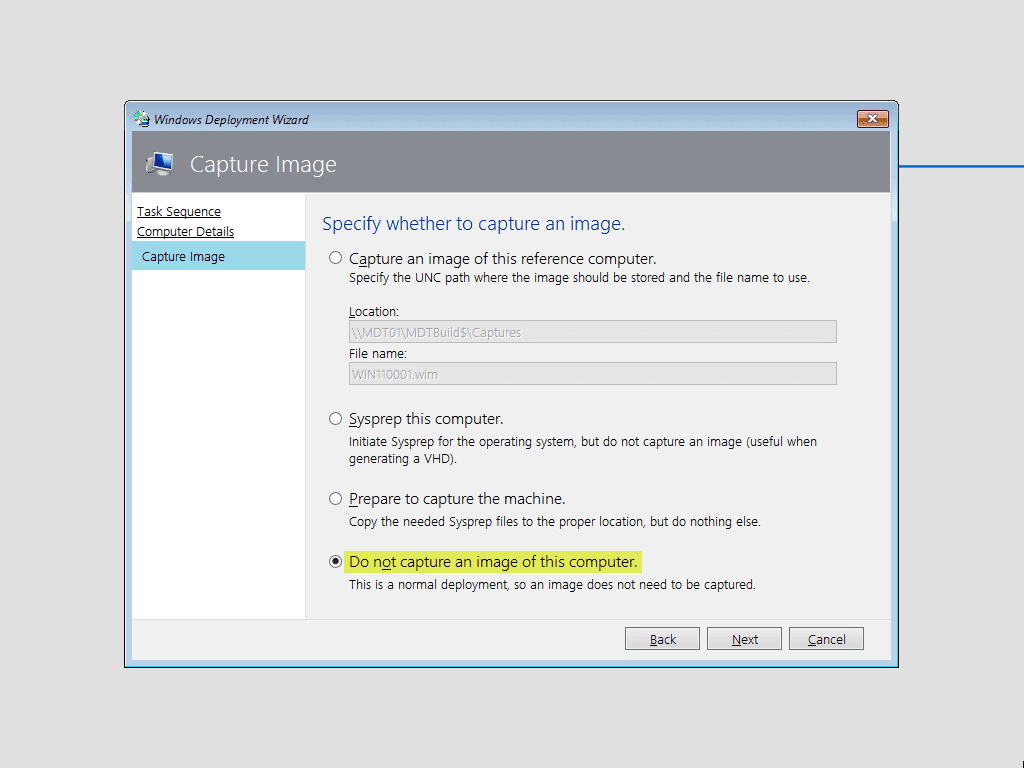
Since this go around we are deploying, we select the Do not capture an image of this computer option. This tells MDT to simply deploy the image and not capture a new one.
After deploying the Windows 11 workstation begins to boot.
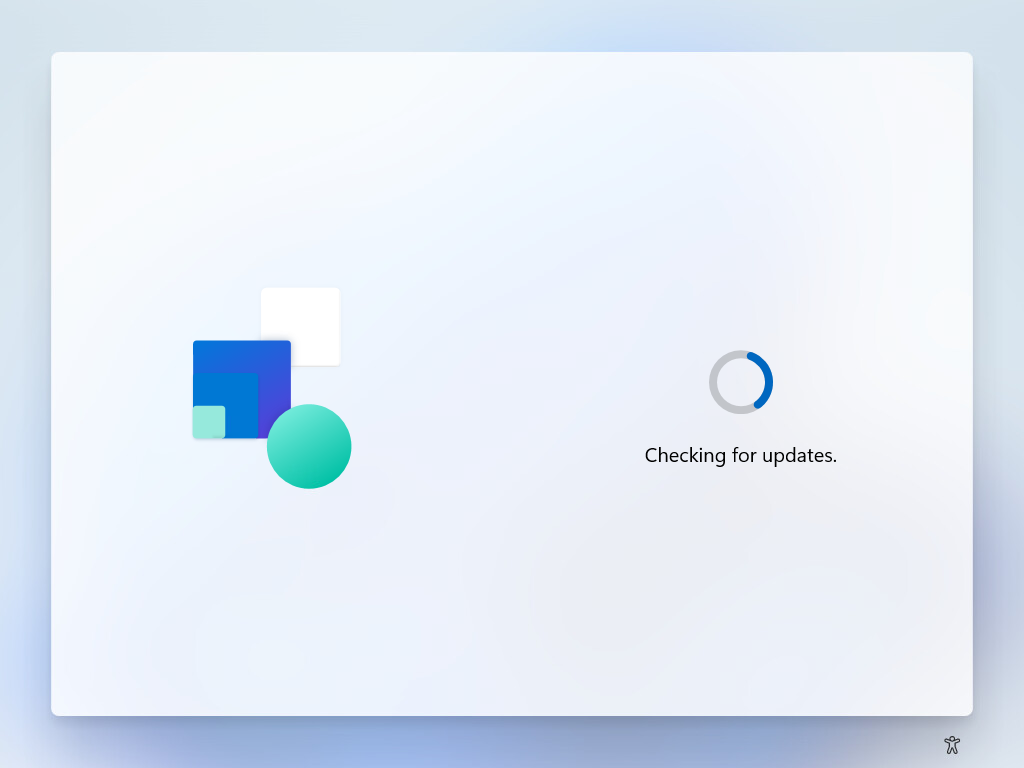
I was pleasantly surprised to see the image successfully made it past the mini setup wizard and begins checking for updates. While the screens are not that much different from Windows 10 if any (just new styling), it is able to bypass these I’m guessing.
After a few more minutes after checking for updates, the Windows 11 workstation boots to the login screen and is ready to use.

Concluding thoughts
The process to deploy Windows 11 with MDT Download is straightforward. Even though MDT is not yet supported with Windows 11, as shown it does work for a basic deployment of Windows 11. I suspect if you get more into the advanced task sequence features, these will probably not work with Windows 11. MDT provides a great way to deploy both client and server operating systems with a more GUI-based approach.
Download MDT here:


0 Comments