

In working with clients and different environments, you will definitely see many different hypervisors used across the landscape of enterprise organizations. While I recommend VMware vSphere for business-critical enterprise workloads to customers, there are use cases where I see other hypervisors used. Proxmox is a really great open-source, free hypervisor available for use and is even developed for use in enterprise applications. I also know of many in the community running Proxmox in their home lab environment. If you are like me and like to play around with technology, hypervisors, and other cool geeky stuff, I find I load a lot of different solutions in the lab. Let’s take a look at nested Proxmox VMware installation in ESXi and see how you can easily spin up a Proxmox host in a vSphere VM.
What is Proxmox?
Proxmox is easily administered using a rich, fully-featured web interface that actually looks and feels nice. While it is not in my opinion where the vSphere client is in look and feel, it is quite nice and does the job needed to administer the Proxmox environment.
Proxmox VE is an open-source hypervisor platform for enterprise virtualization. It provides many features needed to run production workloads, including virtual machines, containers, software-defined storage, networking, clustering, and other capabilities out-of-the-box. It is based on Linux, so you get the pure Linux experience for virtualization, containers, and other facets. Note some of the benefits:
- Open-source software
- No vendor lock-in
- Linux kernel
- Fast and easy installation
- Easy-to-use with the intuitive web-based management interface
- Low administration costs and simple deployment
- Huge active community
Nested Proxmox VMware installation in ESXi
The first thing you need for your nested Proxmox VMware installation in ESXi is to download the Proxmox ISO for installation. You can download the Proxmox ISO here:
- Get the free Proxmox VE ISO installer
- Current version Proxmox VE 7.1
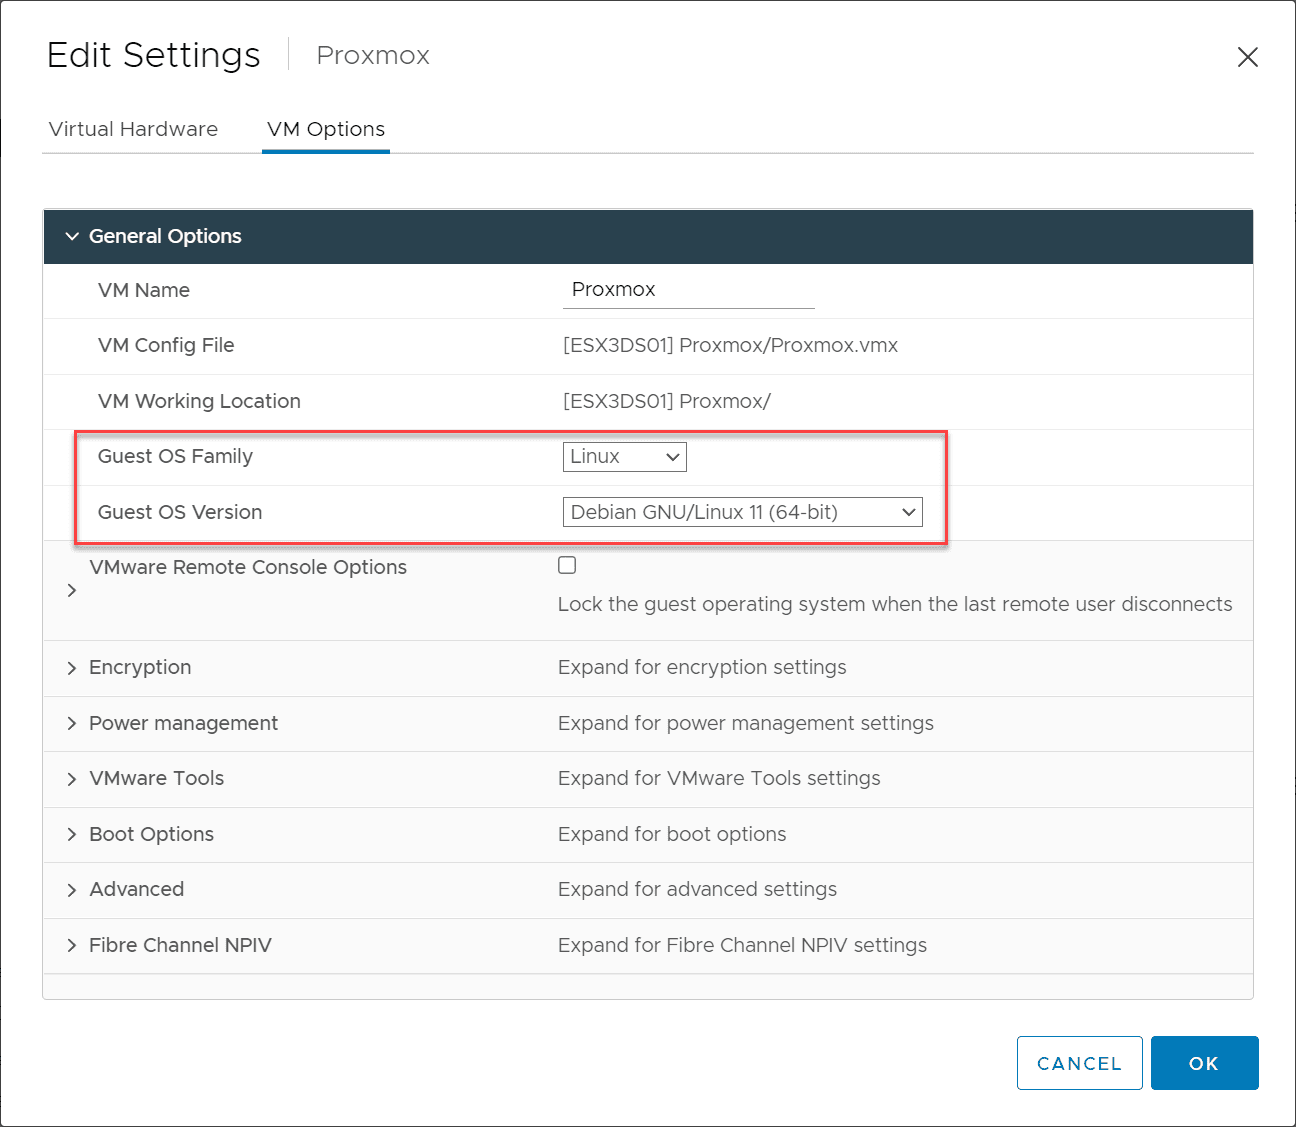
You will mount the ISO to your virtual machine in VMware vSphere like you would any other OS installation. Create a new VMware vSphere virtual machine with the following details:
- Guest OS Family – Linux
- Guest OS Version – Debian GNU/Linux 11 (64-bit)
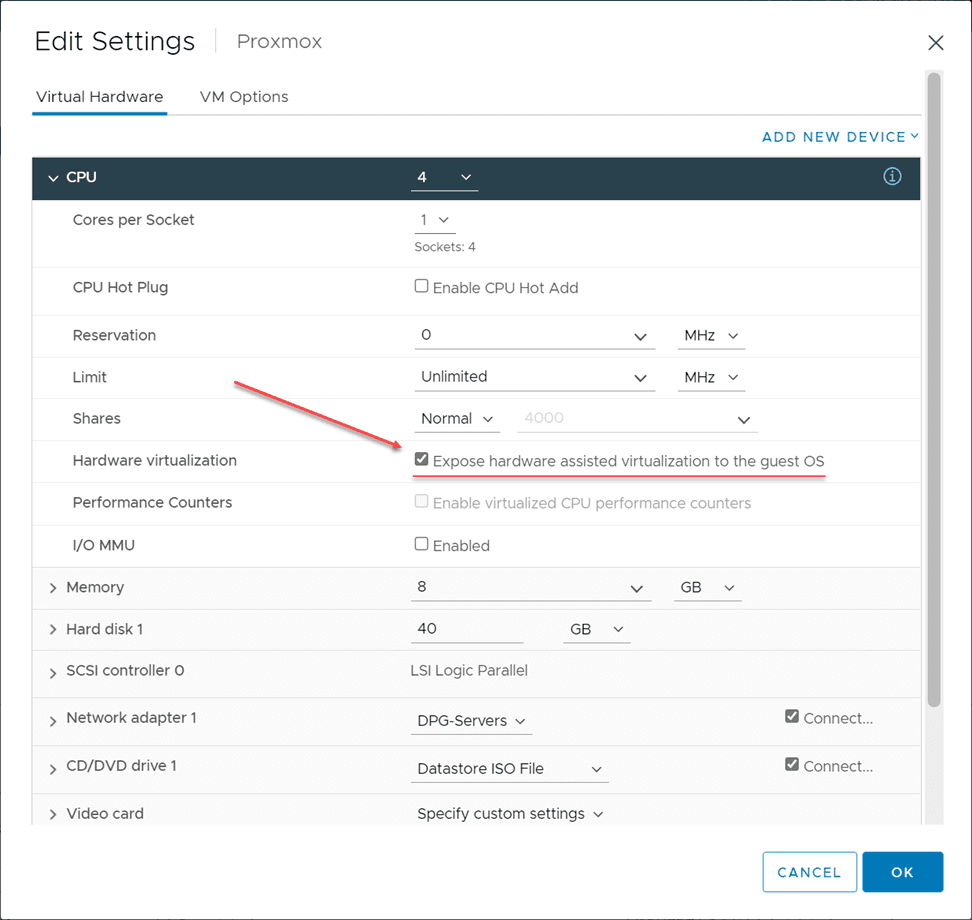
Next, make sure to expose hardware-assisted virtualization to the guest OS for your soon-to-be Proxmox installation. As most of us are familiar with in our nested ESXi labs, this is a simple checkbox in the properties of your VMware ESXi virtual machine under the CPU settings.
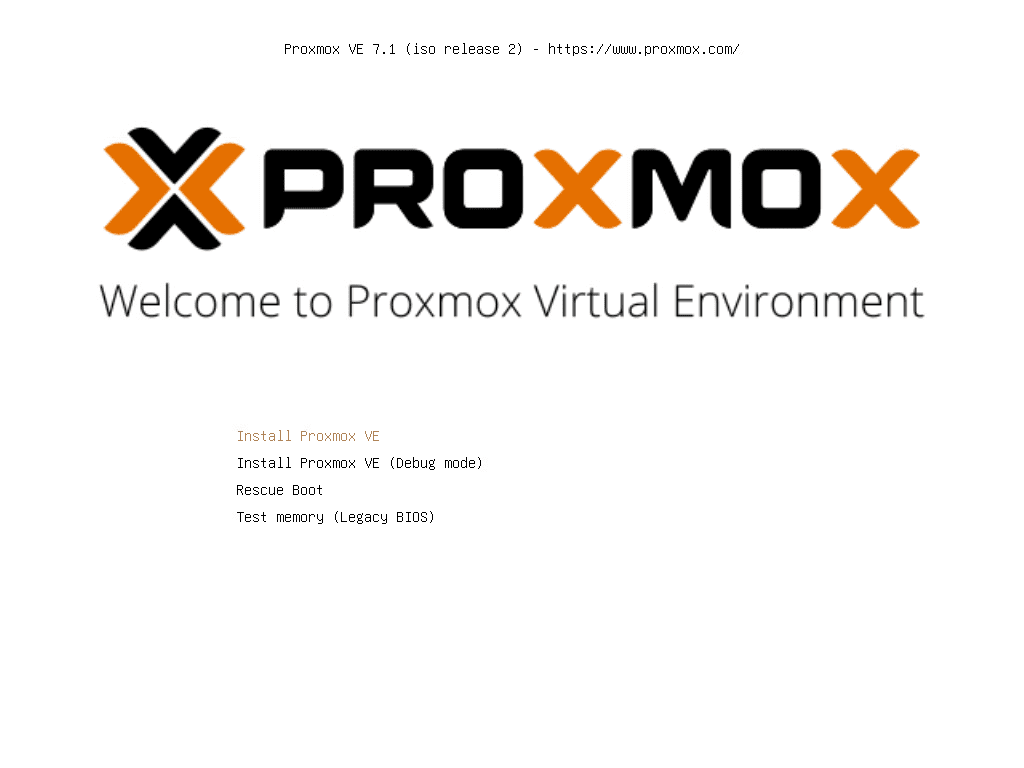
After booting from the ISO, the Proxmox VE 7.1 installation begins. Select to Install Proxmox VE.
First things first. Accept the EULA to proceed.
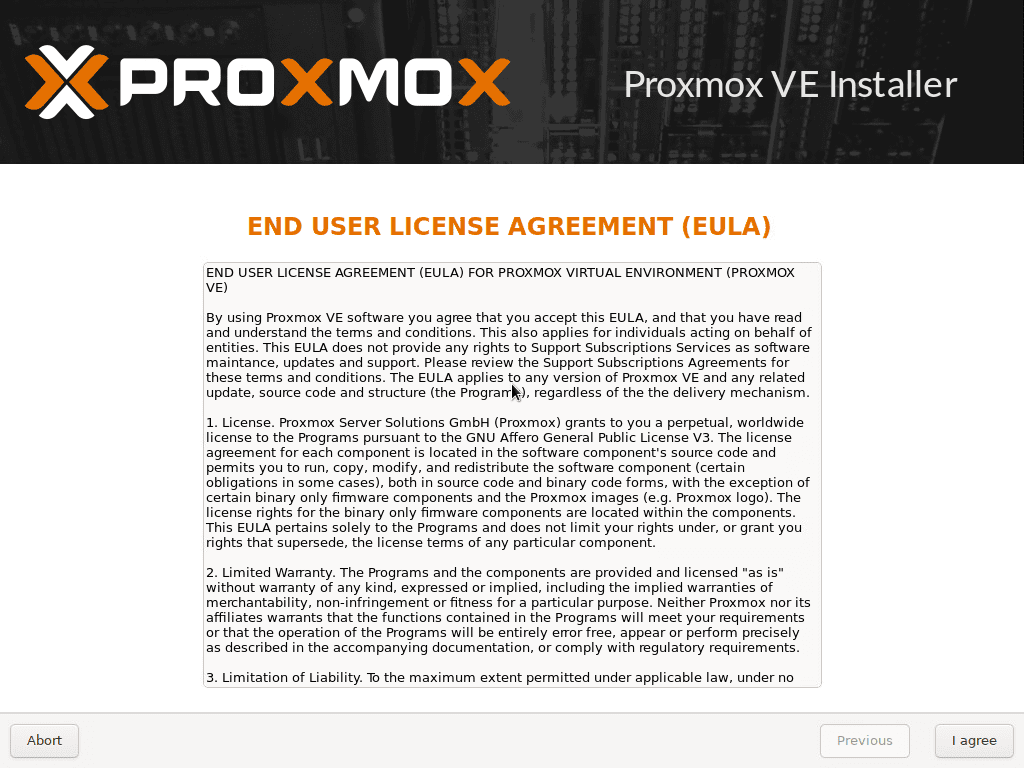 Accept the EULA for Proxmox VE 7.1
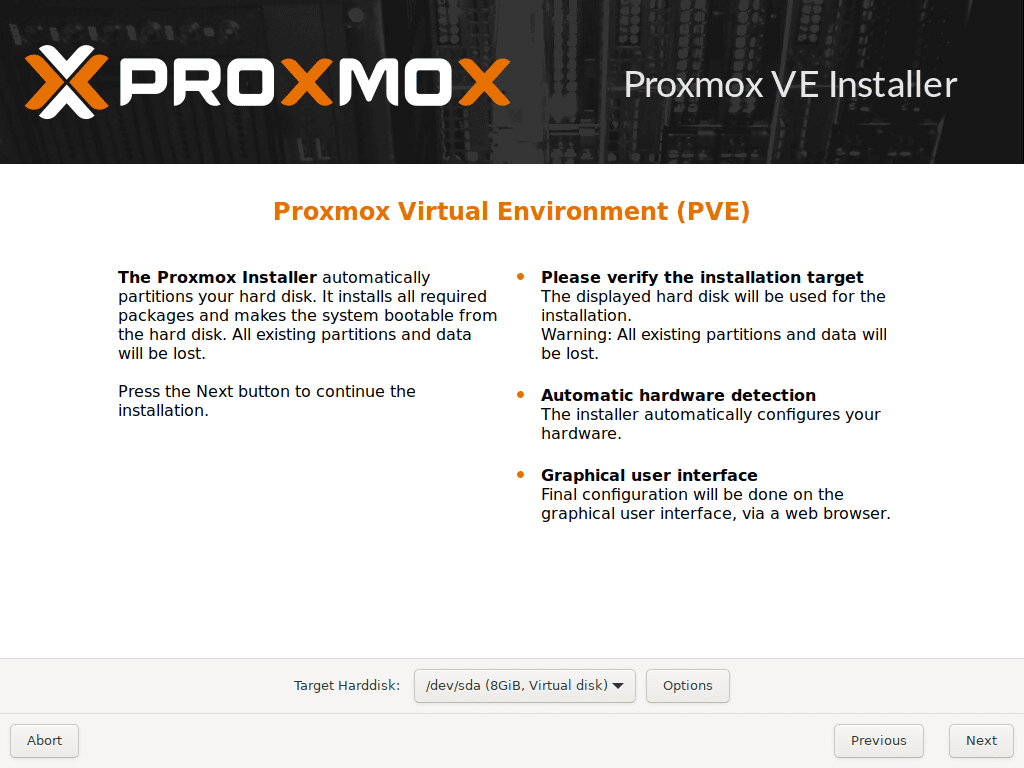
Next, you can customize the disk partition layout if you choose. However, for my nested Proxmox VMware installation, I am accepting the defaults.
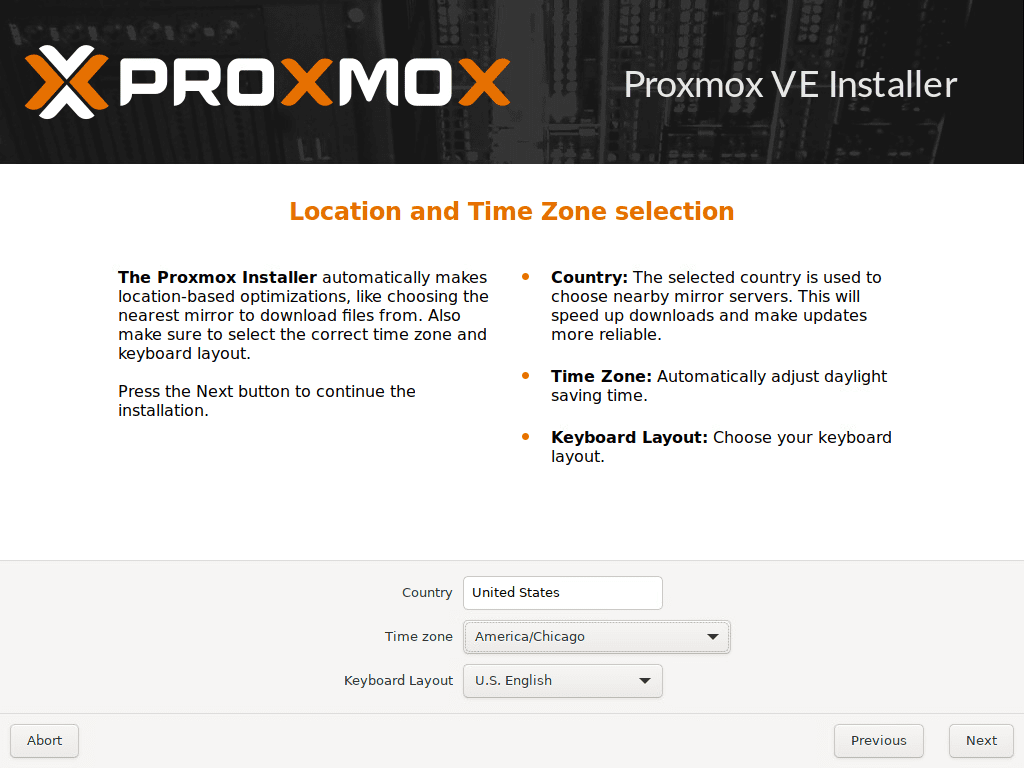
Next up is setting your location and time zone configuration.
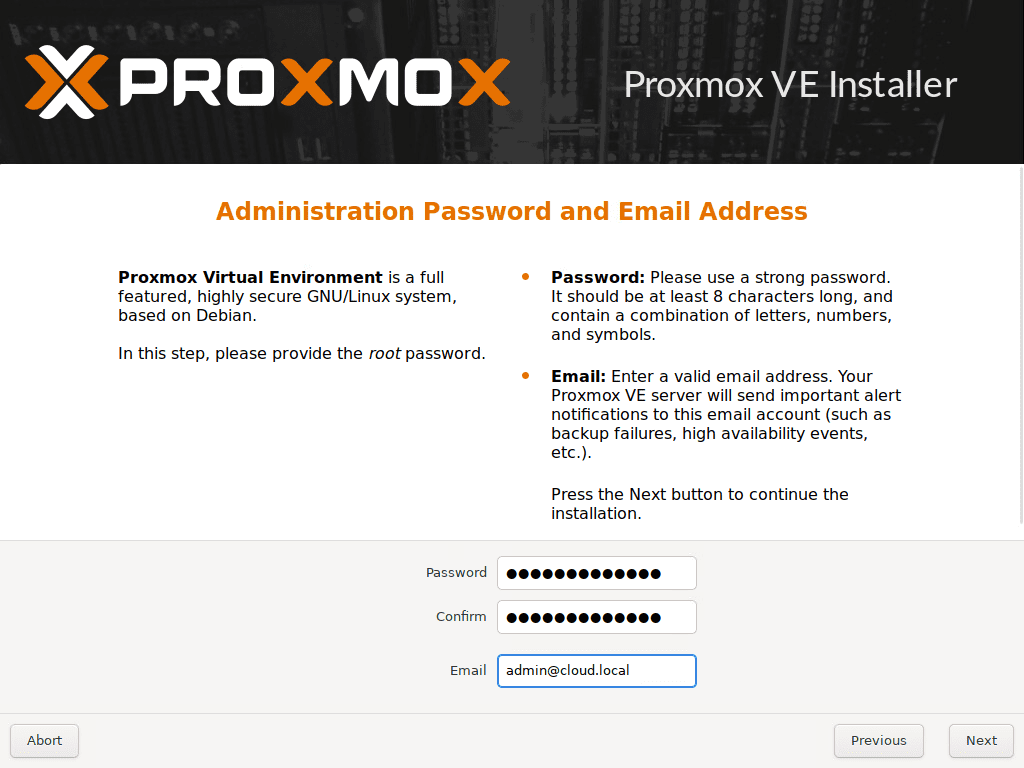
Configure the password for your root account. Also, Proxmox has you enter an email address.
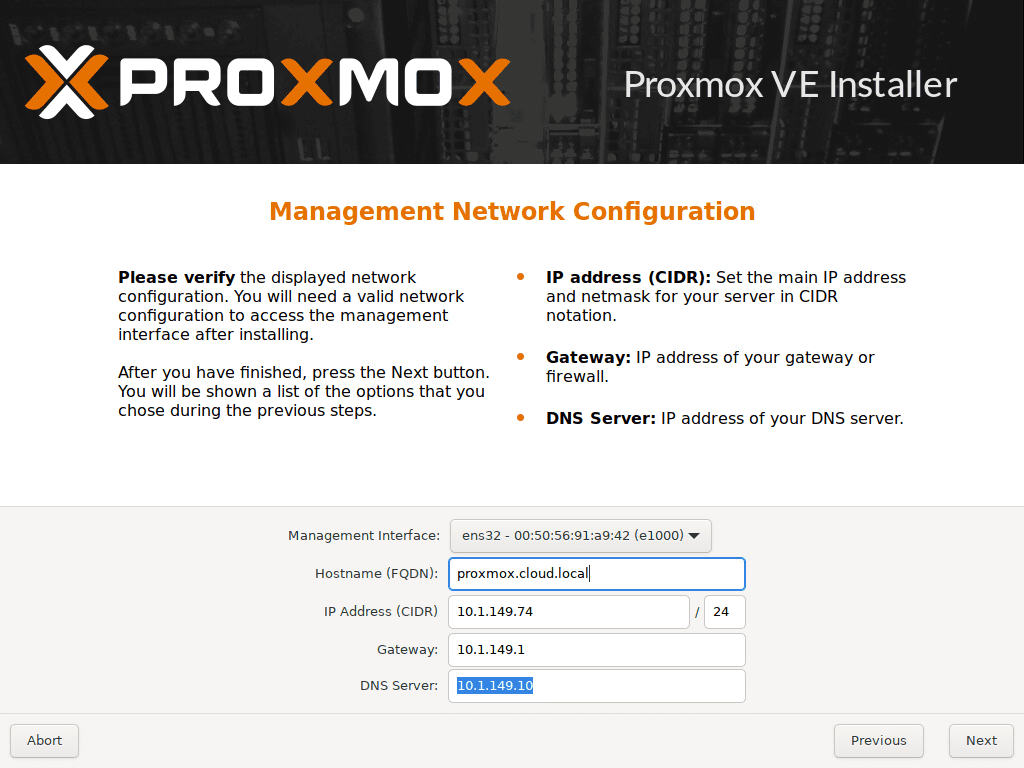
Configure the Proxmox hostname and your network configuration.
Finally, we come to the Summary screen. Here, review the configuration and validate your settings. Then, click Install.

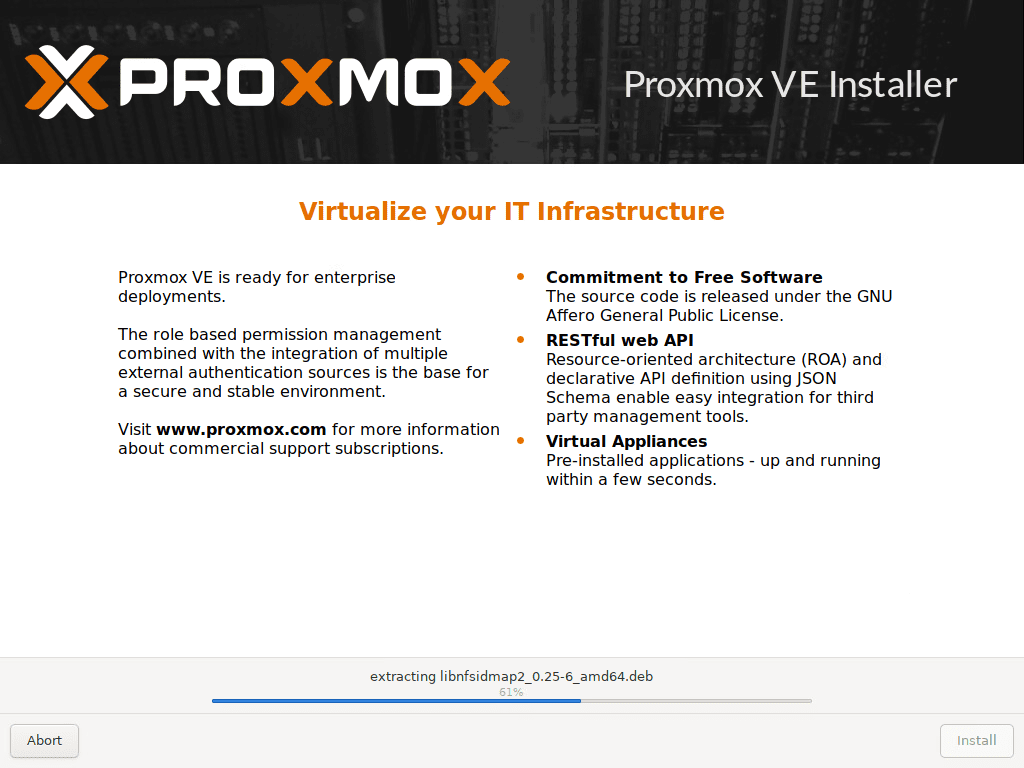
The installation process begins.
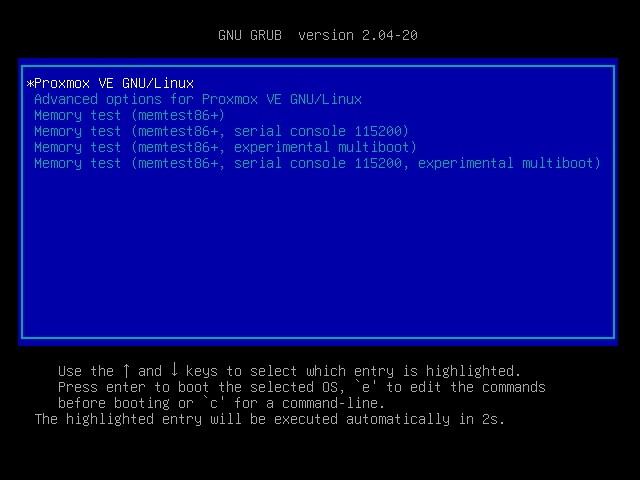
After finishing the installation, the Proxmox server will reboot. Below is the boot screen captured as it reboots from the installation.
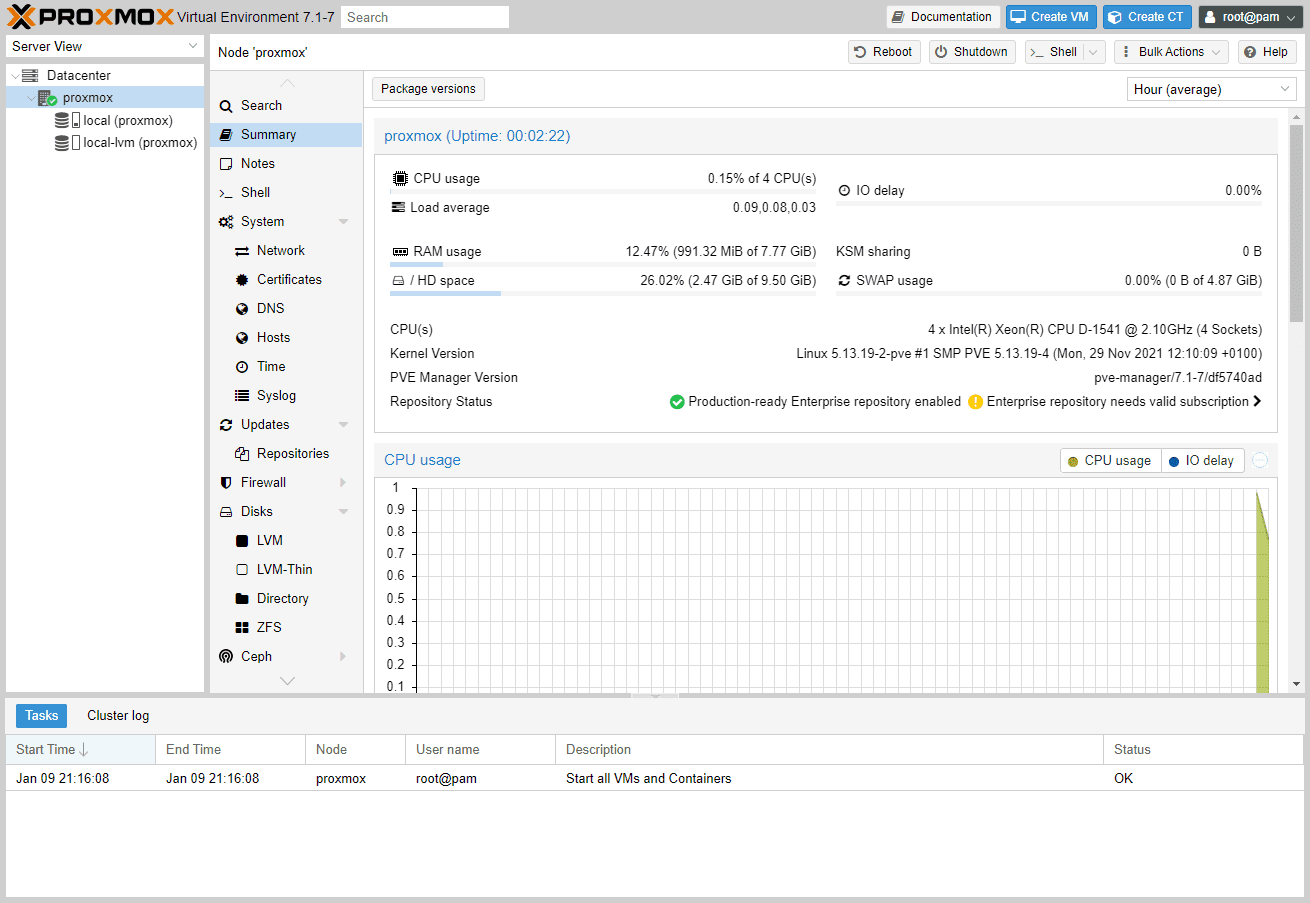
Finally, we are logged into the Proxmox web GUI using root and the password configured during the installation. Overall, the nested Proxmox VMware installation in ESXi was straightforward and easy. If you want to play around with Proxmox in a nested configuration, VMware vSphere provides a great way to do this using the basic functionality we have used for quite some time with nested ESXi installations.
Wrapping Up
Proxmox is a cool hypervisor that provides a lot of features in an open-source, freely available download. The latest Proxmox VE 7.1 release has a lot of out-of-the-box features and can be used to run production workloads. If you want to play around with Proxmox, running the hypervisor inside a nested virtual machine in VMware ESXi is a great way to gain experience with installing, operating, troubleshooting, and other aspects of the virtualization solution.
You can learn more about Proxmox from their official page found here:


0 Comments