

Creating a Hyper-V Cluster iSCSI storage is one of the ways you can have traditional shared storage for a Hyper-V cluster in your environment. I want to introduce you to a free solution that you can use for your Hyper-V lab environment or for other use cases to quickly create Hyper-V cluster iSCSI storage. It is the StarWind free SAN and NAS appliance that is freely available for download from StarWind. Let’s see how you can use this to add Hyper-V cluster iSCSI storage to your Hyper-V hosts.
What is StarWind Free SAN and NAS?
StarWind Free SAN & NAS is a simple Linux OVA appliance you deploy that provides easy iSCSI and NFS connectivity to storage running on top of a datastore, raw disk maps, etc. Notice the following description given by StarWind on the StarWind Free SAN & NAS found from:
StarWind SAN & NAS Free leverages the benefits of three of your favorites: StarWind VSAN, ZFS, and Linux. It’s deployed as a ready-to-go Linux-based VM on top of VMware ESXi or Microsoft Hyper-V, pooling all your storage resources and creating a hardware compatibility list (HCL) certified high-performing storage appliance. StarWind SAN & NAS Free also integrates ZFS for ultimate data integrity and unrestricted scalability, ready to support your business growth.
While it comes free of charge, your production environment deserves only the best. It’s easy to transition StarWind SAN & NAS Free to a paid version if you require High Availability (HA), Fault Tolerance, and/or Commercial Support. Better safe than sorry, and we can ensure that your organization enjoys all the benefits a full-featured, cutting-edge, modern software-defined storage (SDS) solution can provide.
So, as you see from the description, the solution is an enterprise solution that StarWind is making freely available. If you want to have additional high availability, fault tolerance, and commercial support, you will need to upgrade to the paid version of the product. However, for many, the free SAN & NAS solution may work just fine, especially in a lab environment.
Deploying StarWind Free SAN and NAS Appliance
The process to deploy StarWind Free SAN and NAS is very simple. For my lab environment to attach the solution to Hyper-V, I am actually using VMware vSphere as the backing hypervisor for all parts of the solution, including the nested Hyper-V hosts.
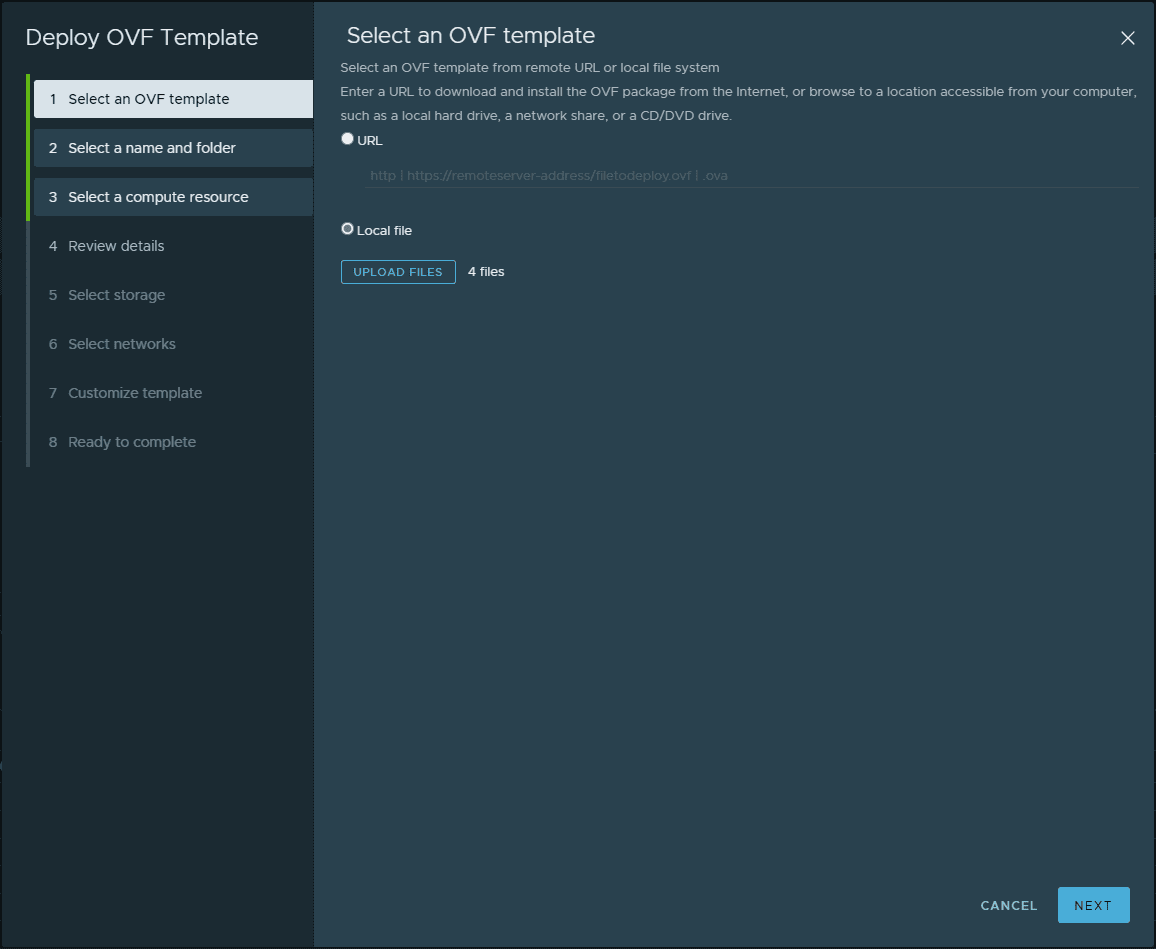
When you signup for the StarWind Free SAN and NAS, you will download a .ZIP file containing the OVF files and disks needed to deploy the solution, based on an Ubuntu virtual machine. After starting the Deploy OVF Template wizard, select your extracted StarWind Free SAN and NAS files.
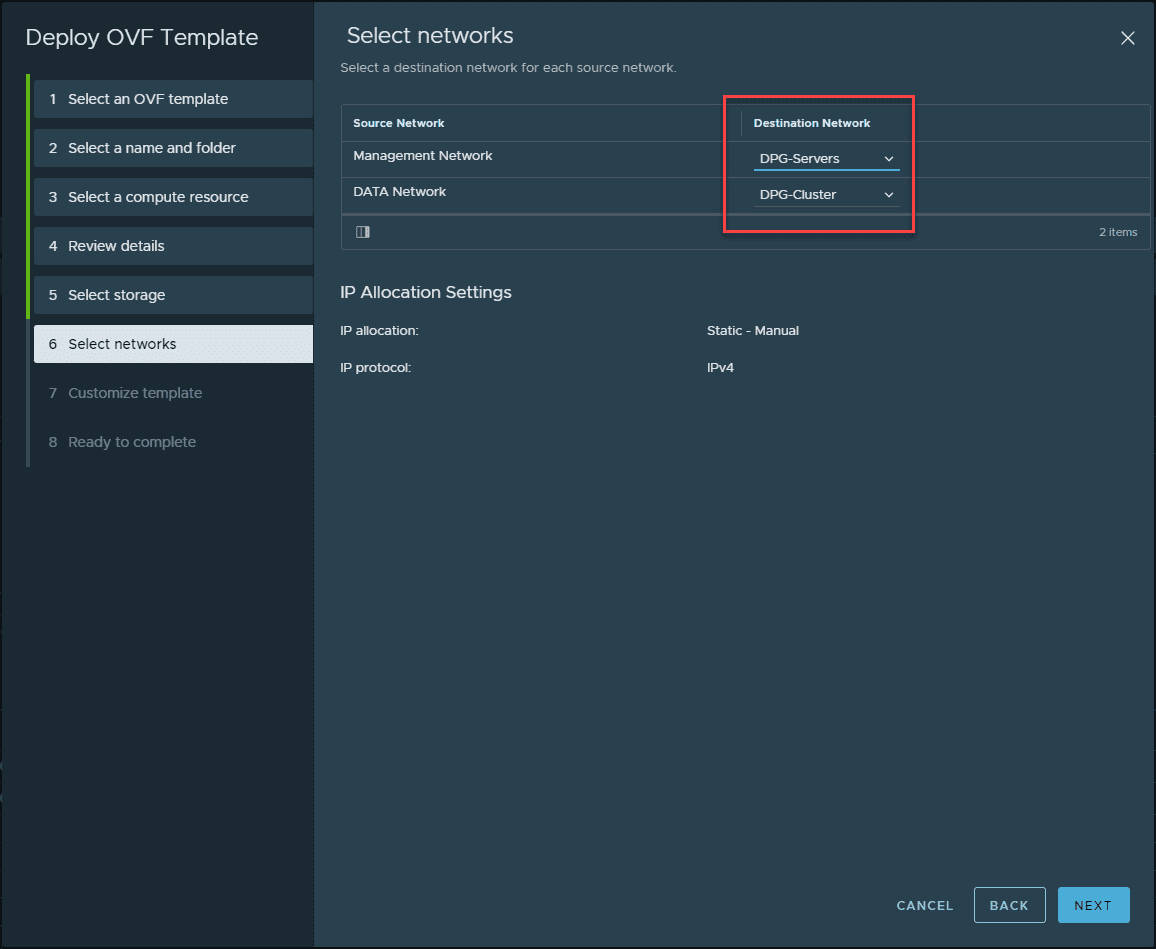
I am skipping past the next several screens as these include the generic choices for any OVA/OVF deployment, such as compute, storage, etc. In step 6, you want to pay attention to your networking. In my environment, I have created two virtual switch port groups backed by different VLANs. One is for management and the other is for cluster/data traffic. Make sure you have your networking mapped correctly.
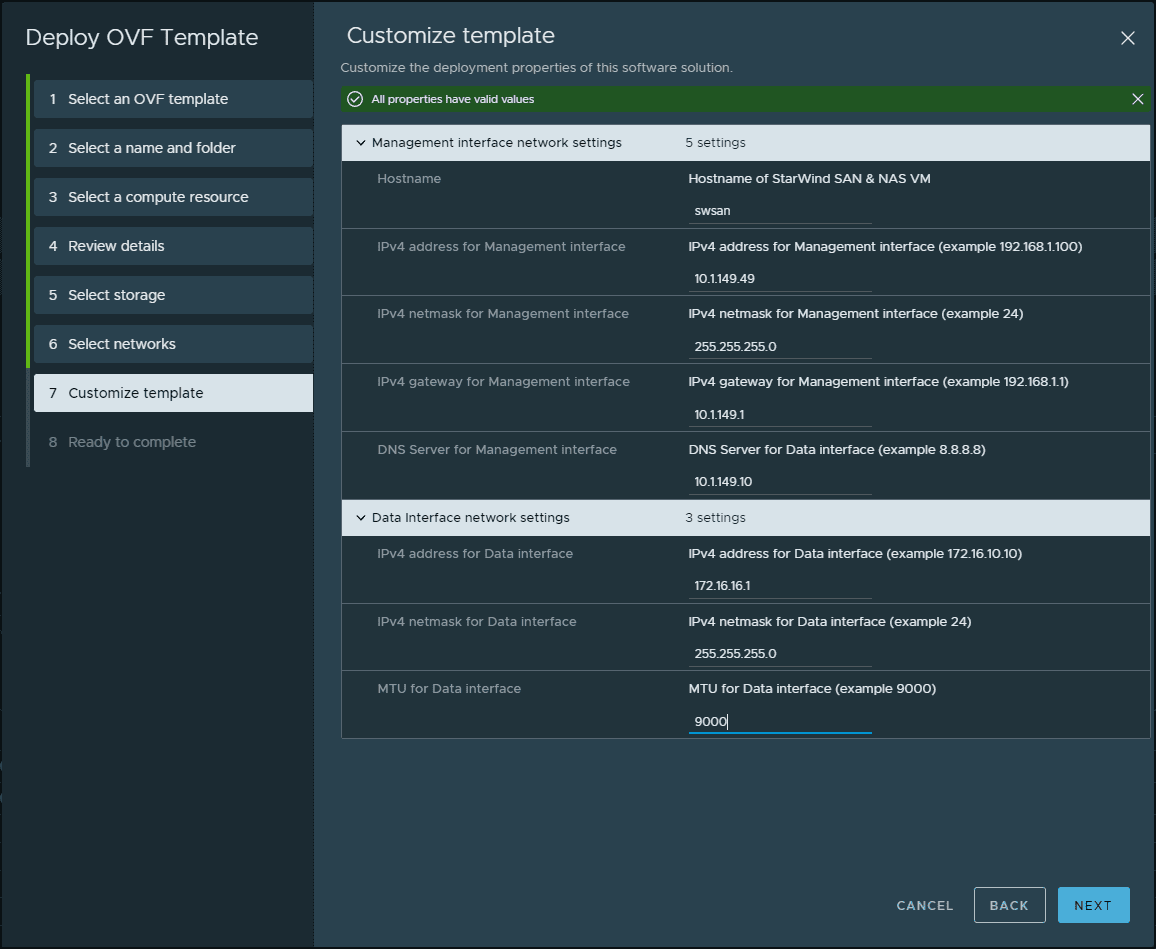
In Step 7, make sure to customize the appliance template by configuring the network settings for both your management and data interfaces.
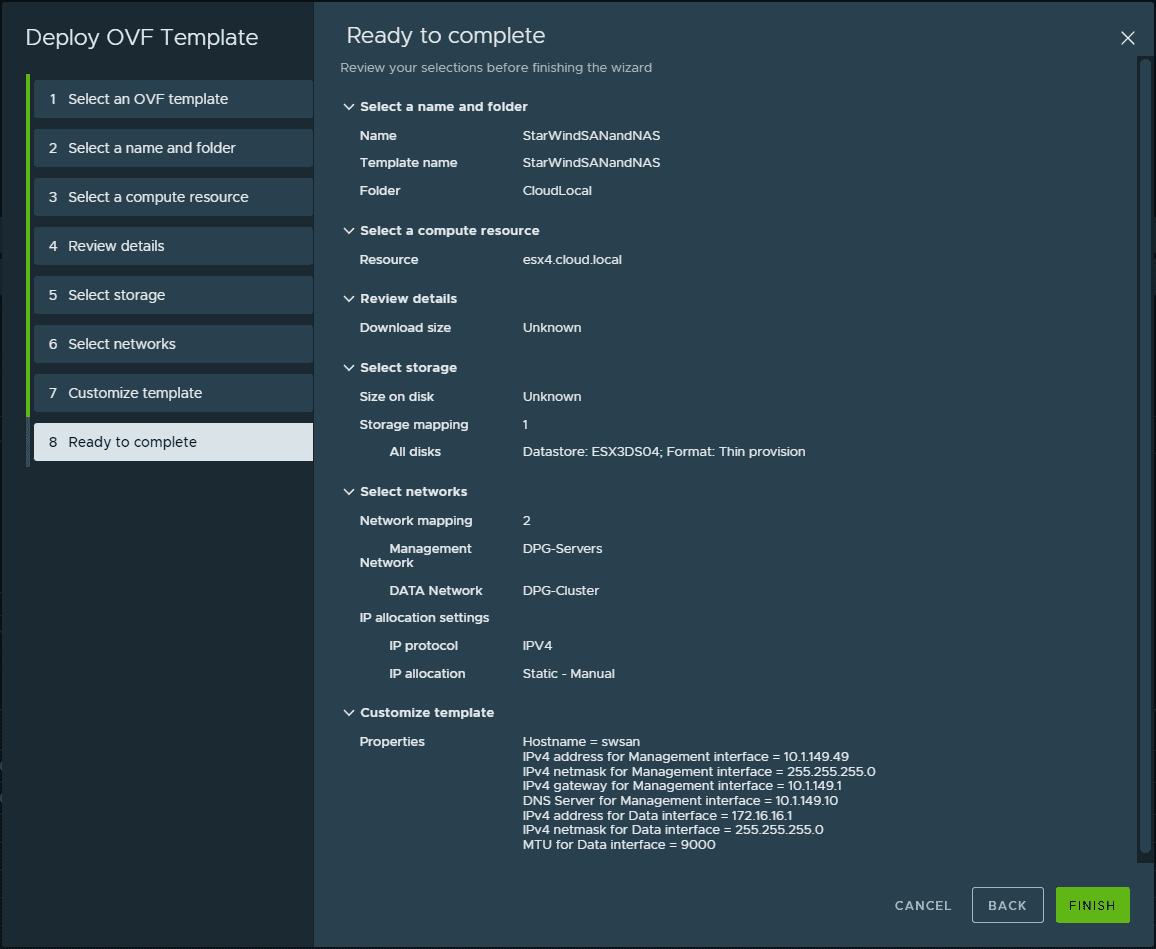
Review the configuration settings configured during the wizard to ensure everything is accurate. The, click Finish.
Complete the StarWind SAN & NAS First Run Wizard
After the appliance is deployed you will need to browse to the address https://<your appliance hostname or IP>:8643
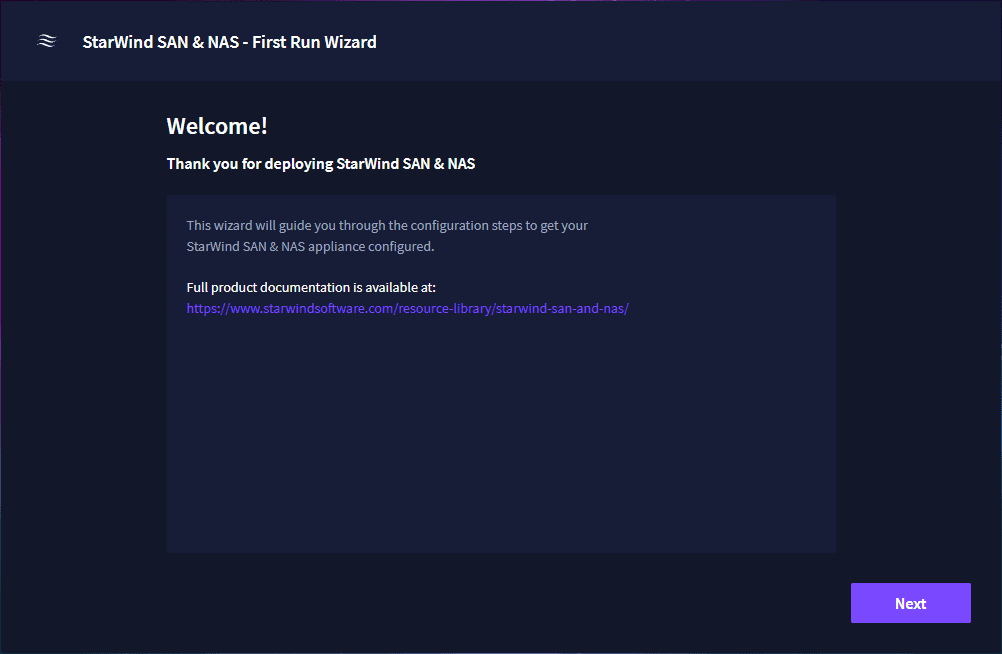
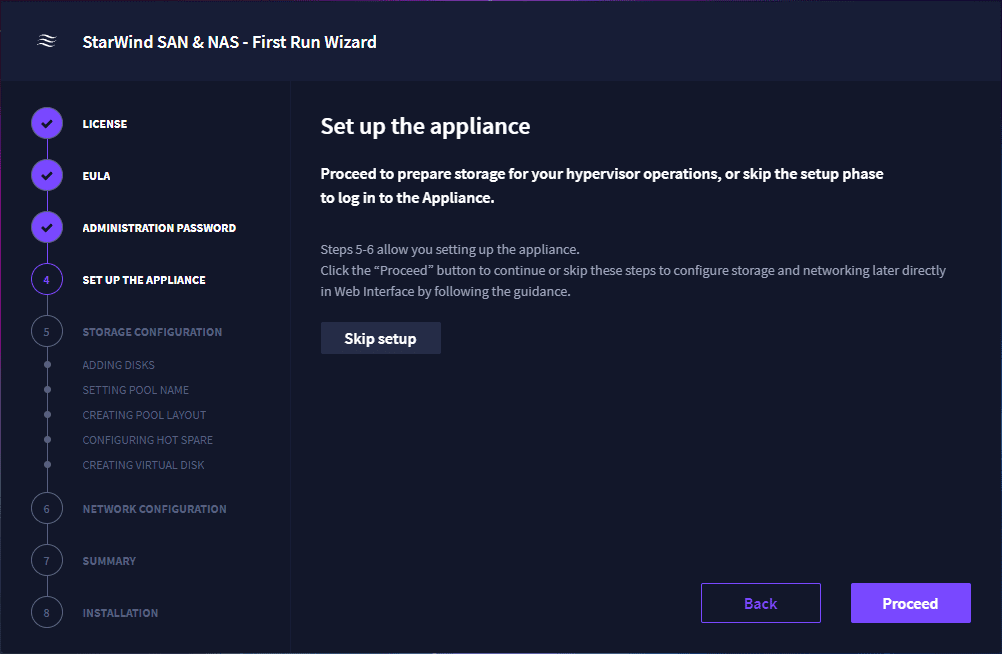
When you do, you will be prompted with the StarWind SAN & NAS First Run Wizard. Using the wizard, you will configure the StarWind iSCSI storage, including storage pool, disks, connectivity, etc.
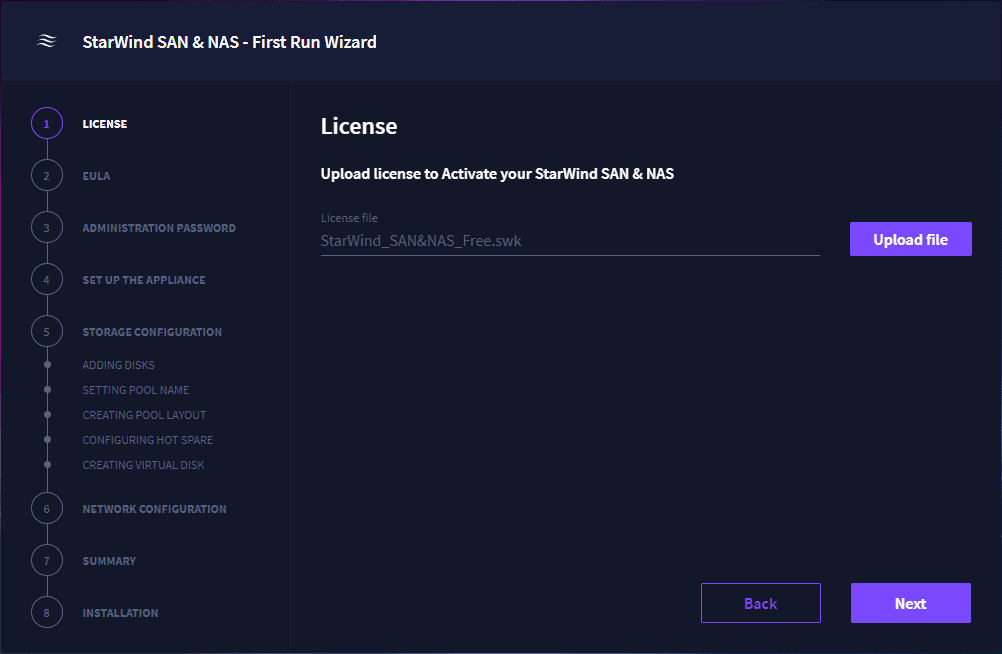
Upload your StarWind Free SAN & NAS license file for you to create Hyper-V Cluster iSCSI storage.
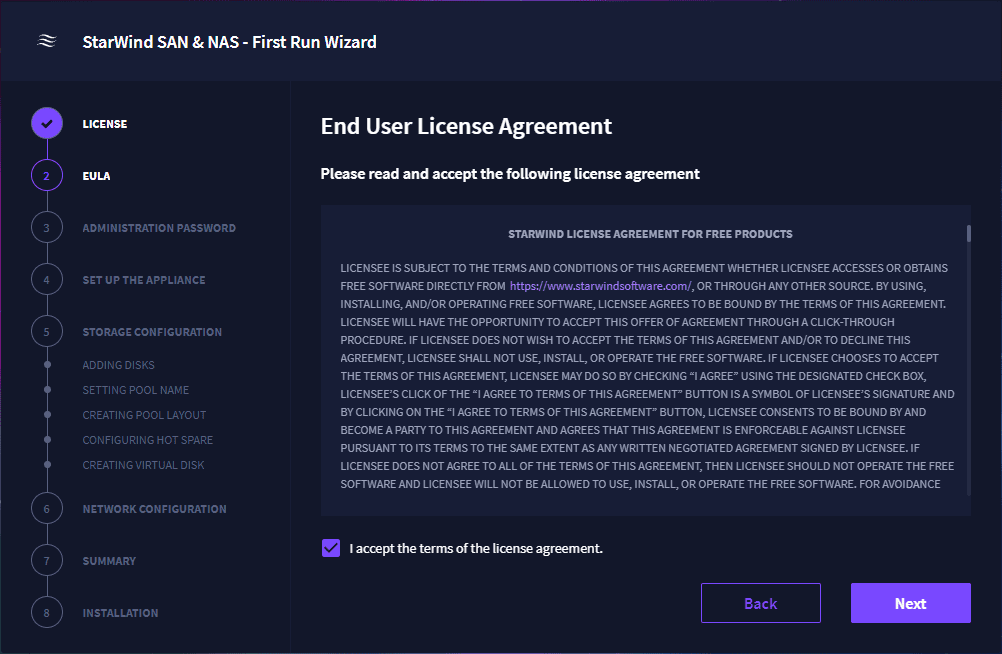
Accept the EULA.
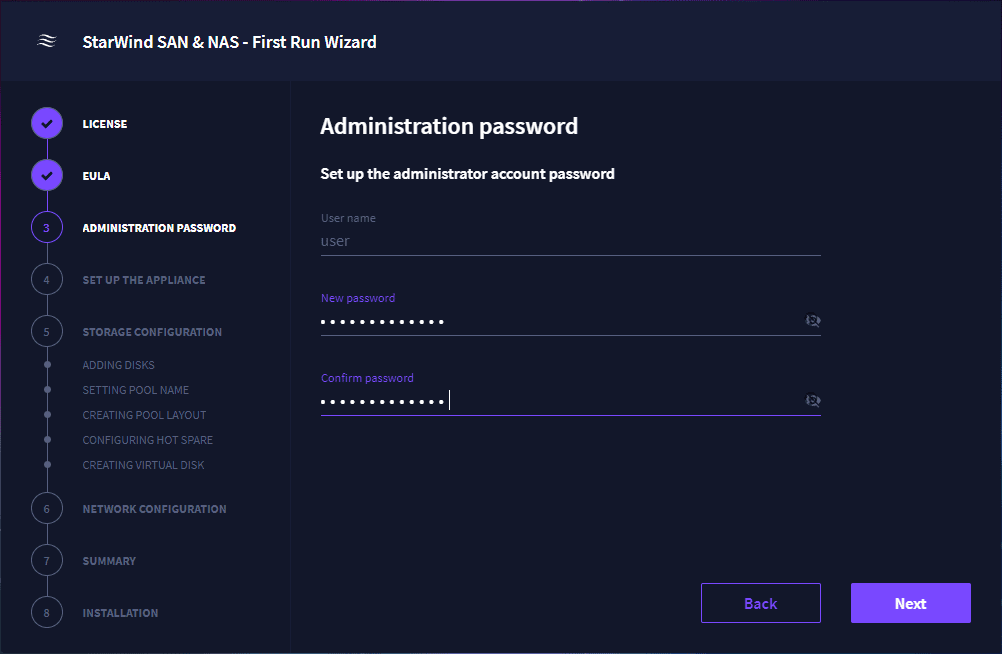
Set the password for the administrator account. A point to note. The administrator account is user and not something like admin.
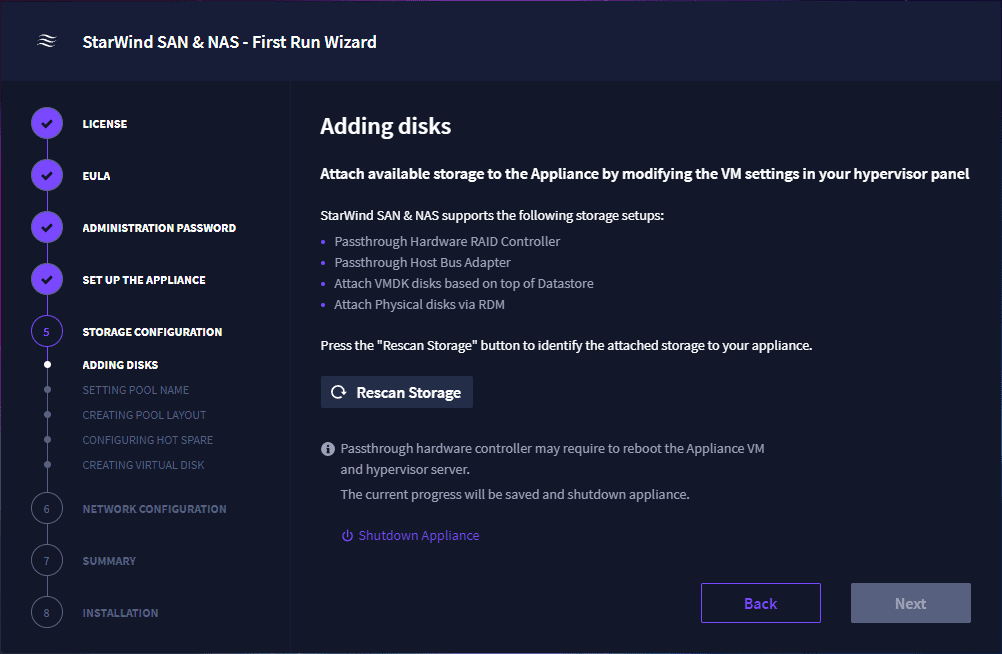
To create Hyper-V Cluster iSCSI storage using StarWind, we need to add the disks to the solution. As you can see below, there are no disks that show by default.
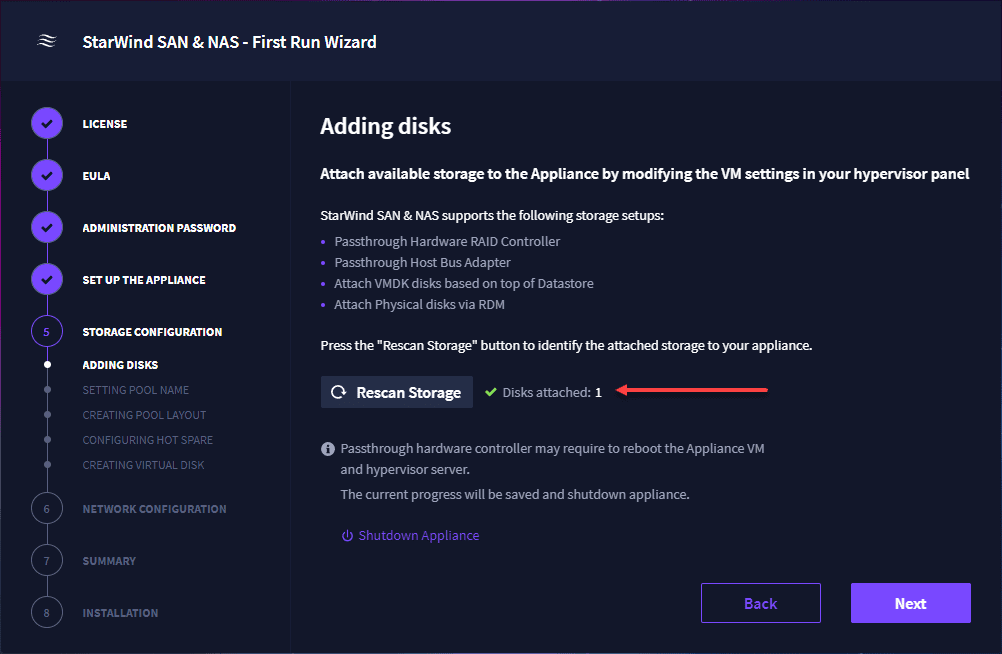
In VMware vSphere, I simply added another VMDK, while the wizard was running. You can then click the Rescan Storage button. This will provide a disk to use for Hyper-V Cluster iSCSI storage.
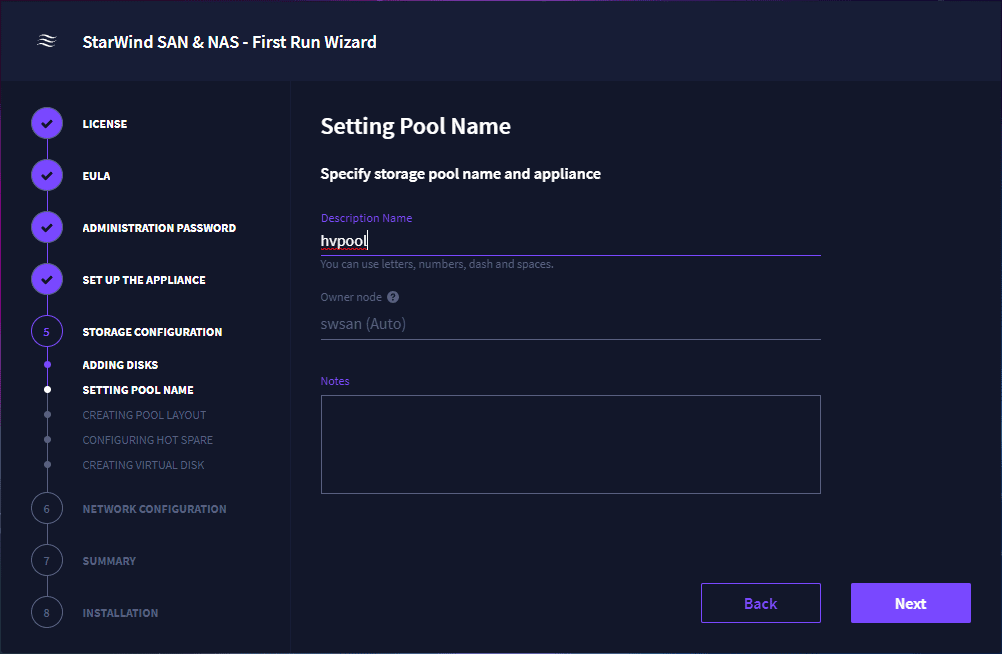
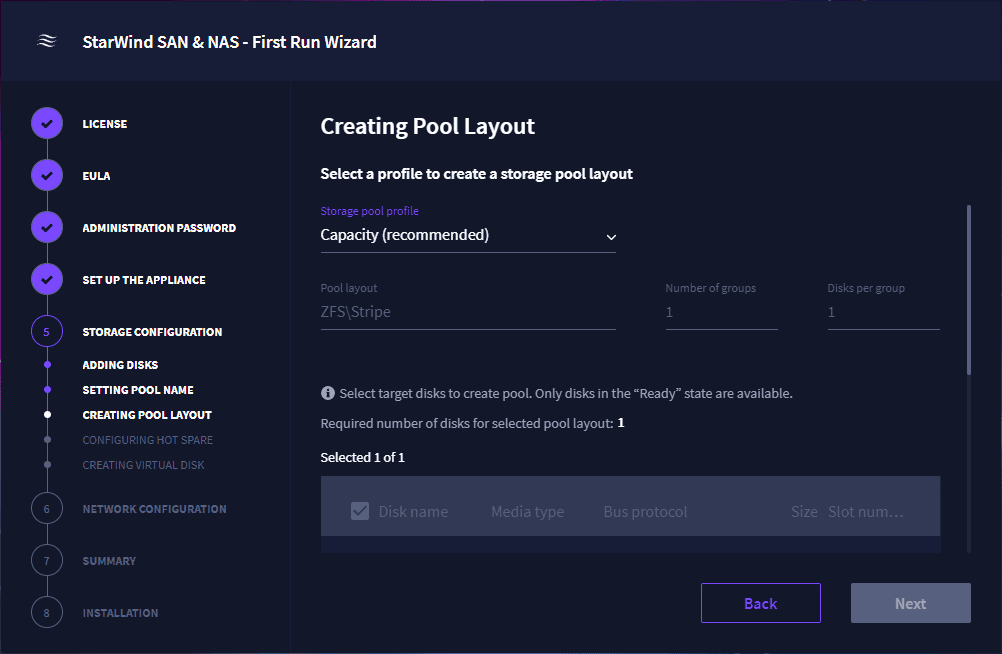
Next, for your Hyper-V Cluster iSCSI storage, create a storage pool.
Configure a layout for the pool.
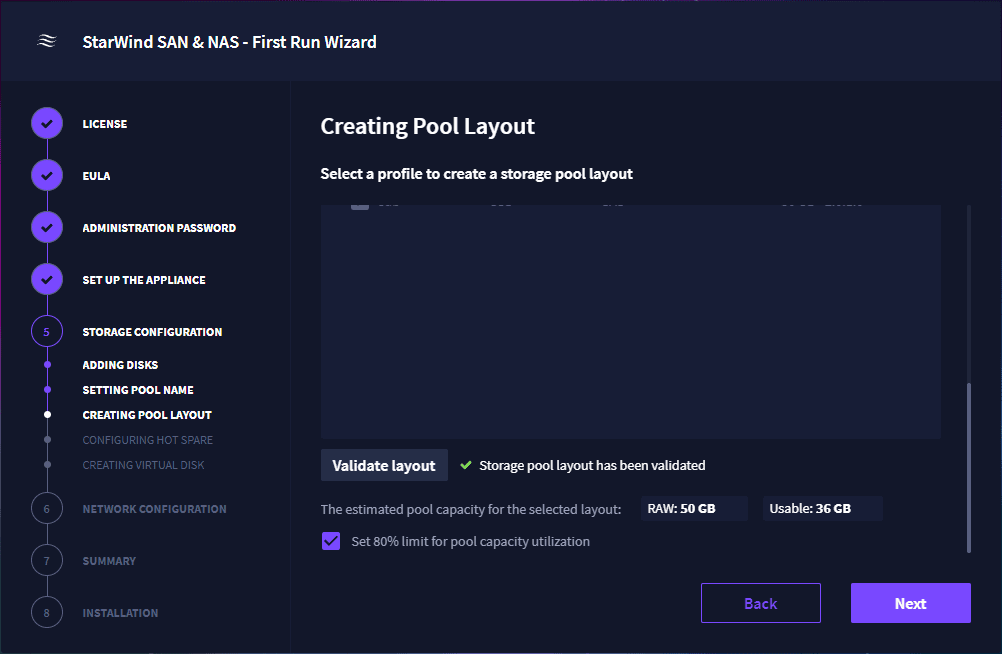
You will need to scroll down on the layout page to click the Validate layout button. Until you do this, you will not be able to click Next.
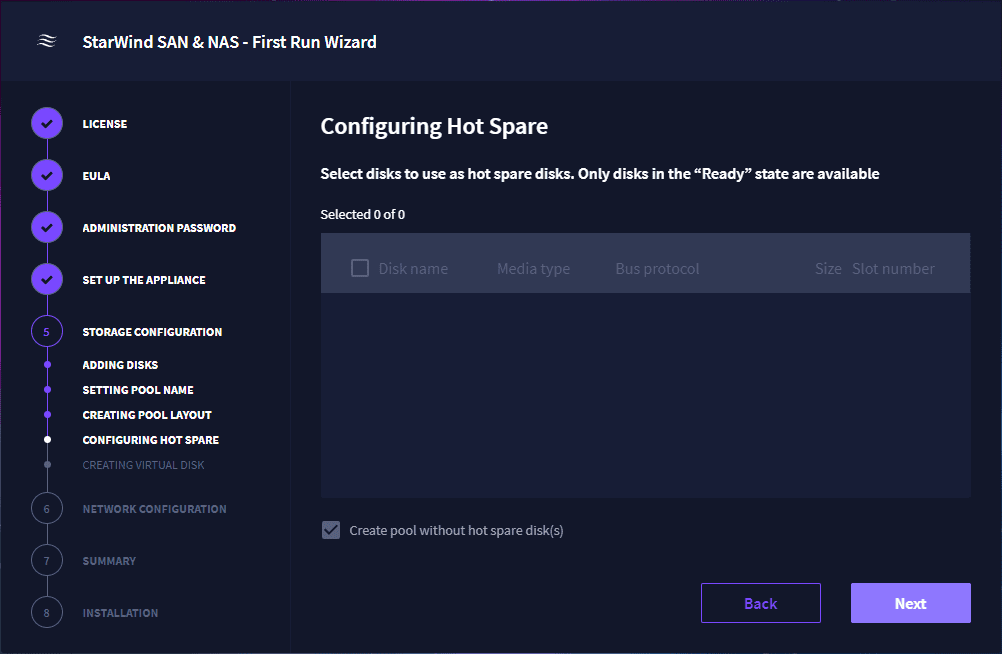
You can also configure a hot spare if you want.
Set the name and size for the virtual disk used for Hyper-V Cluster iSCSI storage.

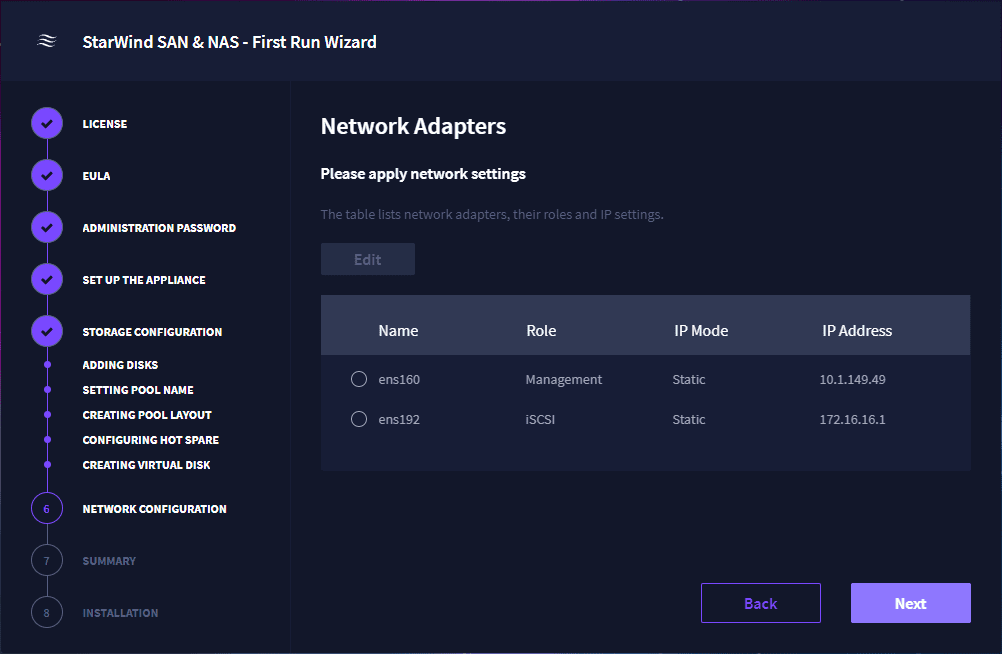
On the network adapters page, if you have configured everything correctly during the deployment of the OVF appliance, you probably won’t need to make changes here. However, you can if you need to.
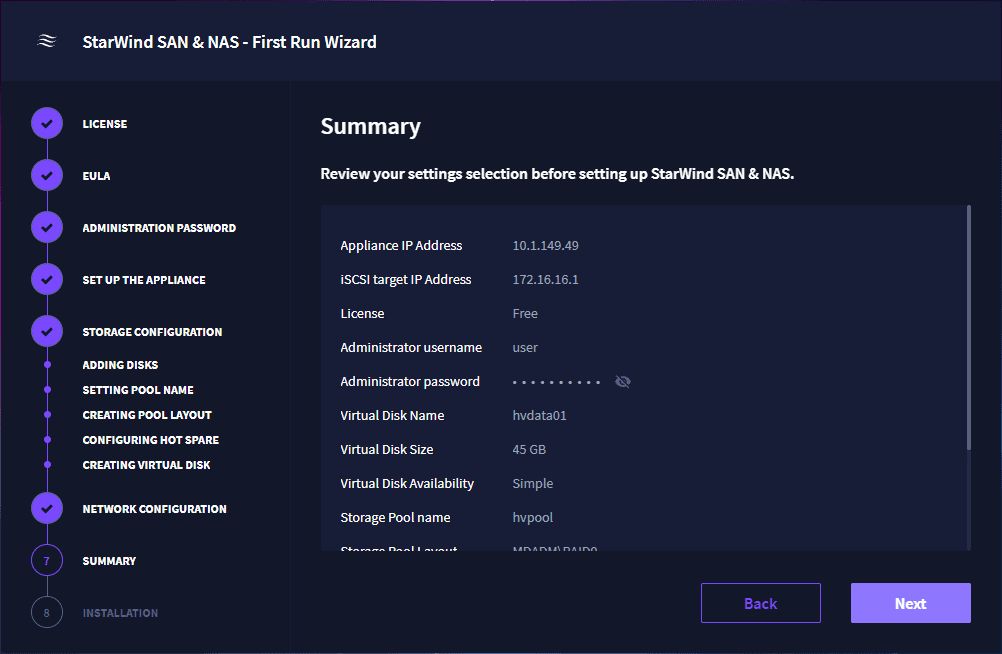
On the summary screen, make sure everything is configured correctly.
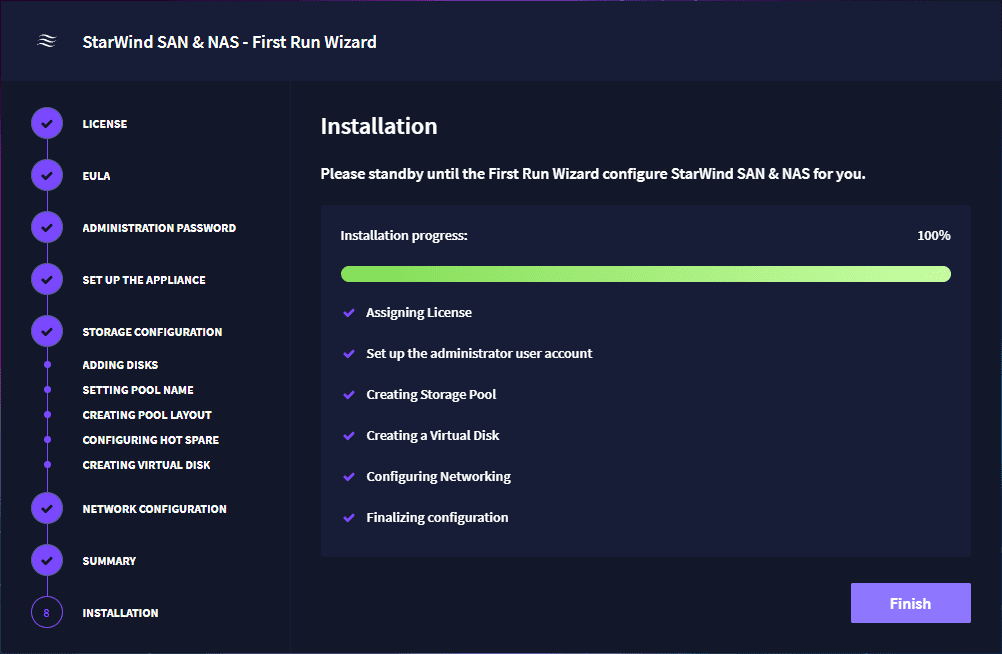
The appliance installation will run and complete.
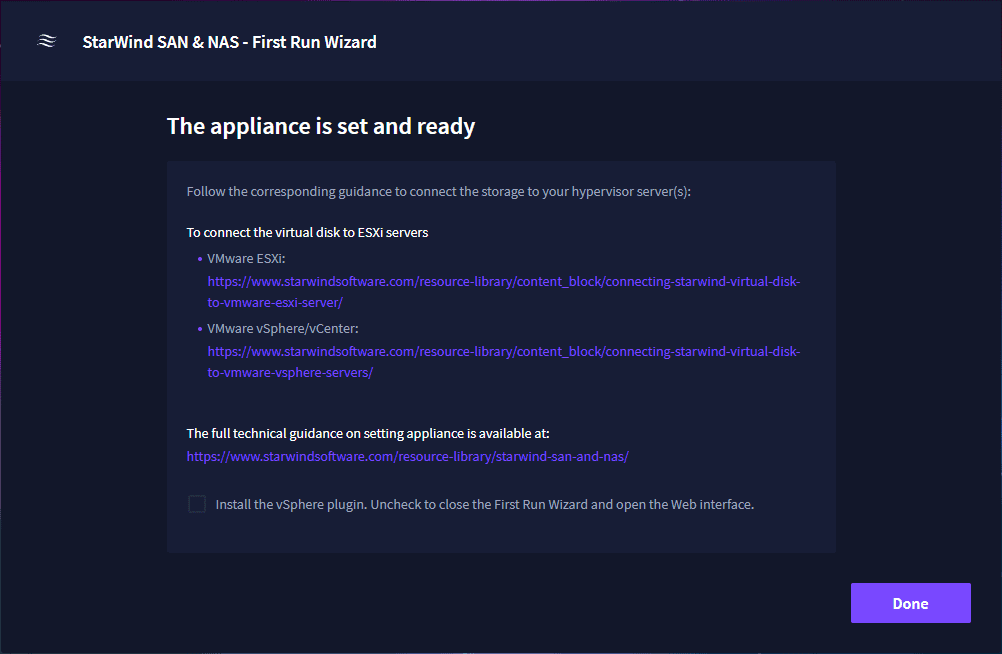
The appliance configuration is set and ready to use for Hyper-V Cluster iSCSI storage.
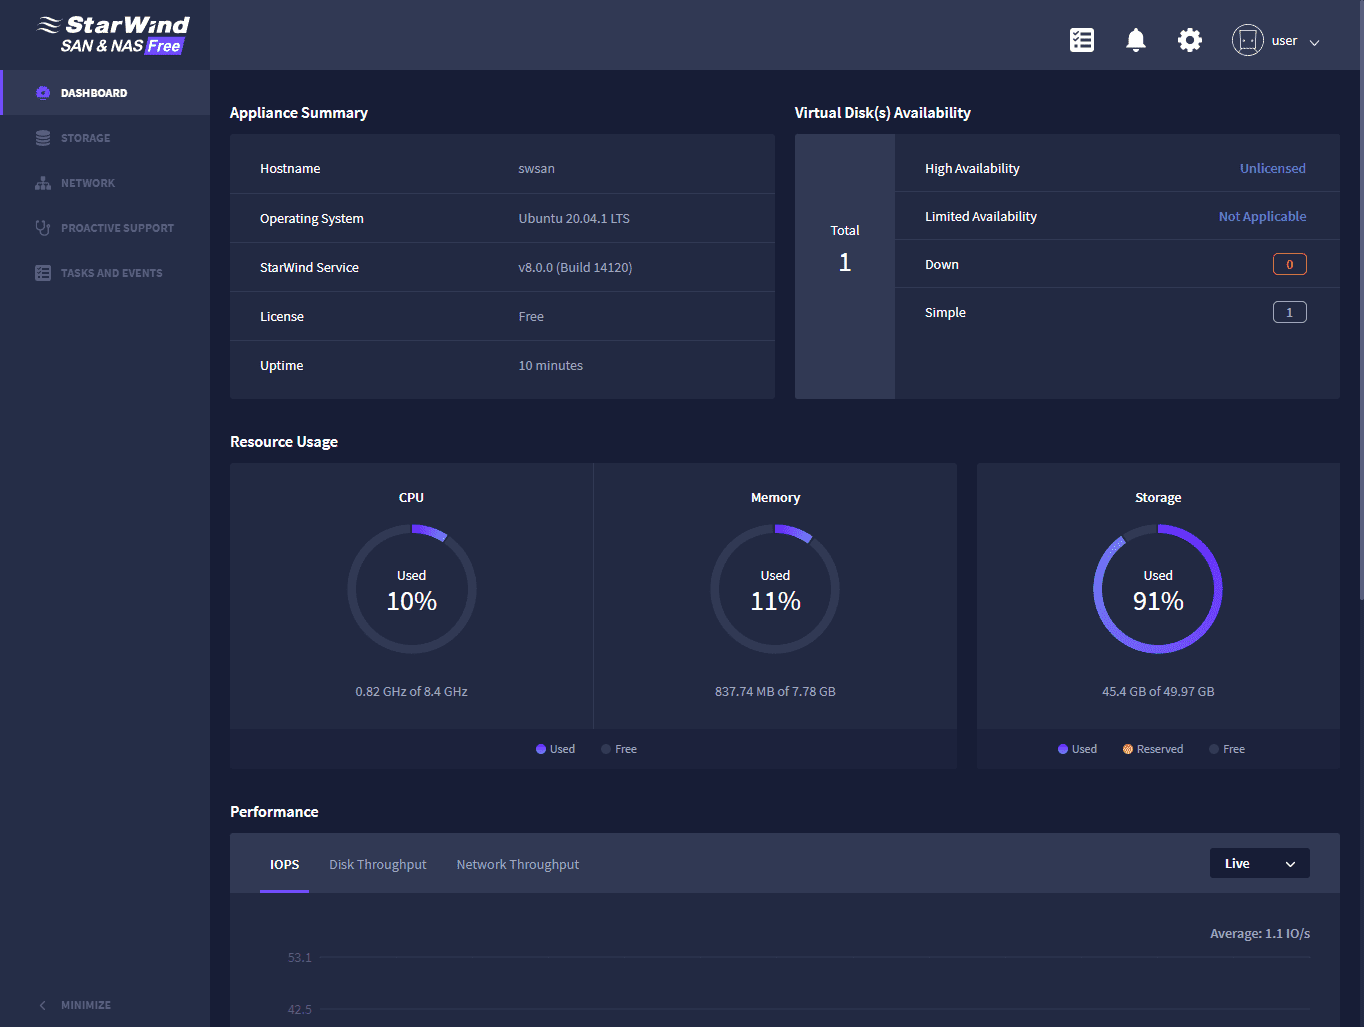
Browsing out to the appliance and logging in, you will see the dashboard of the StarWind Free SAN & NAS.
Configuring Hyper-V Cluster iSCSI Storage
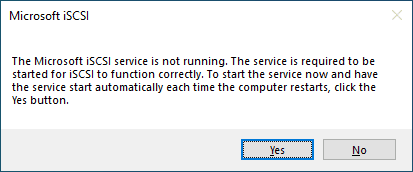
Now that we have the iSCSI storage configured using the StarWind Free SAN & NAS, we can add the iSCSI storage to our Hyper-V hosts for Hyper-V Cluster iSCSI storage. You can configure iSCSI settings in Windows Server by typing iscsicpl.exe in a run or command line. Select Yes to start the service and set it to Automatic.
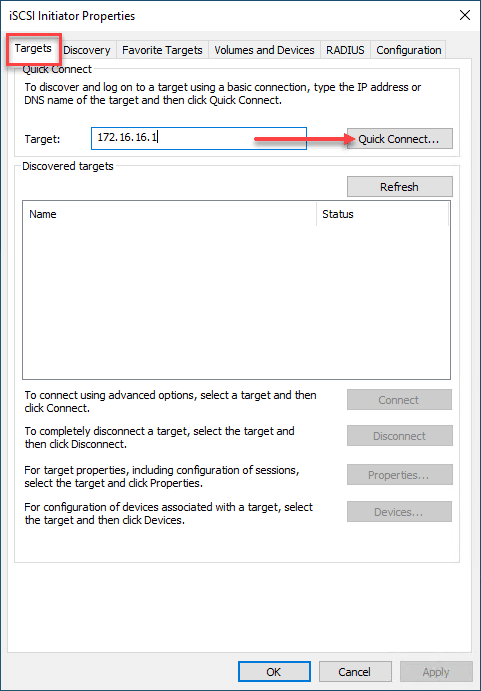
Click the Targets tab. Enter the IP address of your StarWind Free NAS & SAN Data interface and click the QuickConnect button.
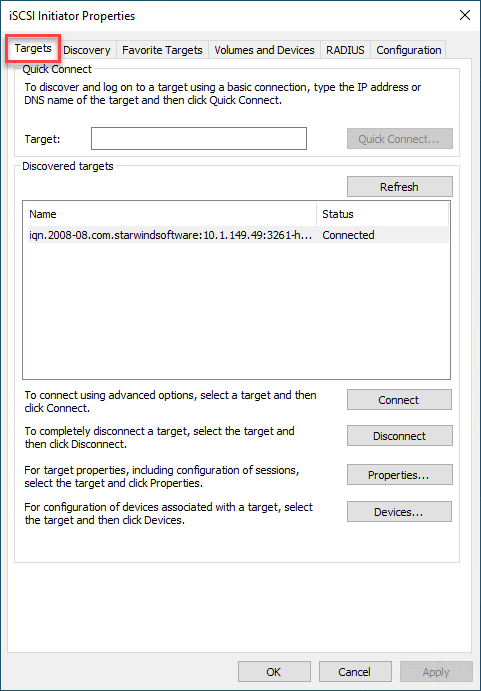
When you click the quickconnect button to create Hyper-V Cluster iSCSI storage, you should see the storage discovered in the discovered targets box.
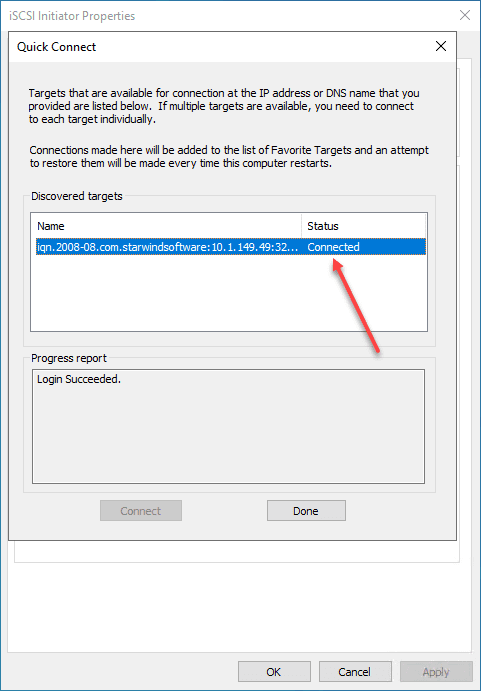
The Hyper-V Cluster iSCSI storage shows connected.
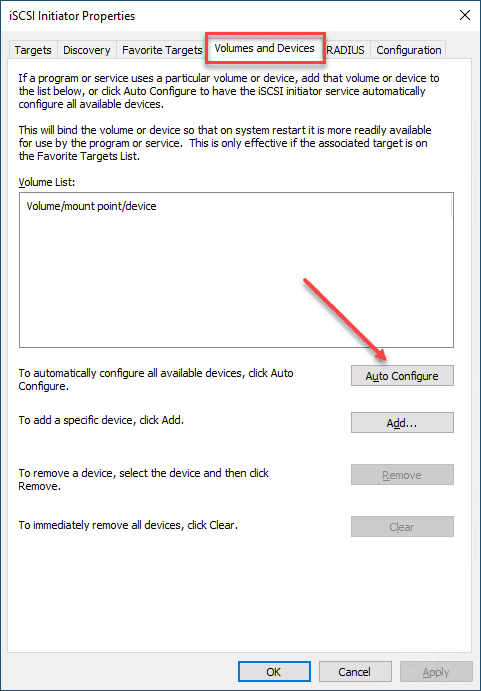
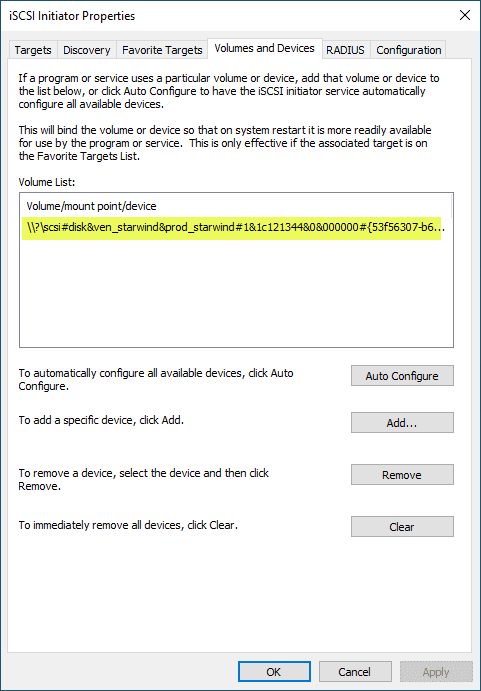
Under Volumes and Devices, click the Auto Configure button.
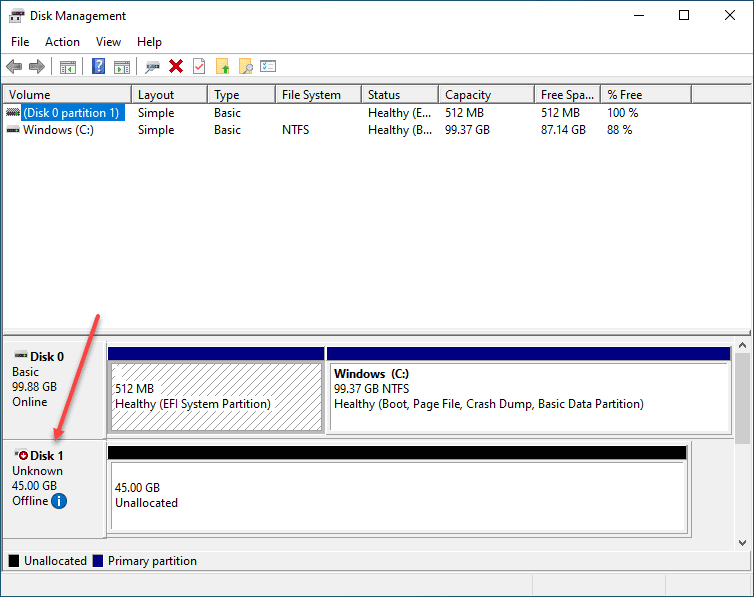
Now, open Disk Management using diskmgmt.msc. You should see the new StarWind Free SAN & NAS storage shown, but not initialized as of yet.
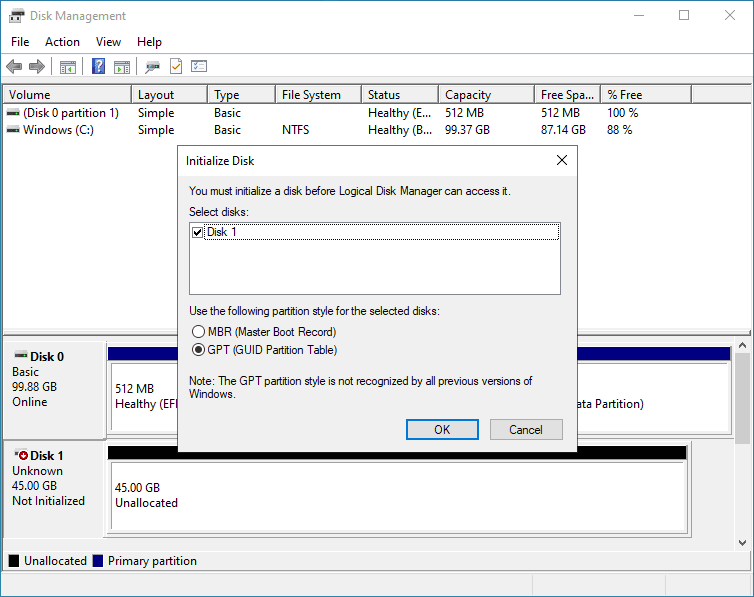
Right-click and choose to Initialize disk. It will bring up the Initialize Disk dialog box. Choose GPT and click OK.
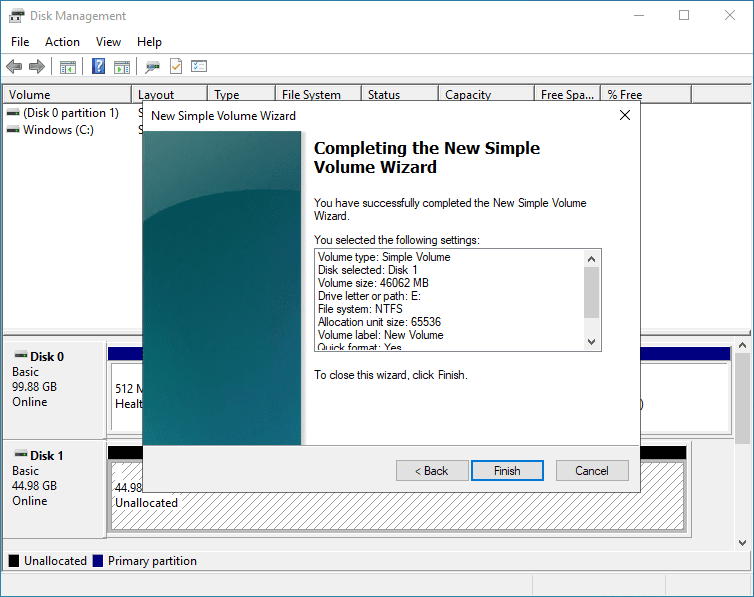
Next, you can right-click and format the volume. Here I have quickly gone through the wizard to create a new simple volume. Click Finish.
Once you go through this process on one of your Hyper-V hosts, it will already be initialized and formatted on the subsequent Hyper-V hosts. Don’t bring the storage online on the remaining Hyper-V hosts. You can now use the storage for Hyper-V Cluster iSCSI storage shared between your Hyper-V hosts.
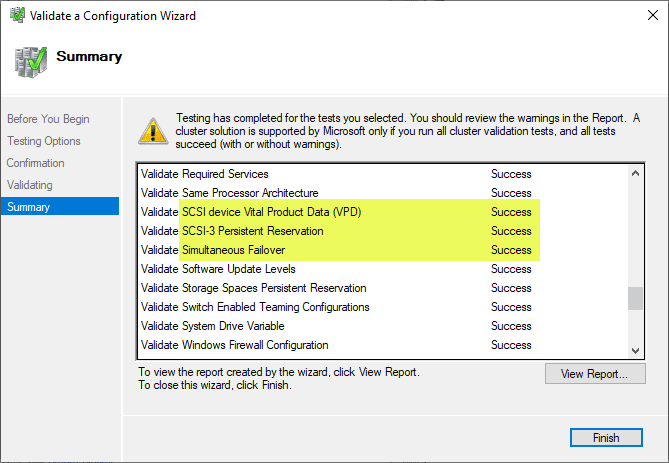
Below, I ran the Failover Cluster tests on the two Hyper-V hosts I have ready to create a Hyper-V cluster. The iSCSI storage presented by StarWind Free SAN & NAS passes all the iSCSI tests for the Failover Cluster, including the all-important SCSI-3 persistent reservation test.
Hyper-V Cluster iSCSI storage FAQs
- What is Hyper-V Cluster shared storage? – Shared Hyper-V cluster iscsi storage is a way to have traditional storage (non-software-defined) mounted to multiple hosts. It allows seamlessly failing over virtual machines running on one Hyper-V host to another healthy Hyper-V host.
- What is StarWind Free NAS & SAN? It is a freely available Linux appliance that allows easily provisioning iSCSI storage for the purpose of sharing between two or more hosts. It can be run in a virtualized environment.
- How do you create Hyper-V Cluster iSCSI storage? You can create Hyper-V cluster iSCSI storage by ensuring the shared storage is available from all Hyper-V hosts. When the Hyper-V cluster is created, virtual machines will need to be created on this shared storage. In this way, the virtual machines can be made highly available.
Wrapping Up
The StarWind Free SAN & NAS makes a great appliance for iSCSI targets, both with VMware ESXi and Hyper-V. As shown, you can easily use the StarWind Free SAN & NAS appliance to create Hyper-V Cluster iSCSI storage.


0 Comments