


If you are self-hosting services in your home lab or using Linux servers in production, providing redundancy for your self-hosted services is important. If you have a host go down or a hardware failure, you can provide high availability and load balancing for your network services (aka IP addresses) using a service called Keepalived.
What is Keepalived?
Keepalived works by utilizing the VRRP (Virtual Router Redundancy Protocol) to provide high availability and failover capabilities for IP-based services. It is fairly easy to configure and allows you to provide a highly available IP address that sits “in front of” your services.
If the current “owner” of that IP address goes down, the secondary server will assume the IP address and it will continue to be reachable.
As a note, Keepalived does not by itself make your application redundant. You have to ensure you are taking care of data replication and other details for your application to ensure your servers in your Keepalived configuration can serve out the application.
More Keepalived and VRRP information
The VRRP protocol ensures that a virtual IP is available across multiple servers. In typical scenarios, one server is designated as the master, holding the virtual IP, while others remain in a backup state. This master server manages the traffic and serves client requests.
Should it face any issues, one of the backup servers steps in, taking over the virtual IP and ensuring continuous service.
Load Balancing
Load balancing, in essence, ensures the efficient distribution of incoming network traffic across multiple servers. Keepalived, with its IP failover capabilities, works seamlessly with load balancers. The goal? To ensure that if one server goes down, the load balancer quickly reroutes traffic to another active server.
By ensuring that a virtual IP is always active, even if the primary server fails, Keepalived augments the capabilities of traditional load balancers. Whether you’re using a dedicated load balancer or a software-based solution, integrating with Keepalived can significantly bolster your network’s resilience.
Installing Keepalived on Ubuntu
Let’s look at the steps needed to install Keepalived in Ubuntu and the configuration required.
1. Update the System
Before you start installing any package, updating the system and system packages is always recommended. This ensures you’re getting the latest version and dependencies:
sudo apt-get update && sudo apt-get upgrade -y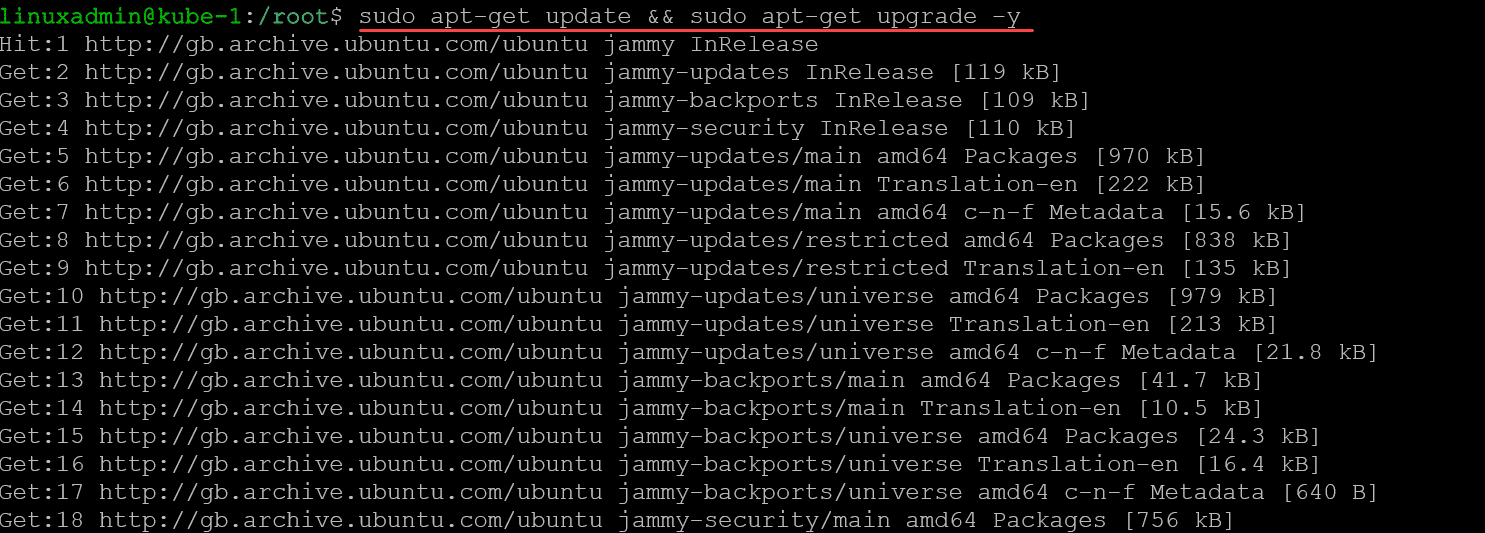
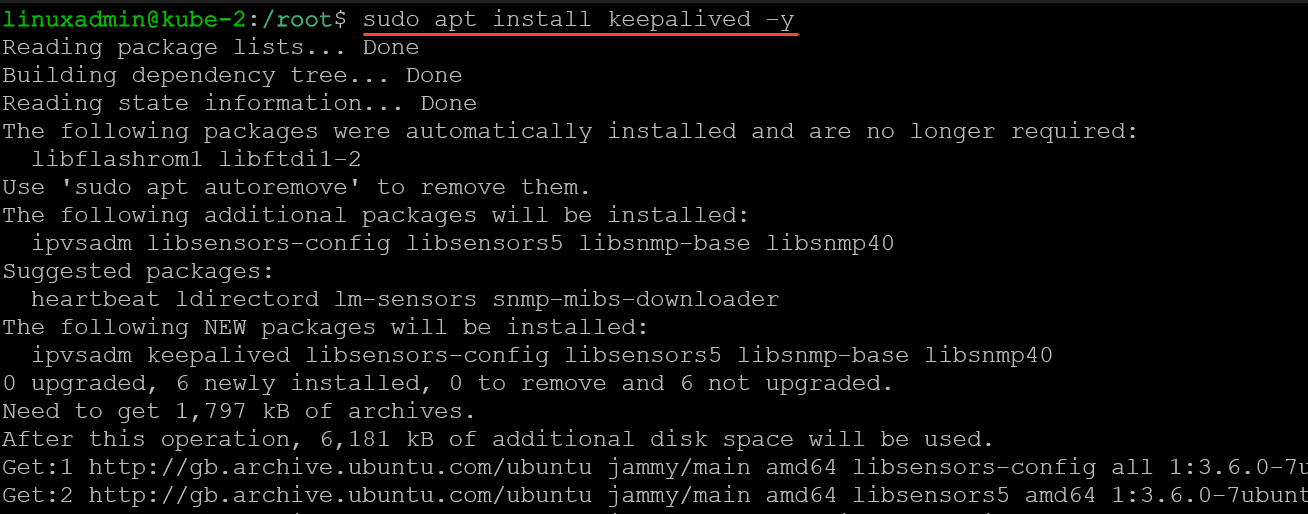
2. Install Keepalived
After updating the system, install Keepalived using the apt package manager:
sudo apt install keepalived -yYou will see the installation of the Keepalived components, including the kernel netlink command channel components.
3. Verify the Installation
Once the installation is complete, you can check the Keepalived version to ensure it was installed correctly:
keepalived --version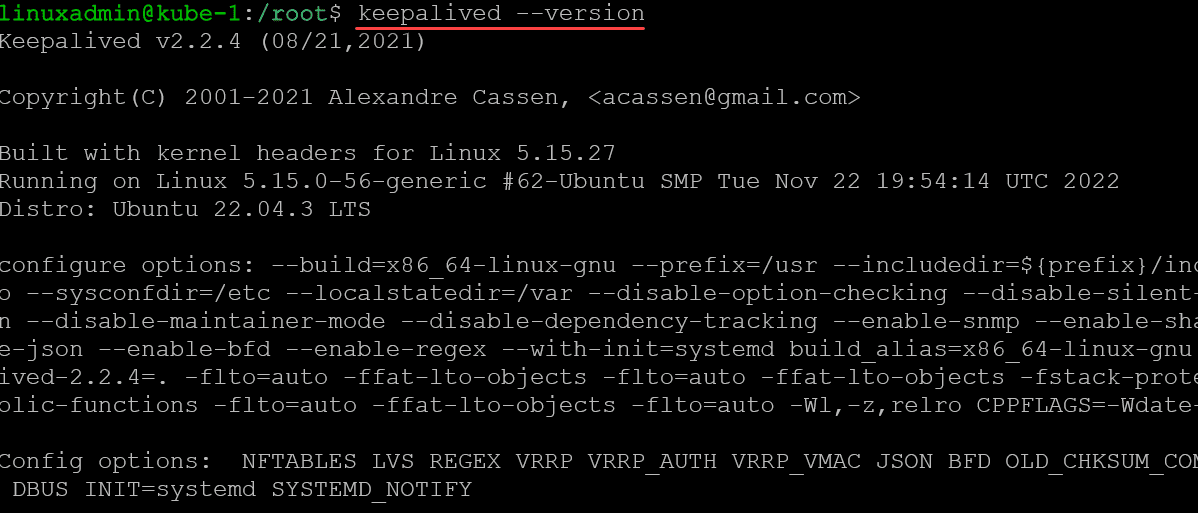
4. Configure Keepalived
Before starting the Keepalived service, you’ll want to set up its configuration based on your needs. The primary keepalived configuration file for Keepalived is /etc/keepalived/keepalived.conf.
You can create or modify this file using a text editor of your choice:
sudo nano /etc/keepalived/keepalived.confAdd your desired configuration settings. As a simple starting point, you could add something like the following for a configured IP failover that sets the virtual IP Address.
Node 1:
vrrp_instance VI_1 {
    state MASTER
    interface ens192
    virtual_router_id 51
    priority 100
    advert_int 1
    authentication {
        auth_type PASS
        auth_pass myauthpass99
    }
    unicast_peer {
    10.1.149.124
    }
    virtual_ipaddress {
        10.1.149.125
    }
}
Next, change your next node’s configuration.
Node 2:
vrrp_instance VI_1 {
    state MASTER
    interface ens192
    virtual_router_id 51
    priority 120
    advert_int 1
    authentication {
        auth_type PASS
        auth_pass myauthpass99
    }
    unicast_peer {
    10.1.149.123
    }
    virtual_ipaddress {
        10.1.149.125
    }
}
In the above configuration, you will want to get your interface name, which you can do with the command:
ip a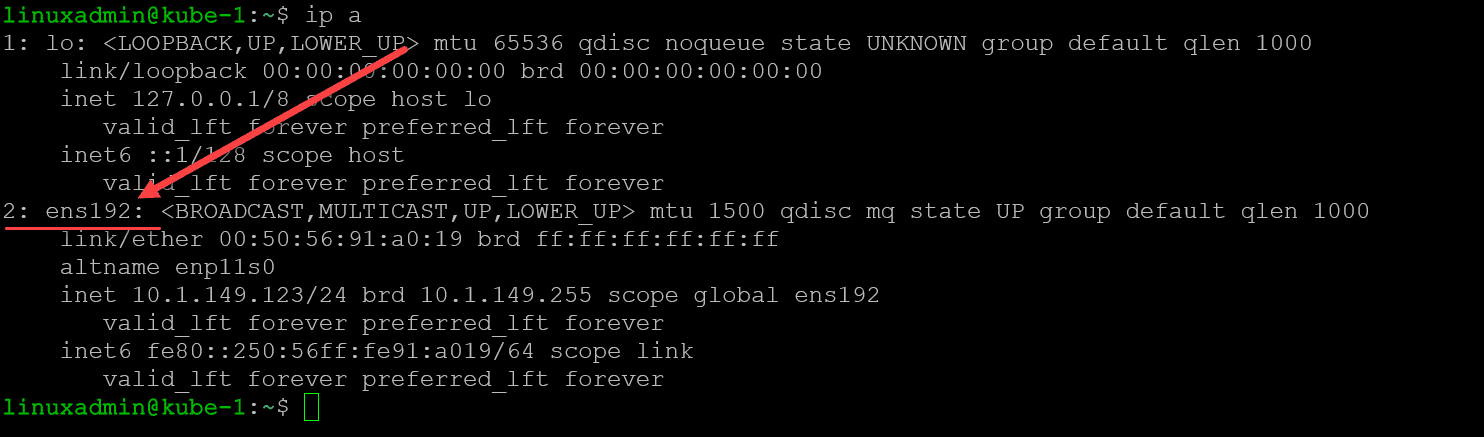
5. Start the Service
After you’ve configured Keepalived, start the service:
sudo systemctl start keepalivedOptionally, to make Keepalived start on boot:
sudo systemctl enable keepalived
6. Monitor the Service
To check the status of the Keepalived service:
sudo systemctl status keepalived
7. Final Steps
You might want to delve deeper into Keepalived’s documentation or community forums for advanced setups. The configuration can be customized to support various scenarios, including multiple virtual IPs, advanced health checks, etc.
You can view their documentation here:
Keepalived User Guide — Keepalived 1.2.15 documentation
Troubleshooting
Keepalived is a robust solution for high availability, but you might encounter issues like all software. Here are some common problems and their solutions to help you navigate Keepalived more efficiently:
1. Keepalived Fails to Start
If Keepalived doesn’t start, check the system logs for any errors:
sudo journalctl -u keepalivedOften, the issue is a misconfiguration in the keepalived.conf file. Ensure that there are no typos or misconfigurations.
2. Virtual IP Not Assigned
If the virtual IP is not being assigned:
Confirm the network interface specified in keepalived.conf is correct.
Ensure the specified virtual IP is not already in use on the network.
Check for VRRP traffic using tools like tcpdump:
sudo tcpdump -i eth0 vrrpReplace eth0 with your network interface name.
3. Transition to Backup State Not Occurring
If your master server goes down and the backup doesn’t take over:
Ensure both the master and backup servers have communication. They need to “see” each other’s VRRP advertisements.
Check the priority settings. A backup server should have a lower priority than the master.
4. Authentication Failures
If using VRRP authentication, ensure:
Both servers have the same authentication type (either PASS or AH).
Authentication passwords match on all servers.
5. Logs Show “Netlink Error” Messages
This could be due to multiple instances of Keepalived running. Ensure only one instance is running. You can check running processes with:
pgrep -fa keepalived6. High CPU Usage by Keepalived
High CPU usage can sometimes be attributed to excessive logging, especially if Keepalived is set to log every VRRP advertisement. Adjust log detail levels in your configuration or system logger settings.
7. Check Scripts Not Executing
If you’ve configured Keepalived to run health check scripts:
Ensure the script has the proper permissions to execute.
Check the script’s path in keepalived.conf for accuracy.
Test the script manually to ensure it runs without errors.
8. VRRP Instance Enters FAULT State
If a VRRP instance continuously goes into a FAULT state:
Examine logs for any related entries.
Verify all track scripts and track interfaces. If any of them fails or goes down, the VRRP instance will transition to FAULT.
Configuring for Optimal Performance
For beginners, a basic configuration might suffice. However, as the network grows, configurations might become more detailed under normal conditions. It’s essential to understand the configuration that can be set in the configuration file at etc/keepalived/keepalived.conf.
Master and Backup States
In the Keepalived configuration, the server’s role, whether master or backup, is designated by the state parameter. The master state signifies the server currently holding the virtual IP. The backup state is self-explanatory; these servers wait in the wings, ready to take over should the master falter.
Priority
Every server configured with Keepalived is assigned a priority value. The server with the higher priority is more likely to be chosen as the master. In scenarios where two servers have the same priority, other factors, such as IP address, determine the master.
Self-hosted services to use with Keepalived
So now that we have a good understanding of Keepalived, how to install it, and what it does, what self-hosted services are a good fit for use with Keepalived? You can definitely think about using Keepalived with the following suggestions:
Pi-Hole, Adguard, Unbound
Homelab dashboards
Webservers
Use Keepalived with HAProxy and Kubernetes
Having Keepalived running in front of your home lab and self-hosted services is a great way to ensure these are always up and available.
Wrapping up
Keepalived is an excellent solution for making sure your IP addresses that host critical services are available, even if a single virtual or physical server goes down. Keepalived isn’t difficult to install and brings quick advantages to your home lab. Combining Keepalived with Pi-Hole, for instance, allows you to have a highly available self-hosted DNS solution that you can use with two Raspberry Pis or VMs running on different hosts. The possibilities are endless.


0 Comments