


With the Windows Server 2025 Preview release available, I know many are trying out Windows Server 2025 across their environments, including home labs running Proxmox VE Server. Let’s take a look at the process to install Windows Server 2025 on Proxmox and see what this process looks like.
Lab setup
Before installing, I wanted to share with you guys the versions of everything that I am using for the Windows Server 2025 install. I have the following configured:
- Proxmox VE Server 8.2.7 patched
- Windows Server 2025 Preview release ISO downloaded
- VirtIO drivers (virtio-win-0.1.262.iso) image
Upload your ISO images to Proxmox storage location
I am using a Proxmox ISO image library shared on an NFS location. You can read how to easily mount Synology Drive in Proxmox with NFS.
You will need (2) ISO images:
- The Microsoft Windows Server 2025 Preview ISO, which you can download from the Microsoft Evaluations Center. Sign up and click download for the ISO.
- The VirtIO drivers for Windows
Once you have uploaded your ISO images to Proxmox, you can begin with the installation of Windows Server 2025.
Create the Windows Server 2025 virtual machine in Proxmox
After we have uploaded the ISO images we need to a storage location in Proxmox that we can retrieve from, we can create the actual virtual machine configuration that will be used for installing Windows Server 2025.
Let’s look at the wizard to do that:
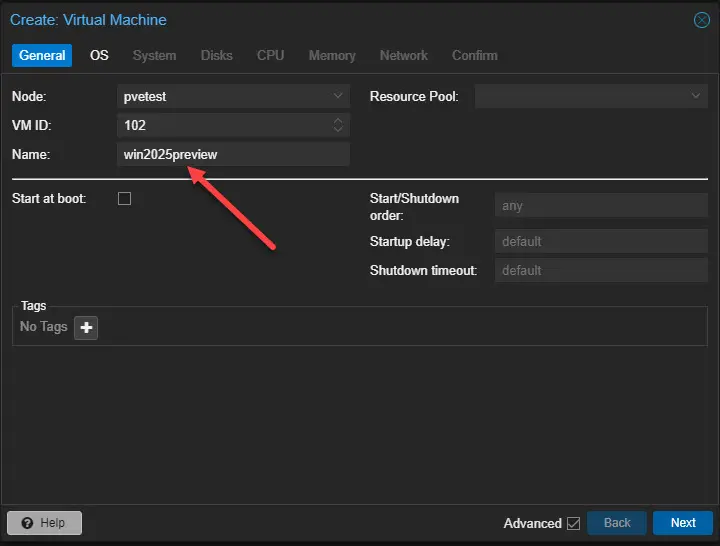
Select from the ISO images you have available. On the select ISO images dropdown, you will see the VirtIO drivers ISO as well but just select the Windows Server 2025 ISO.
We can leave the defaults on the system tab. The important bit here is adding the TPM storage so we can encrypt the disk with Windows Server 2025.
On the disks tab, you can configure the disk size, which probably needs to be around 90 GB at least.

Next, on the CPU tab, configure the CPU sockets and cores configuration.
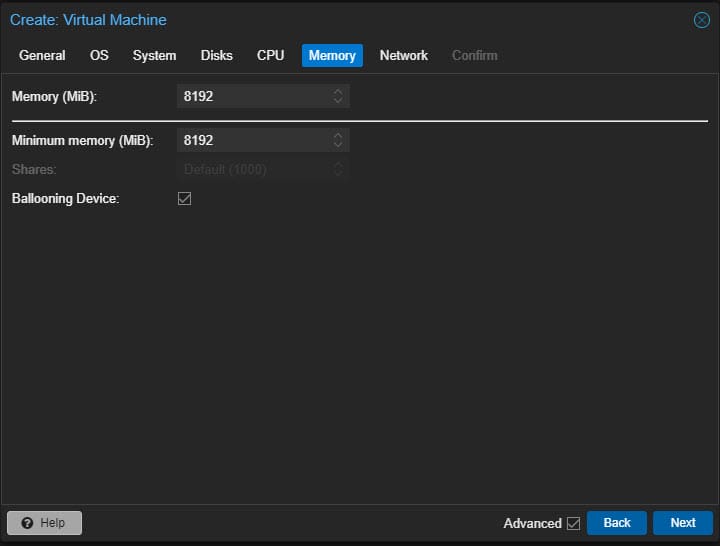
On the memory tab, configure the memory settings for the new Windows Server 2025 virtual machine in Proxmox.
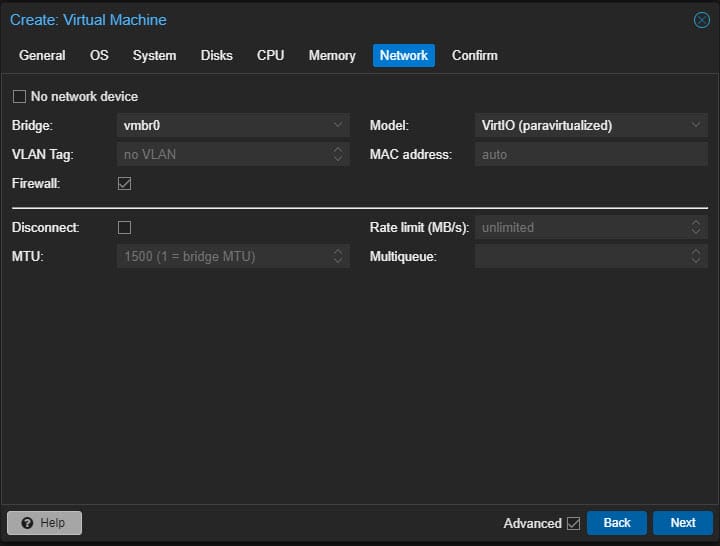
Connect the VM to the specified network on the network tab.
Confirm and finish the creation of the new Windows Server 2025 VM running in Proxmox.
Mount the ISO images in Proxmox
You will want to mount the ISO images in Proxmox to (2) different CD-ROM drives. We will need both the Windows Server 2025 ISO mounted and also the VirtIO disc ISO mounted in the Proxmox virtual machine.
You can mount the ISOs by navigating in the Proxmox web UI select virtual machine > hardware > add.
Install Windows Server 2025 on Proxmox
Now we can power on the virtual machine, click the VM click console, launch the console, and begin the installation of Windows Server 2025. First, we will be prompted to choose the keyboard settings.

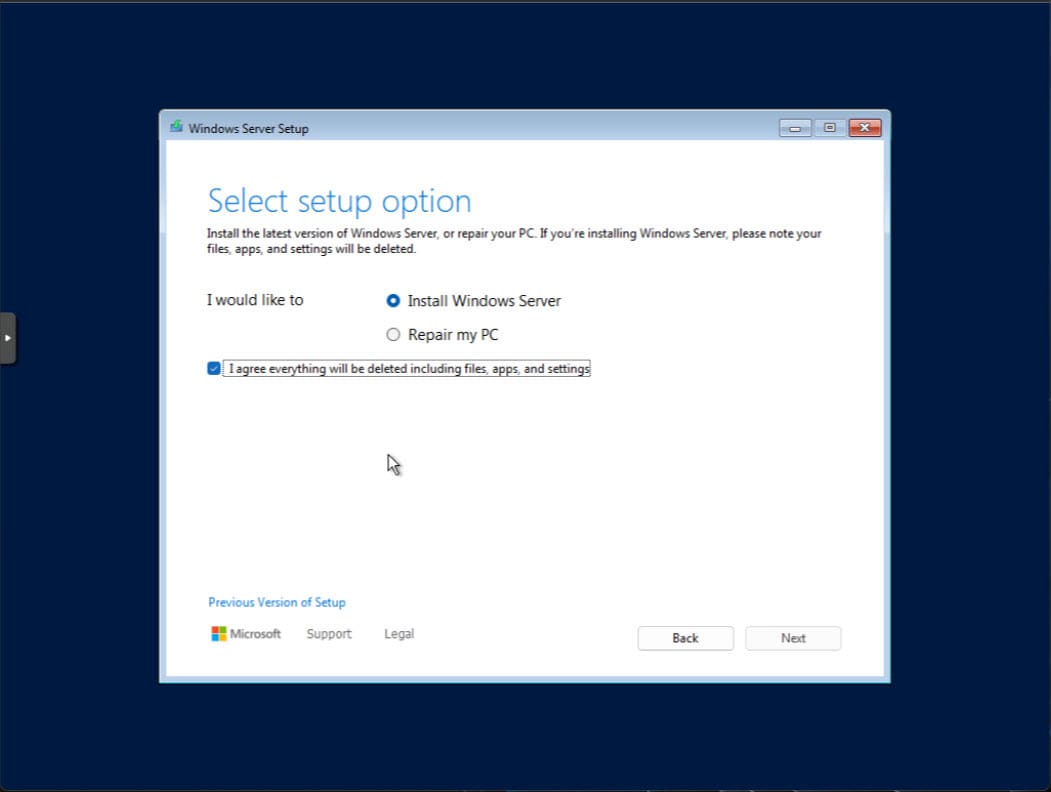
Next, we will select setup option for installing Windows Server. Here we will have the choice to:
- Install Windows Server
- Repair my PC
Since we are doing a fresh installation, we will need to check the box that I agree everything will be deleted including files, apps, and settings. Then, click Next.
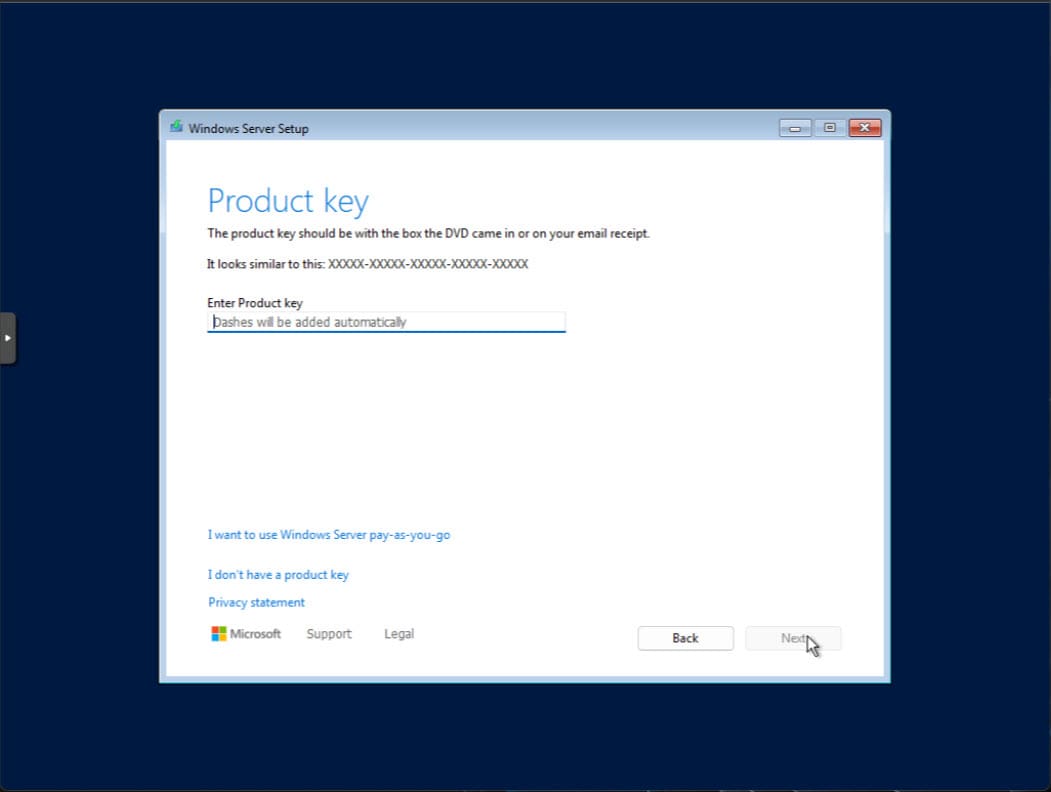
Enter a product key if you have one. However, if you are using the Evaluation copy or you just want to trial out the installation, you can skip this step and move on. Just select I don’t have a product key.
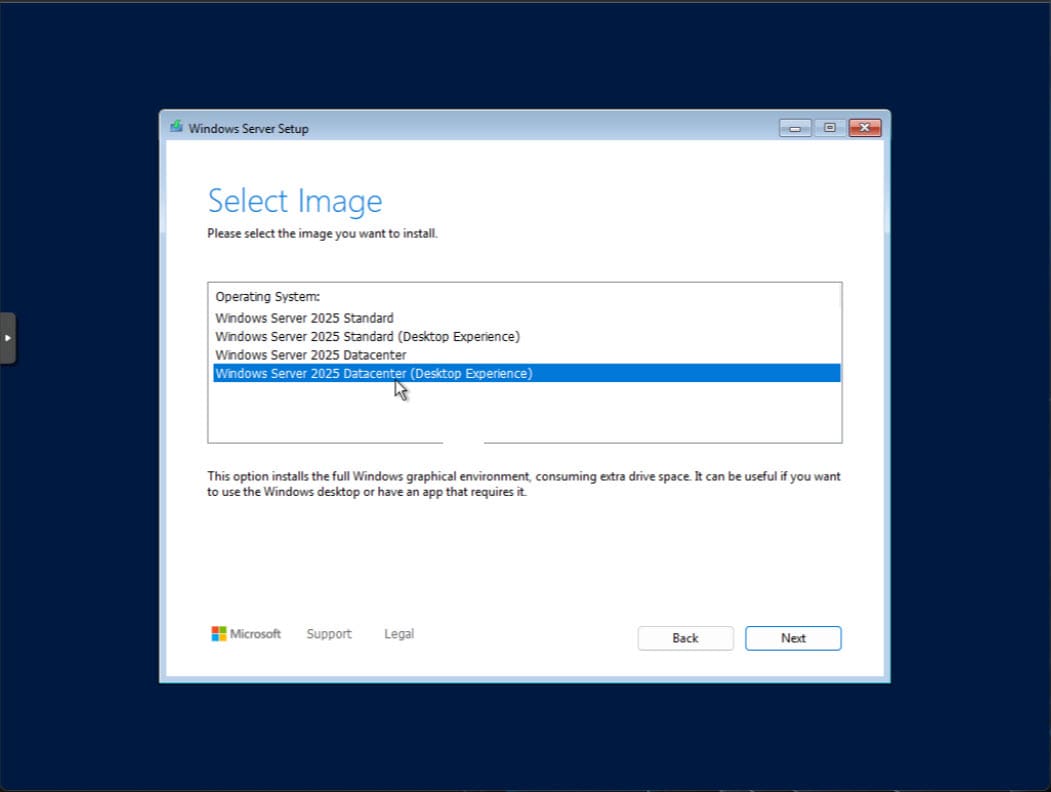
Select the image you want to install. Here we are selecting Windows Server 2025 Datacenter (Desktop Experience) which will install the GUI.
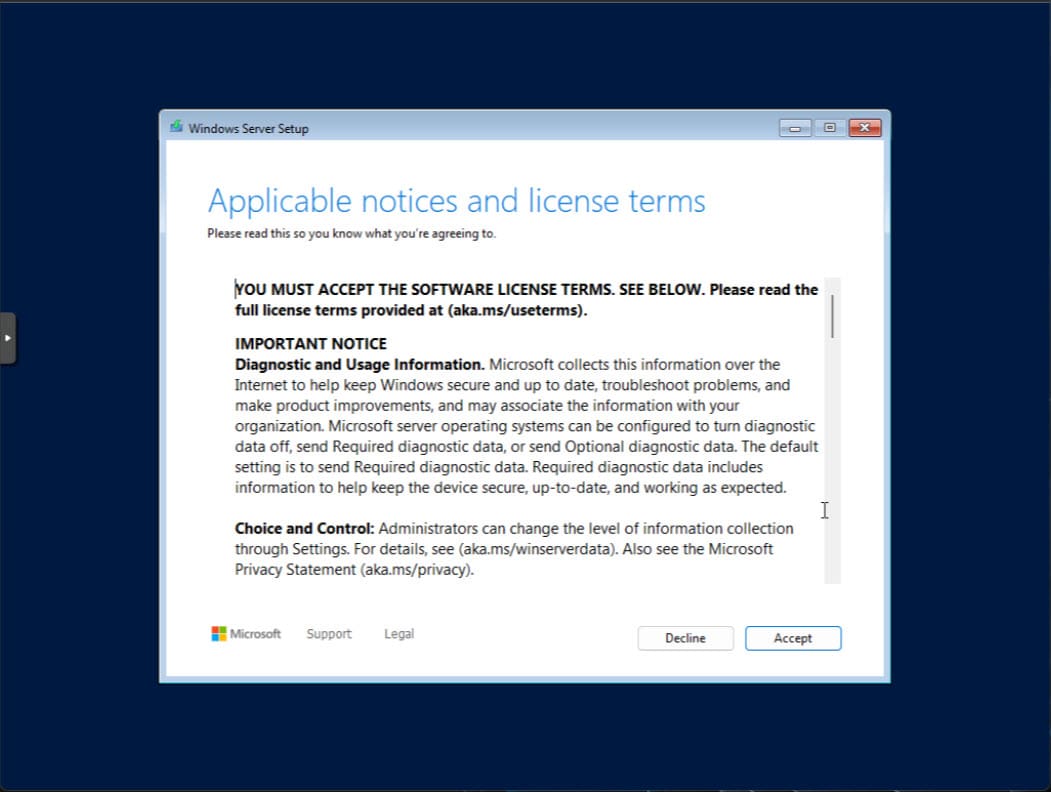
Accept the EULA agreement.
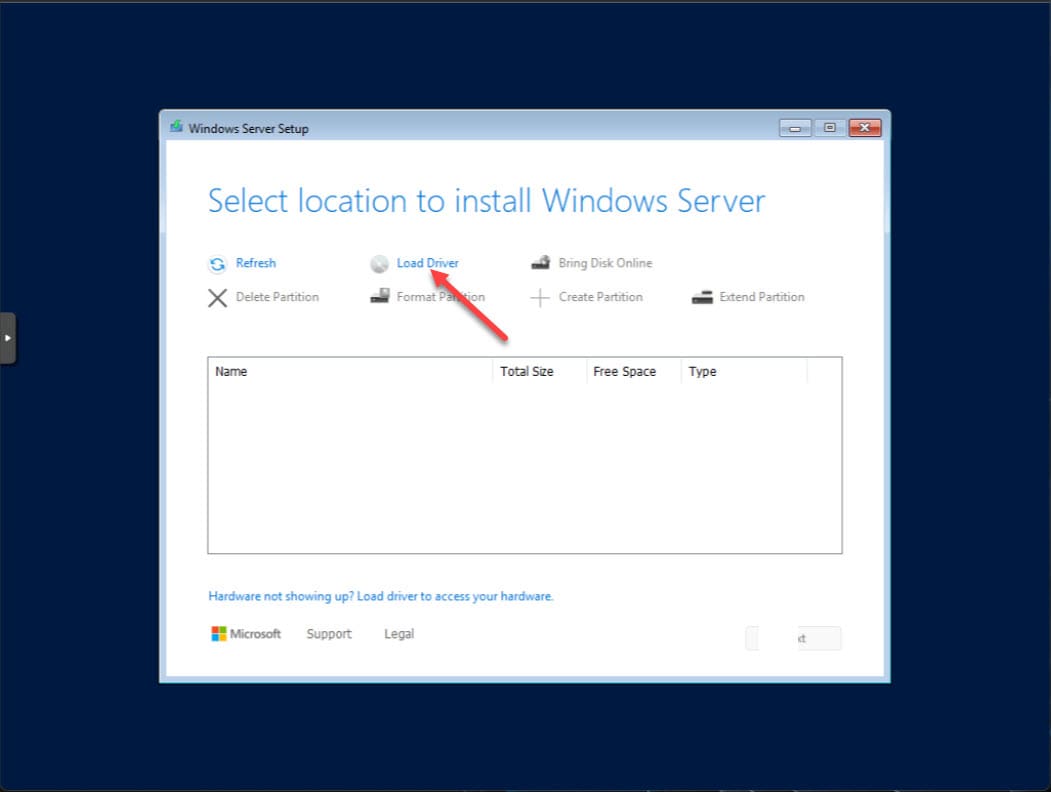
Install the VirtIO storage driver during installation
We will need to select the VirtIO storage driver during the install of Windows Server 2025. Click the Load Driver button.
Click Browse to find the VirtIO driver ISO.
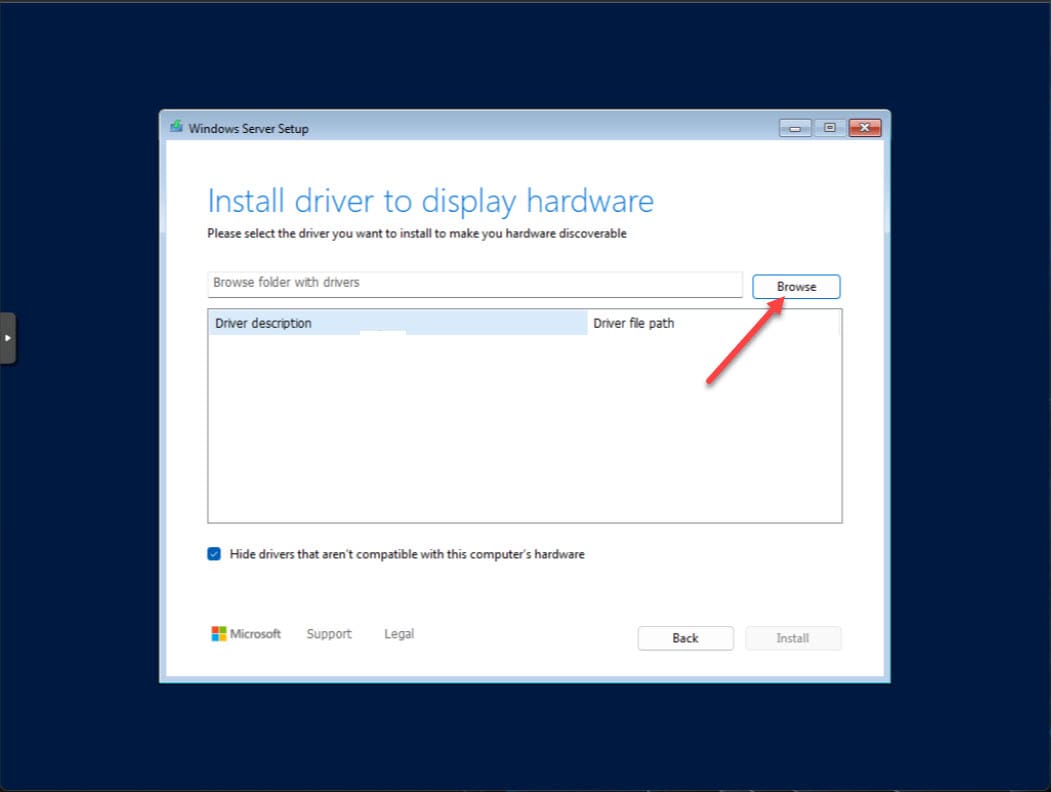
Browse to the mounted VirtIO ISO.
Scroll down to 2k25 folder and select the CPU architecture driver to load for your Windows VM.
Now we will see the virtual hard disk listed.
Select the disk.
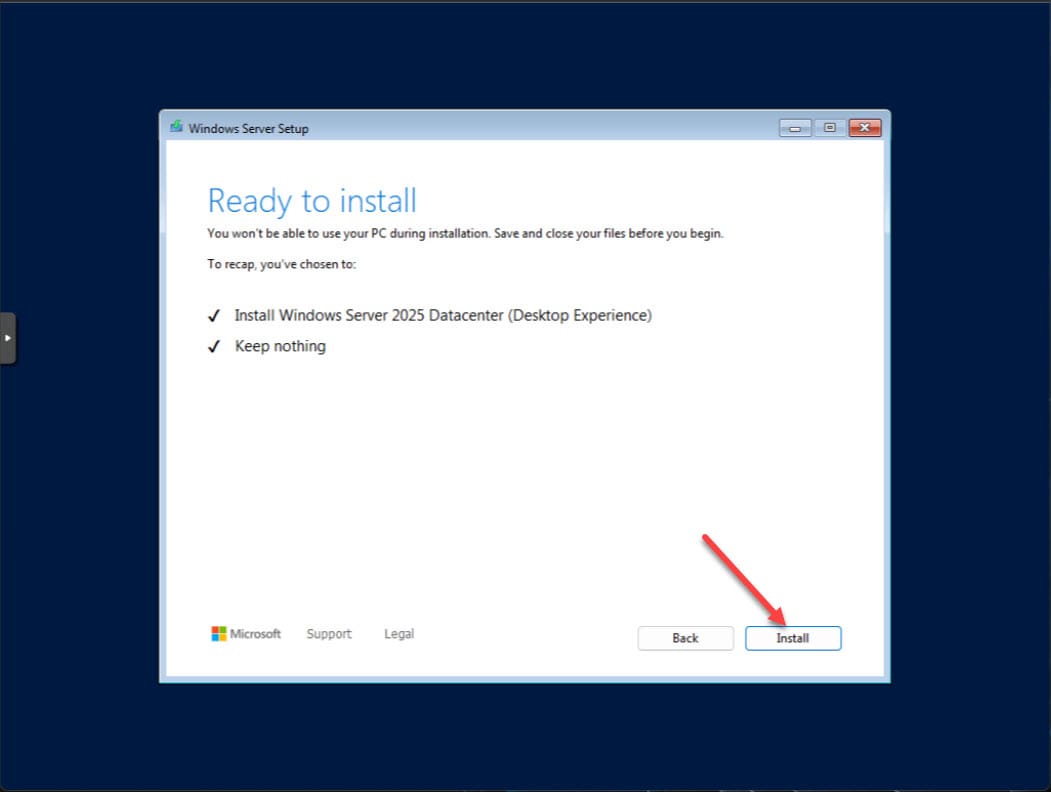
Now, we are ready to install. Click the Install button to start the installation process.
The installation will begin. That is the end of user input during this phase of the install. Sit back and wait for Windows Server 2025 to install.
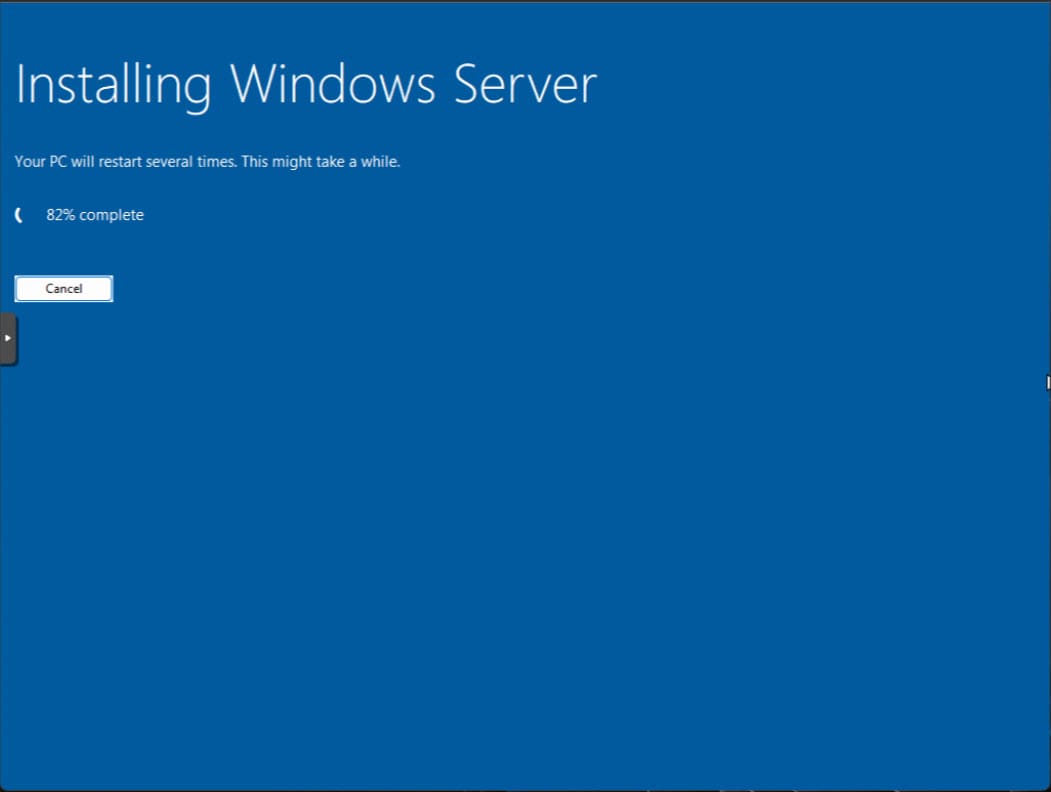
You will see at least 1 reboot.
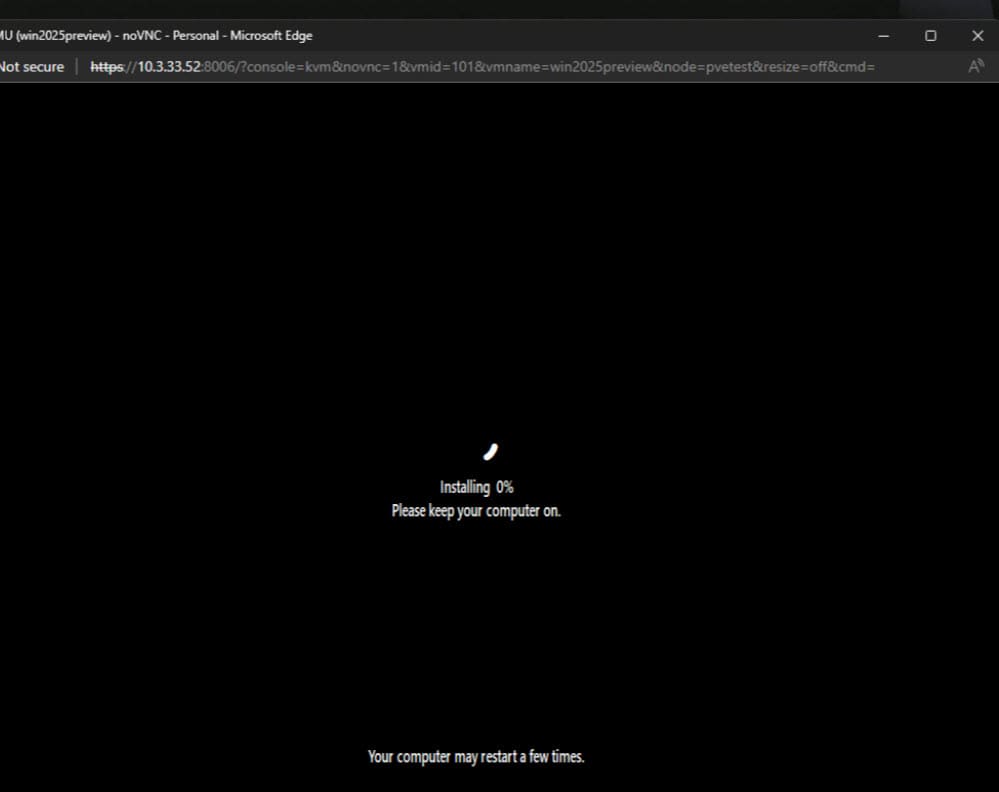
The next phase of the installation begins.
Once the installation completes, you will be prompted to create the administrator account and will be automatically logged in.
Installing the VirtIO guest tools in Windows Server 2025
Once Windows Server 2025 is installed and you create your admin account and login, we need to install the VirtIO guest tools in Windows Server 2025. This will take care of our network connection and make sure all the Windows Server drivers are installed and ready to go.
Browse to the VirtIO ISO that is mounted in Windows Explorer. We don’t have to do anything extra here since we mounted the ISOs when we created the virtual machine and left them mounted through the install.
Launch the virtio-win-guest-tools package and follow the installation instructions of the wizard of the VirtIO driver disc.
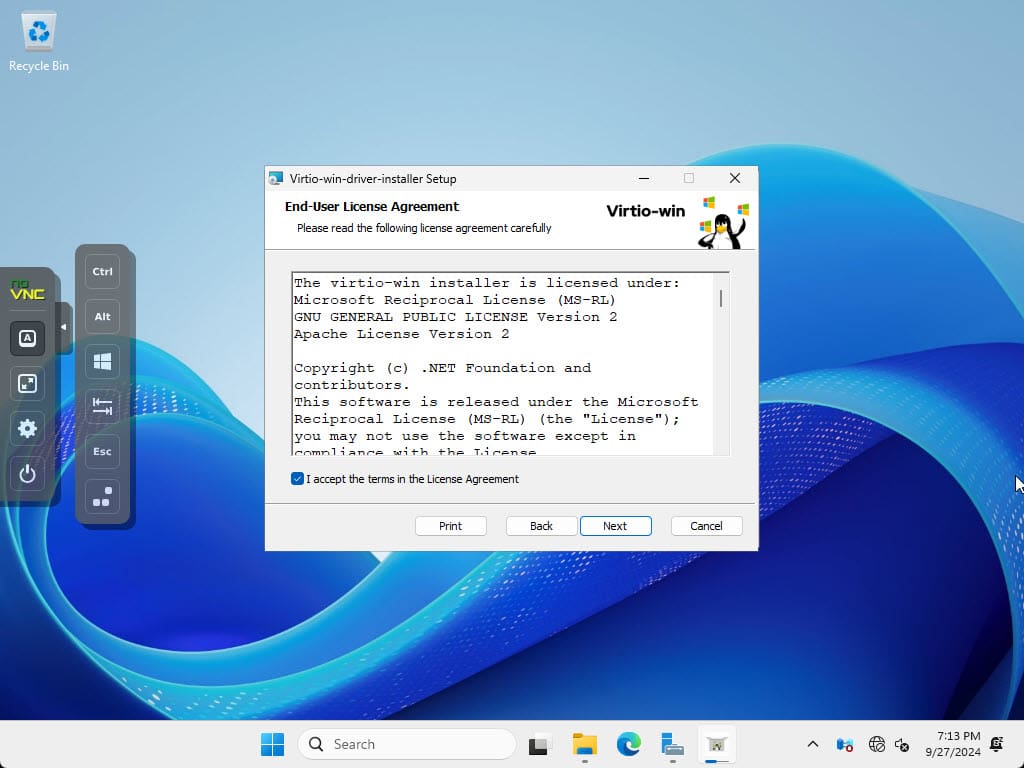
This will begin the Virtio-win guest tools setup. Accept the EULA and click Install.
The installation gets started.
Accept another EULA with the checkbox.
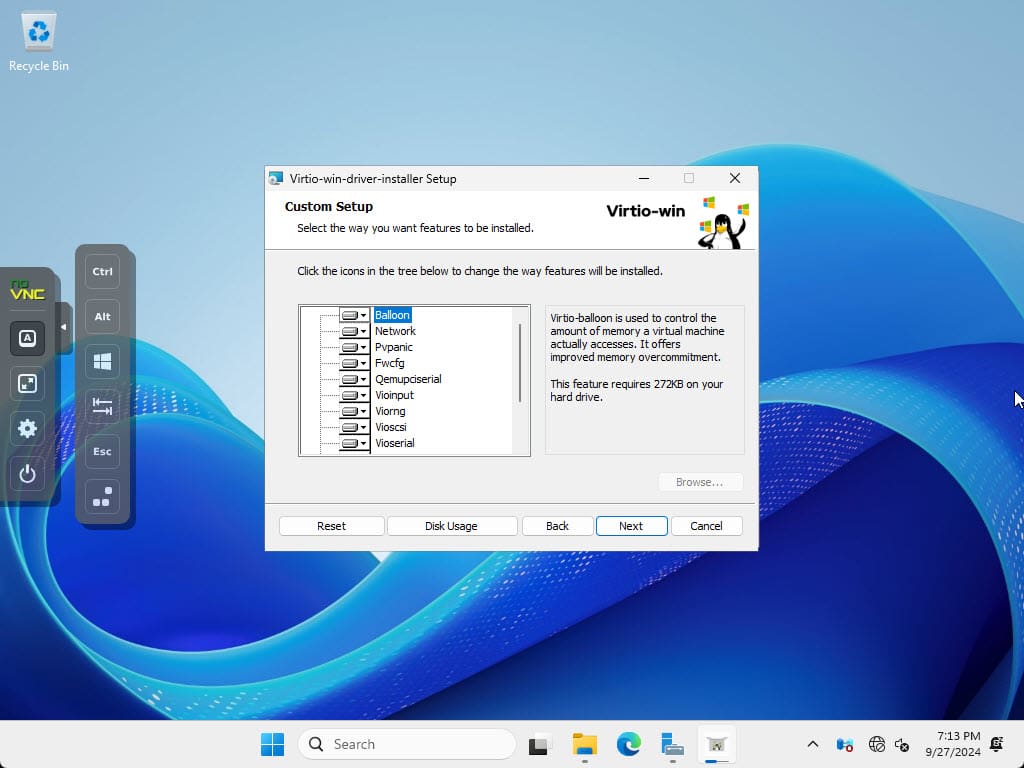
Customize the components you want.
Click Install.
Finish out the installation.
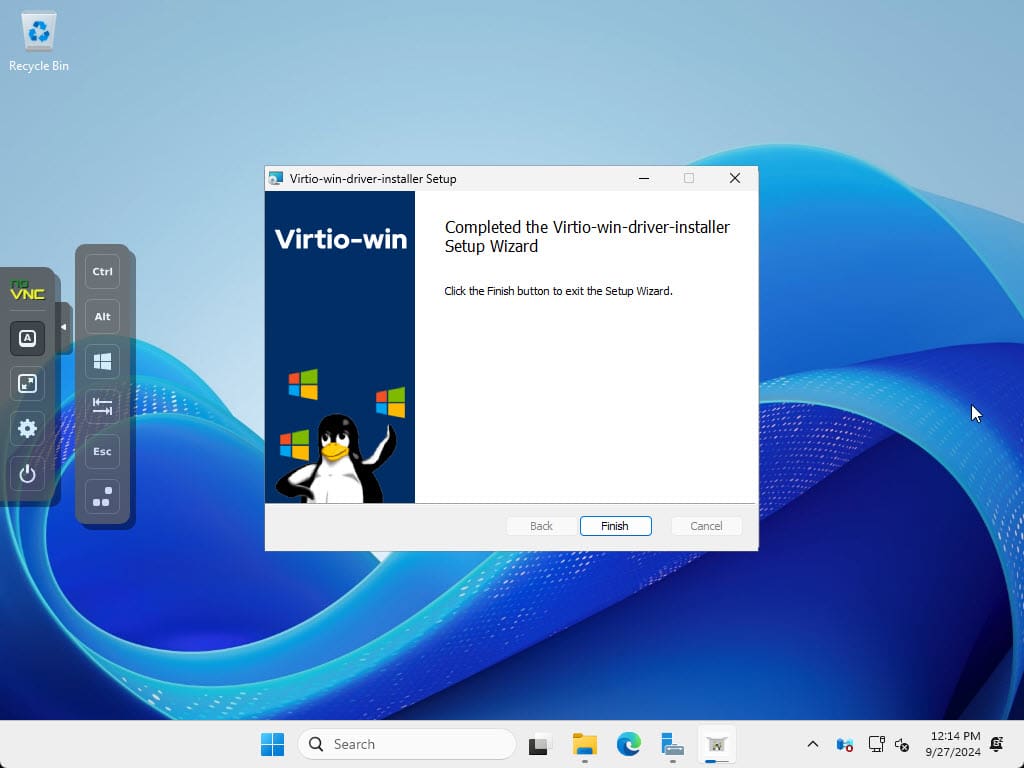
The splash screen will display that the installation has been successful. You can see as well that once installed, we can see the network connection is now working after the driver was installed.

Installing the QEMU agent
The QEMU Guest Agent is a service that runs inside the guest virtual machine (VM) and communicates with the QEMU hypervisor. This is different than the VirtIO drivers. Its job when you check the QEMU agent box is to allow the host to issue commands to the guest, like filesystem freeze and thaw, shutting down the guest cleanly, and it also helps provide more detailed guest information. This is really useful as well when snapshotting VMs or live migration activities.
Wrapping up
Hopefully, this walkthrough of installing Windows Server 2025 in Proxmox will help anyone who may want to take Microsoft’s latest Windows Server operating system for a spin. You will want to make sure you have your VirtIO driver ISO downloaded and ready to go with the install.


0 Comments