

If you aren’t already using Hashicorp Packer for automating builds of the various operating systems you use in your environment, you are missing out. Packer is a great tool that allows automating the builds you are using in your virtual environment and allows you to keep your templates up-to-date. I have been using Packer for a while now in the home lab environment as well as in production environments for automating VMware vSphere templates used to streamline deployments. I have recently updated my home lab Packer build to include Packer build Ubuntu 21.04 for VMware vSphere. I wanted to put together a post to detail my Packer build for Ubuntu 21.04 to hopefully shortcut this process for any who may not have updated their builds to include the latest Ubuntu 21.04 server.
Packer Build files for Ubuntu 21.04
Packer, like Terraform, is a simple executable that you download and simply run. There is no installation, etc. With Packer you have two build files that you use to provision your builds, a variables.json file and another build.json file that contains all the directives for the build of your OS. With the cloud image builder portion of Ubuntu, you will have two additional files: meta-data and user-data. The meta-data file is blank, however, needs to be present, while the user-data file will have a good portion of configuration for setting up your user credentials, etc. So, let’s detail these files and their contents:
- variables.json
- ubuntu-21.04-live-server-packer.json
- user-data and meta-data
1. Variables.json
The variables.json file is the file containing your VMware vSphere variables that include credentials, datastore, folder, template name, cluster, network, and other configuration.
{
    "vcenter_server":"vcsa.cloud.local",
    "username":"administrator@vsphere.local",
    "password":"Secretpassword",
    "datastore":"vsanDatastore",
    "folder": "Templates",
    "vm_name": "ubuntu2104",
    "host":"10.1.149.14",
    "cluster": "vsancluster",
    "network": "DPG-Servers"
}
The ubuntu-21.04-live-server-packer.json file
Let’s now take a look at the Ubuntu-specific packer build file that contains the build configuration information.
{
  "builders": [
    {
      "CPUs": 4,
      "RAM": 4096,
      "boot_command": [
        "<esc><esc><esc><esc>e<wait>",
        "<del><del><del><del><del><del><del><del>",
        "<del><del><del><del><del><del><del><del>",
        "<del><del><del><del><del><del><del><del>",
        "<del><del><del><del><del><del><del><del>",
        "<del><del><del><del><del><del><del><del>",
        "<del><del><del><del><del><del><del><del>",
        "<del><del><del><del><del><del><del><del>",
        "<del><del><del><del><del><del><del><del>",
        "<del><del><del><del><del><del><del><del>",
        "<del><del><del><del><del><del><del><del>",
        "<del><del><del><del><del><del><del><del>",
        "<del><del><del><del><del><del><del><del>",
        "<del><del><del><del><del><del><del><del>",
        "<del><del><del><del><del><del><del><del>",
        "linux /casper/vmlinuz --- autoinstall ds=\"nocloud-net;seedfrom=http://{{.HTTPIP}}:{{.HTTPPort}}/\"<enter><wait>",
        "initrd /casper/initrd<enter><wait>",
        "boot<enter>",
        "<enter><f10><wait>"
      ],

      "boot_wait": "3s",
      "cluster": "{{ user `cluster` }}",
      "convert_to_template": false,
      "datastore": "{{ user `datastore` }}",
      "folder": "Templates",
      "disk_controller_type": "pvscsi",
      "guest_os_type": "ubuntu64Guest",
      "http_directory": "./http",
      "insecure_connection": "true",
      "iso_checksum":           "sha256:e4089c47104375b59951bad6c7b3ee5d9f6d80bfac4597e43a716bb8f5c1f3b0",
      "iso_urls": [
        "iso/ubuntu-21.04-live-server-amd64.iso",
        "https://releases.ubuntu.com/21.04/ubuntu-21.04-live-server-amd64.iso"
      ],

      "network_adapters": [
        {
          "network": "{{ user `network` }}",
          "network_card": "vmxnet3"
        }
      ],
      "password": "{{ user `password` }}",
      "shutdown_command": "sudo shutdown -P now",
      "ssh_username": "ubuntu",
      "ssh_password": "ubuntu",
      "ssh_handshake_attempts": "100",
      "ssh_timeout": "20m",
      "ssh_port": 22,

      "storage": [
        {
          "disk_size": 40960,
          "disk_thin_provisioned": false
        }
      ],
      "type": "vsphere-iso",
      "username": "{{ user `username` }}",
      "vcenter_server": "{{ user `vcenter_server` }}",
      "vm_name": "{{ user `vm_name` }}"


    }
  ]


}
3. User-data and meta-data file
Let’s now take a look at the cloud-config autoinstall user-data file. Both the user-data and meta-data files will go in a directory inside your parent packer directory you are working out of for your Ubuntu 21.04 build. You can no doubt discern most of the settings in the file below as these are pretty self-explanatory. However, the hashed password is “ubuntu” for the ubuntu account. This can be set to anything you want it to be with mkpasswd, openssl, or another tool.
#cloud-config
autoinstall:
  version: 1
  apt:
    geoip: true
    preserve_sources_list: false
    primary:
    - arches: [amd64, i386]
      uri: http://gb.archive.ubuntu.com/ubuntu
    - arches: [default]
      uri: http://ports.ubuntu.com/ubuntu-ports
  users:
  - default
  - name: ubuntu
    lock_passwd: false
    passwd: "$6$exDY1mhS4KUYCE/2$zmn9ToZwTKLhCw.b4/b.ZRTIZM30JZ4QrOQ2aOXJ8yk96xpcCof0kxKwuX1kqLG/ygbJ1f8wxED22bTL4F46P0"
  write_files:
  - path: /etc/ssh/sshd_config
    content: |
         Port 22
         Protocol 2
         HostKey /etc/ssh/ssh_host_rsa_key
         HostKey /etc/ssh/ssh_host_dsa_key
         HostKey /etc/ssh/ssh_host_ecdsa_key
         HostKey /etc/ssh/ssh_host_ed25519_key
         UsePrivilegeSeparation yes
         KeyRegenerationInterval 3600
         ServerKeyBits 1024
         SyslogFacility AUTH
         LogLevel INFO
         LoginGraceTime 120
         PermitRootLogin yes
         StrictModes no
         RSAAuthentication yes
         PubkeyAuthentication no
         IgnoreRhosts yes
         RhostsRSAAuthentication no
         HostbasedAuthentication no
         PermitEmptyPasswords no
         ChallengeResponseAuthentication no
         X11Forwarding yes
         X11DisplayOffset 10
         PrintMotd no
         PrintLastLog yes
         TCPKeepAlive yes
         AcceptEnv LANG LC_*
         Subsystem sftp /usr/lib/openssh/sftp-server
         UsePAM yes
         AllowUsers ubuntu
  identity:
    hostname: ubuntu2104
    username: ubuntu
    password: "$6$exDY1mhS4KUYCE/2$zmn9ToZwTKLhCw.b4/b.ZRTIZM30JZ4QrOQ2aOXJ8yk96xpcCof0kxKwuX1kqLG/ygbJ1f8wxED22bTL4F46P0"
  ssh:
    allow-pw: true
    install-server: true
  user-data:
    disable_root: false
  locale: en_US
  keyboard:
    layout: en
  storage:
    layout:
      name: direct
    config:
      - type: disk
        id: disk0
        match:
          size: largest
      - type: partition
        id: boot-partition
        device: disk0
        size: 500M
      - type: partition
        id: root-partition
        device: disk0
        size: -1
  late-commands:
    - 'sed -i "s/dhcp4: true/&\n      dhcp-identifier: mac/" /target/etc/netplan/00-installer-config.yaml'
    - echo 'ubuntu ALL=(ALL) NOPASSWD:ALL' > /target/etc/sudoers.d/ubuntu
In addition to the user-data file, create a blank meta-data file in the http directory of your parent Packer directory for your Ubuntu 21.04 build.
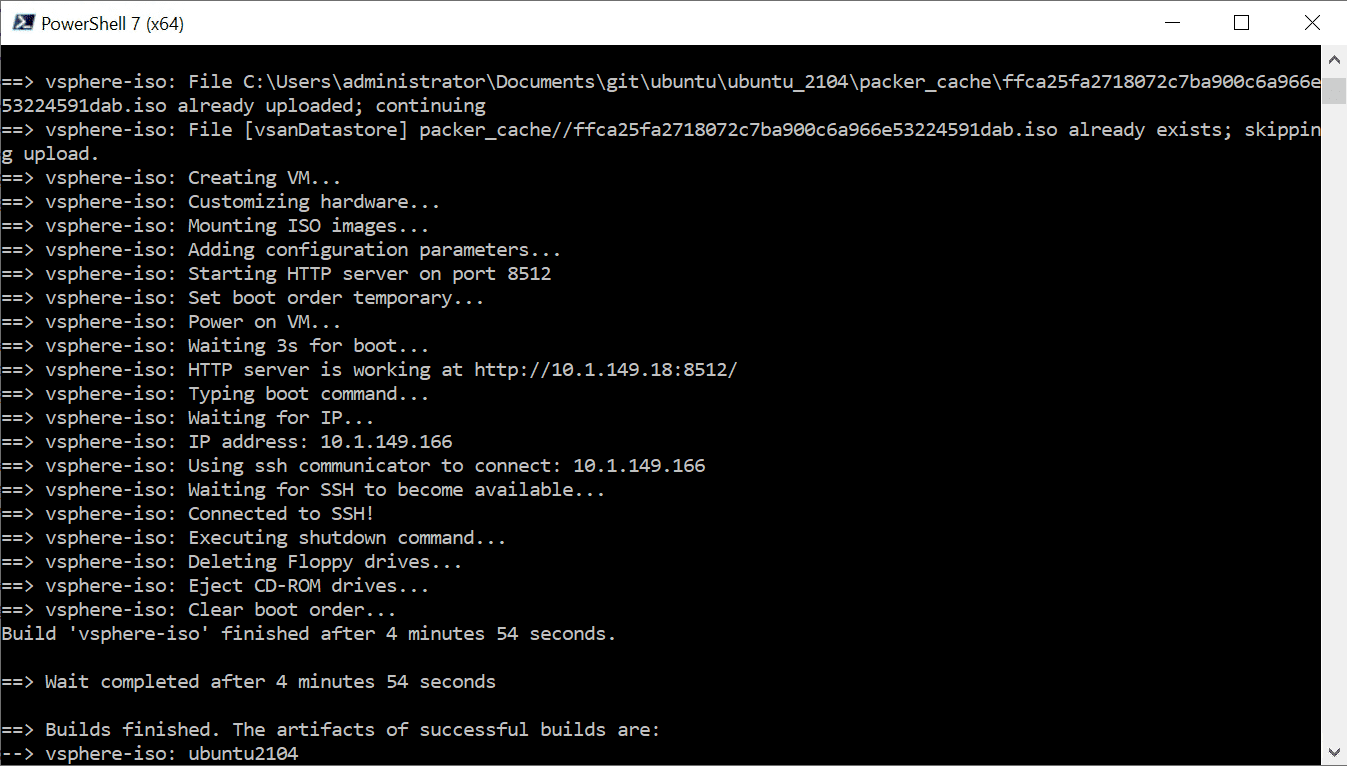
Hopefully, this Packer Build Ubuntu 21.04 for VMware vSphere walkthrough detailing the files will help any who are looking to get a working Packer build of Ubuntu 21.04 for their VMware vSphere environment. Packer is such a great tool to automate this generally very labor-intensive process of building an operating system for template purposes. It is also a great way to dip your toes into automation if you haven’t seen the benefits of automating your environment before. This is a great place to start.


0 Comments