

I am constantly looking at connectivity to the home network, specifically for my home lab network as I do so much work, testing, PoCs, etc., there. With the time constraints I have, the easier a solution is to implement, manage, and maintain, the better, as I just don’t have time to tinker and troubleshoot flaky network connectivity or remote connectivity solutions. Recently, I tried out the Twingate zero trust remote connectivity solution based in the cloud and was really impressed. This post will give you guys an overview of what I found with the solution and my recommendation for using it. Let’s take a look at Twingate download and configuration zero trust VPN.
What is Twingate?
There is no shortage of remote connectivity solutions today that effectively connect remote employees, contractors, and others to corporate networks. However, many of these solutions are complex, time-consuming, and challenging to configure.
This is where Twingate stands out from the crowd in my testing for many reasons. But, first, let’s get an overview of the service, what it is, what it does, and how it is implemented.
Twingate, unlike other traditional on-premises VPN solutions, is cloud-based and managed. This architectural difference is where many of the advantages come into play. Instead of managing complex and cumbersome appliances and networking on-premises, Twingate abstracts most of this complexity and only exposes the important security configuration and capabilities to IT admins so, like many SaaS services, you don’t have to be bogged down with the underlying infrastructure. You can quickly get to what matters most to you and your business – connecting users.
The way Twingate accomplishes this is a great demonstration of how setups and configurations should be from my experience. You sign up for an account, you get a simple dashboard that displays the information you need to get the service up and running, as we will see in the screenshots to follow.
How Twingate Works
The Twingate approach is also impressive in the way it was designed for security. A key feature of Twingate’s design is that no single component can independently make a decision to allow traffic to flow to another component or Resource in the remote networks you configure. Authorization must be confirmed with a second or third component depending on the sensitivity of the authorization request.
Twingate delegates the authentication of your user session to a third-party IdP, which helps to extend separation even further
Twingate architecture
Let’s get an overview of the Twingate architecture to understand how it works better. Below is a high-level architectural diagram from Twingate. As you can see, the major components of the solution include the Twingate controller, relay, and connector, in addition to the client app.
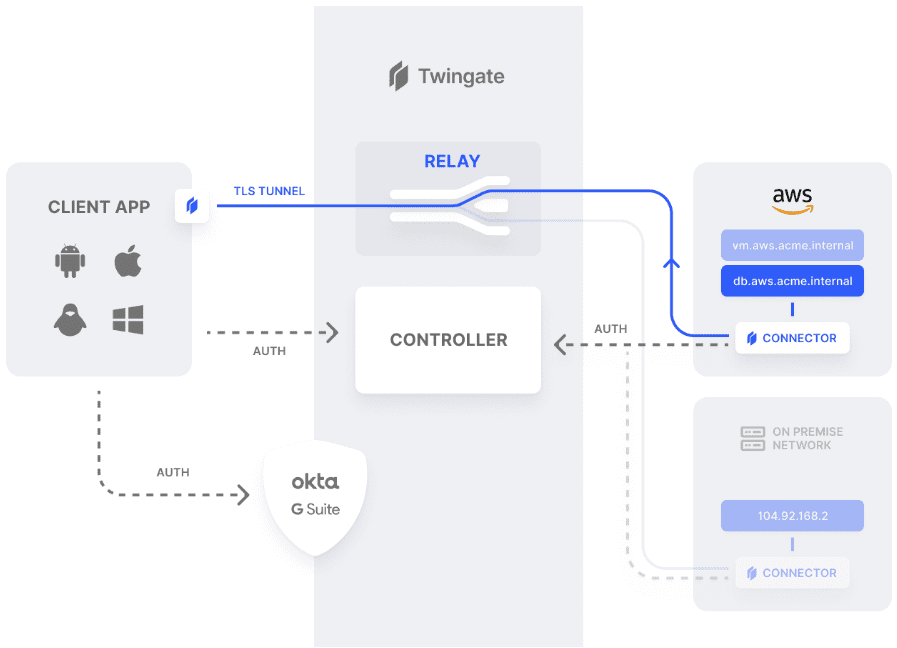
Twingate Controller:
The Twingate controller is the coordination component for Twingate. It allows the multi-tenancy of the solution and stores configuration changes and settings in teh admin console, registers connectors, and issues signed authorizations to clients making the connection requests. A unique aspect of the controller is it does not interact with the data flow. This component is hosted in the cloud with full redundancy and clustering.
Other duties of the Twingate controller include:
- Delegating user authentication to social identities
- Generating ACLs for clients
- Generating ACLs for connectors
- Registering and authenticating deployed connectors
Twingate relay:
The Twingate relay is the simplest component in the Twingate architecture. It does not store data or network information, and no connections are terminated in the relay. Twingate uses the example of TURN servers in WebRTC architecture.
What are its responsibilities?
- Serve as a registration point for connectors – When you initialize a connector, it establishes a connection to one or more relays and registers a unique, hash-based ID with the relay. It is also stored with the controller, allowing clients to connect to the appropriate connector with any private network.
- Serves as a connection point for clients looking to connect with the connector – Inbound connections contain a request for a specific connector ID. it allows the relay to connect a client to the requested connector for tunneling.
Twingate connector:
The Twingate connector is a mirror of the client but carries out a much more simple set of tasks. The connector is the piece of the architecture that you control in your on-premises network. It is an installable component that sits behind your on-premises or public cloud firewall and allows access to a private remote network. So, if there is a Twingate download, this is it.
Responsibilities of the Twingate connector include:
- Authenticate and maintain connectivity to the Twingate controller
- Maintain connectivity with the Twingate Relay
- Verify the integrity of inbound connections from clients
- Perform local DNS resolution of proxied requests
Twingate client:
The TwinGate client is a Twingate download software component installed on the end-user client devices in your organization. It would include mobile devices (phones, tablets, etc.), and desktops. The client acts as an authentication and authorization proxy for user requests for private resources. The Twingate client is where the most “decision-making” takes place regarding access to network resources, including network routing and authorization decisions.
What are the roles of the client?
- User authentication
- Pulling signed ACLs for the authenticated user
- Detecting network connections for protected resources
- Proxying DNS requests for protected resources
- Proxying TCP/UDP requests for protected resources
- Establishing the secure tunnel with certificate-pinned TLS connections with the appropriate Twingate Connector
Twingate Download and configuration
Let’s take a look at the process of downloading and configuring Twingate. First, there isn’t anything to download per se besides the client software you will install on your clients and the configuration script you need to run on the connector you decide to use.
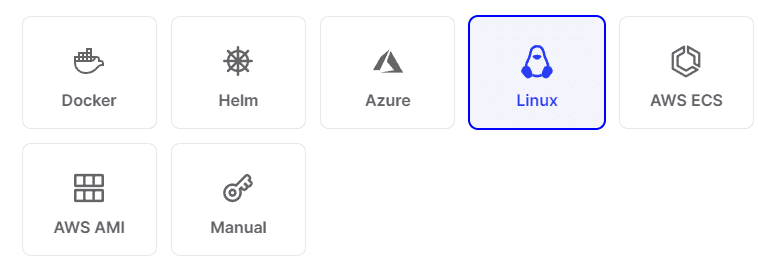
What are the choices with installing your on-premises connectors? I like the wide range of options that Twingate provides to deploy your Twingate connectors, including Kubernetes deployments which makes getting your connector installed super easy.
Below is a screenshot of the deployment options available for the Twingate connector:
- Docker
- Helm
- Azure
- Linux
- AWS ECS
- AWS AMI
- Manual
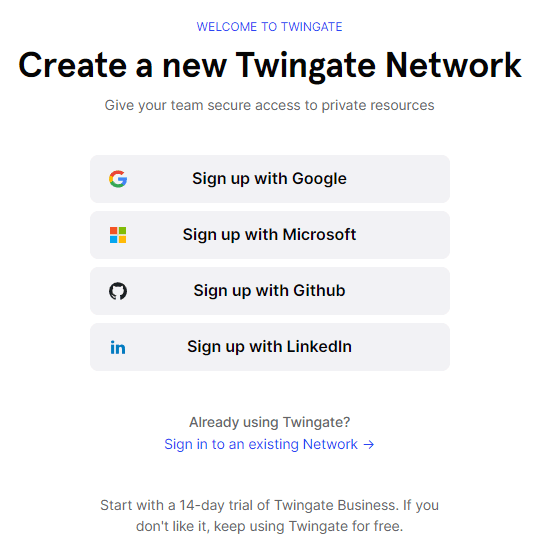
The first step to getting up and running with Twingate is to sign up for the service with an existing social account. The options are:
- Microsoft
- Github
One of the cool things about the service is that you start with a 14-day trial of Twingate Business. You can keep the service even after the 14-day trial.
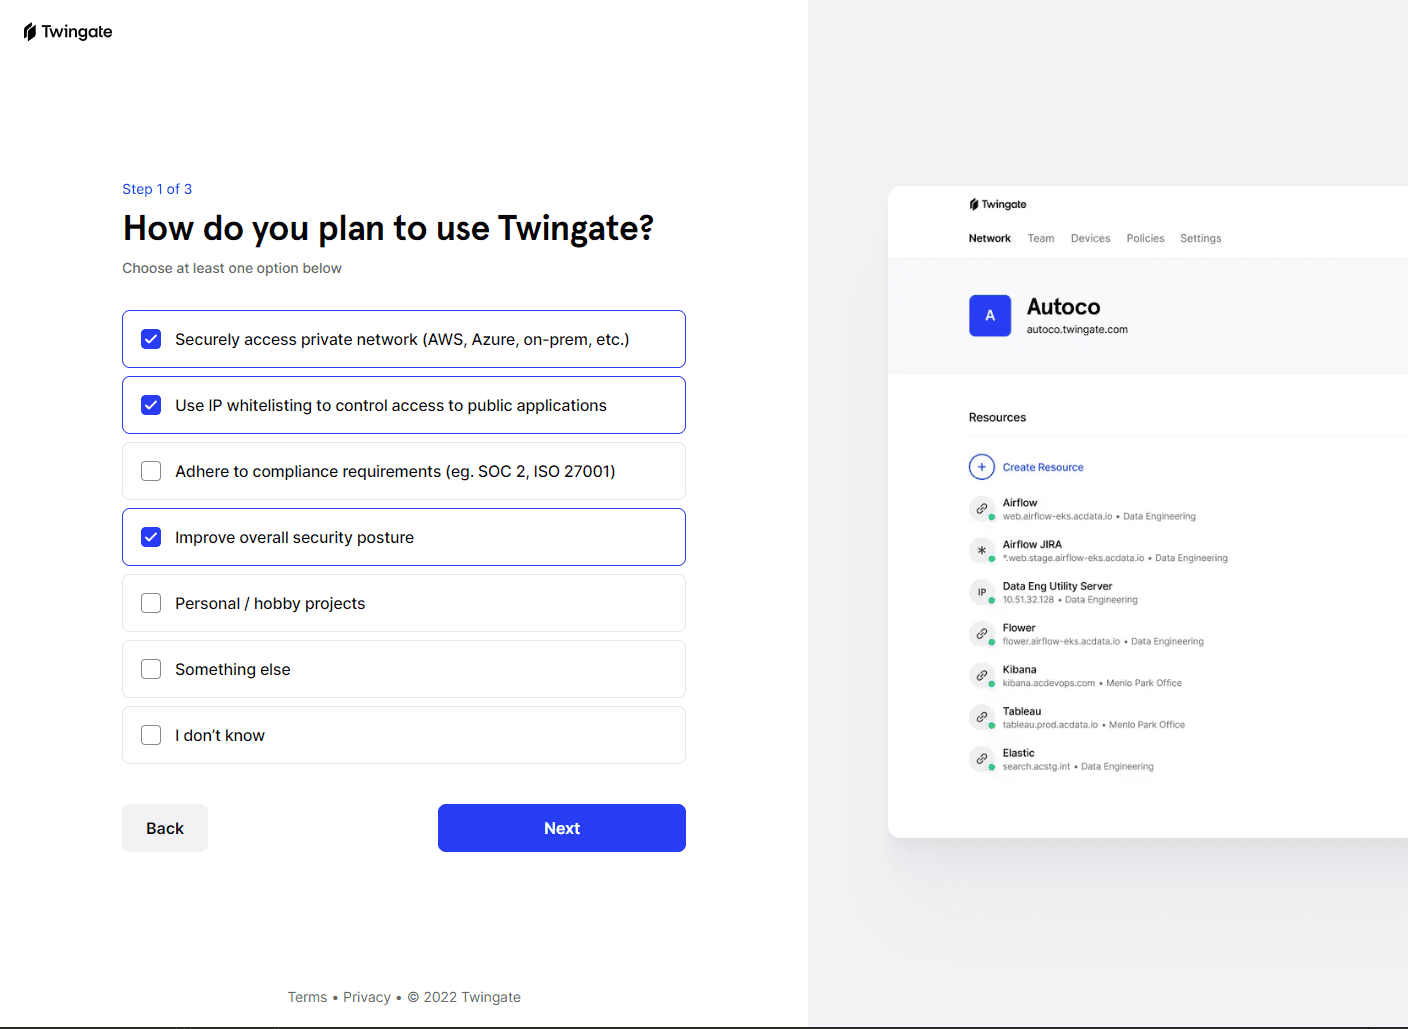
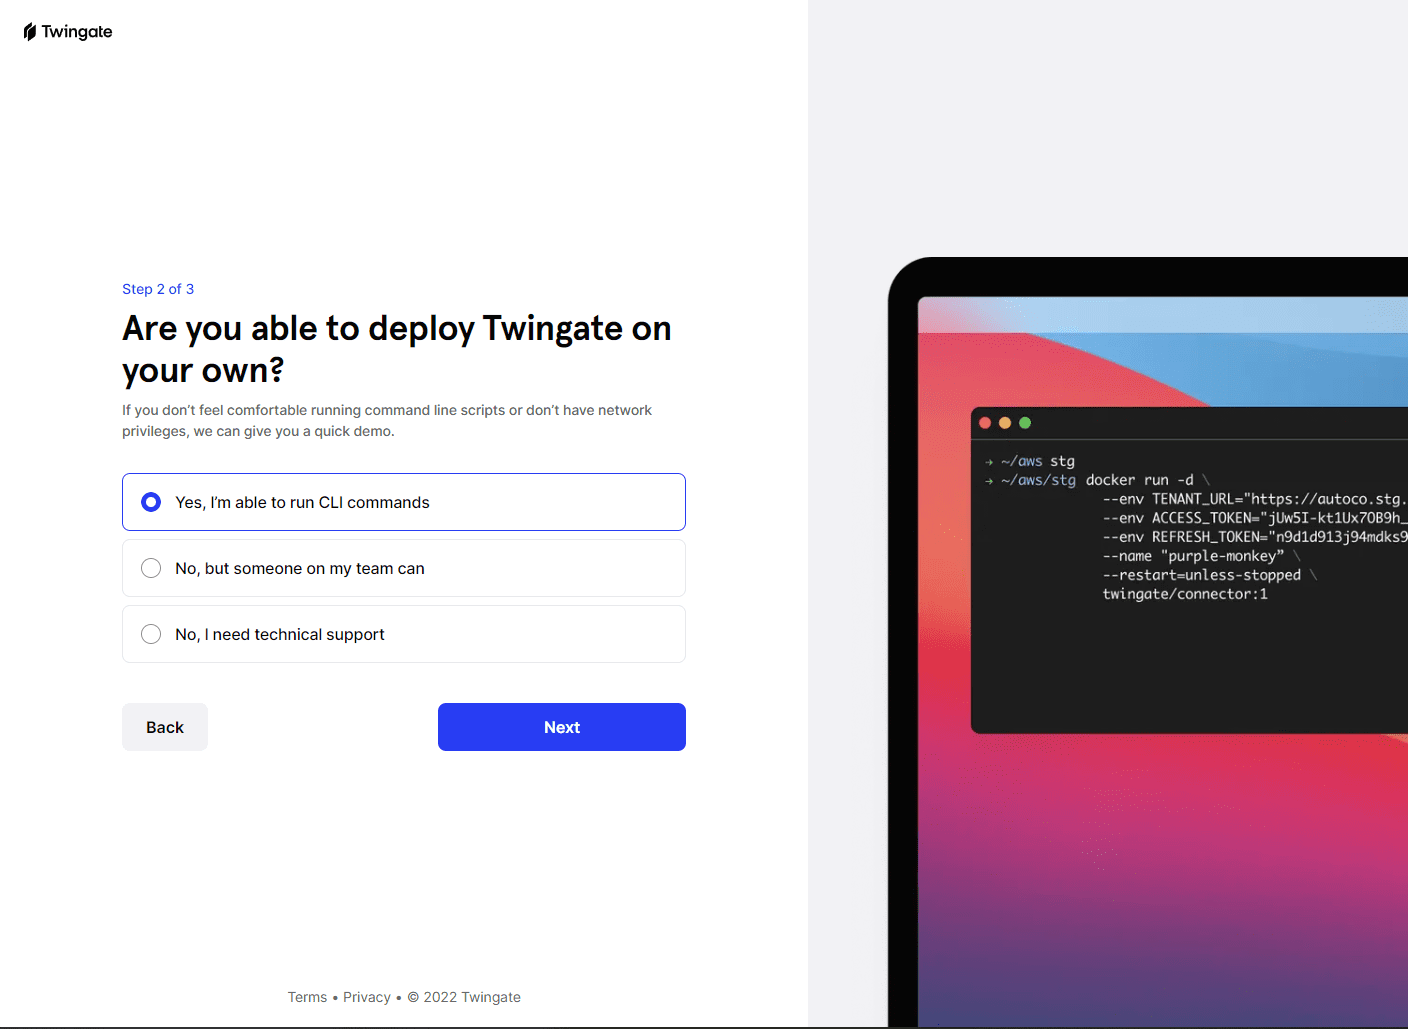
The first thing Twingate will do is ask a series of questions to get started with the deployment. These I believe control the options displayed for turning up the service.
Are you able to deploy Twingate on your own is the question for Step 2.
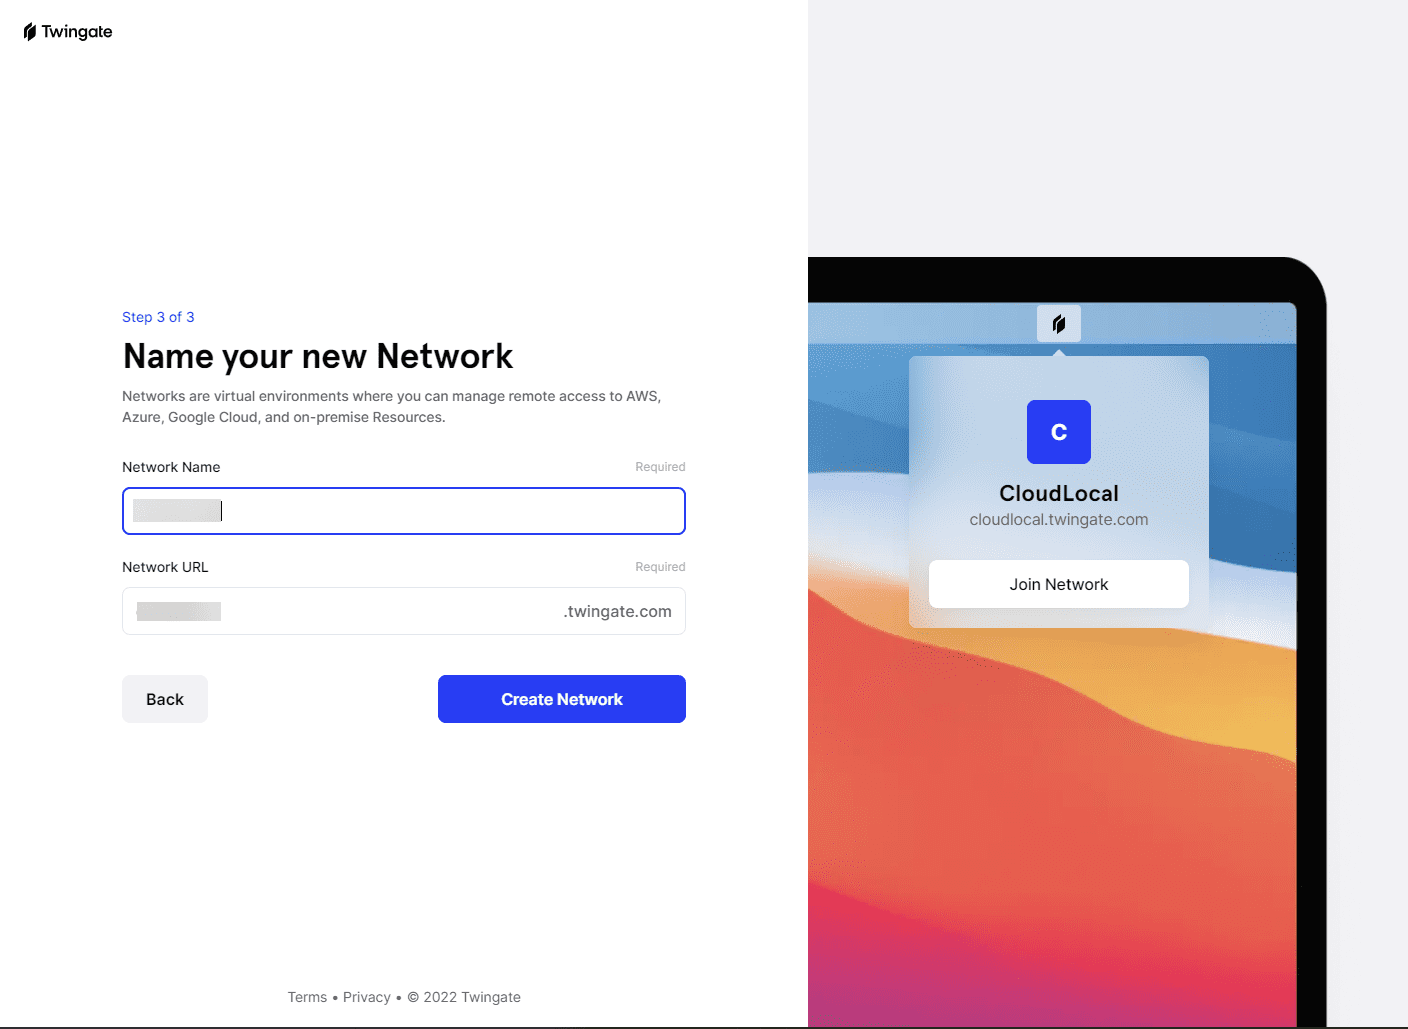
Now, you name your network which is the subdomain off of the Twingate base URL.
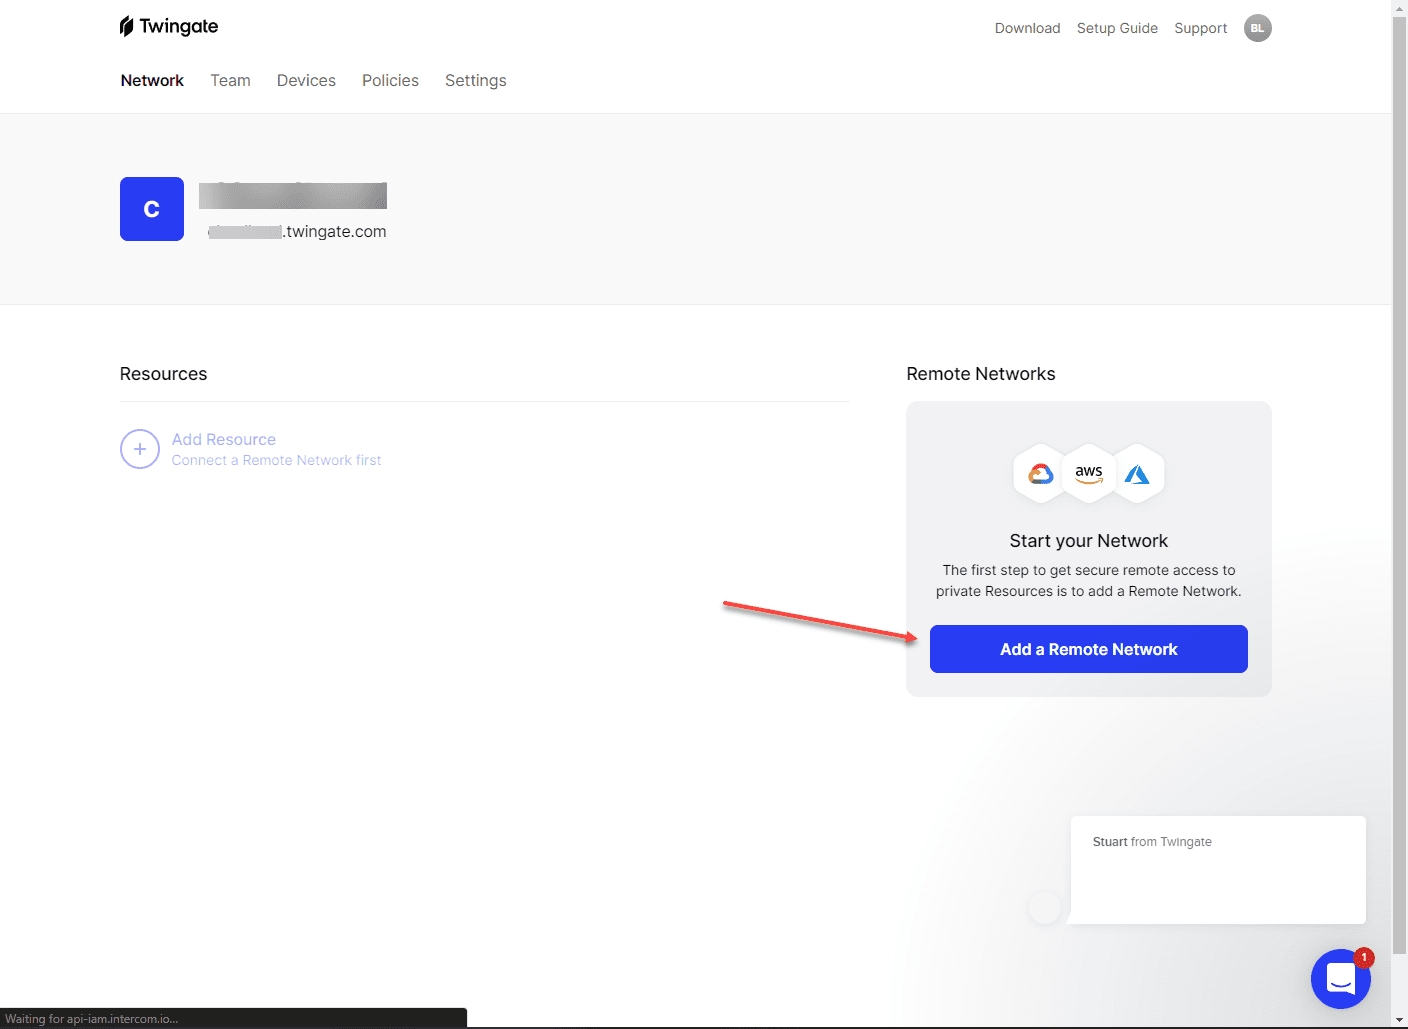
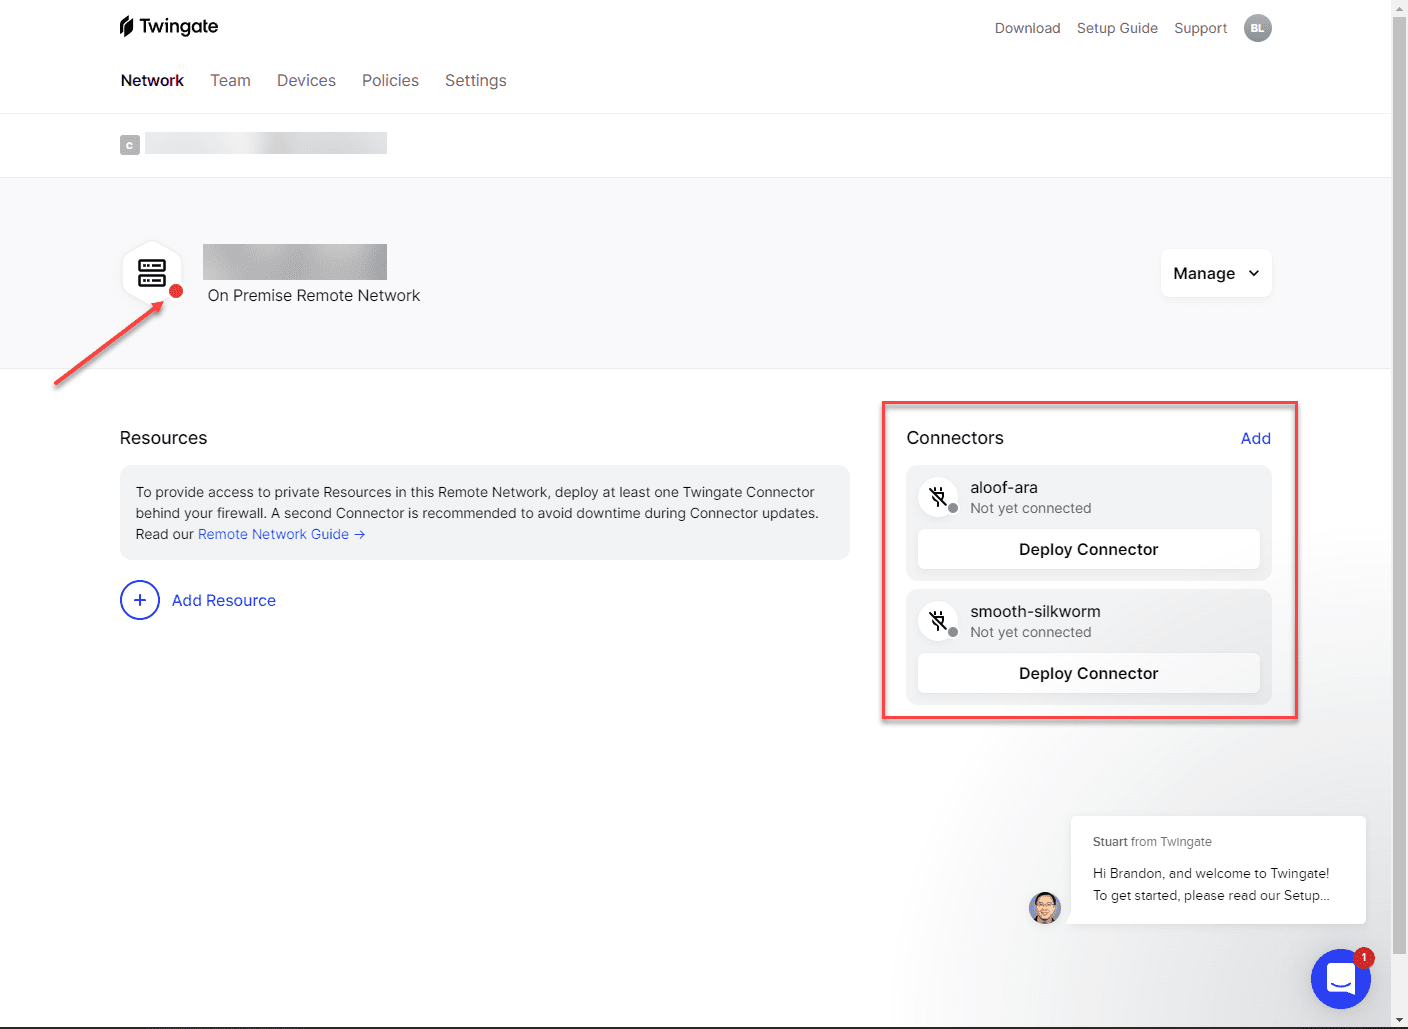
Once you get your Twingate network named, you can add your first remote network by clicking the Add a remote network button.
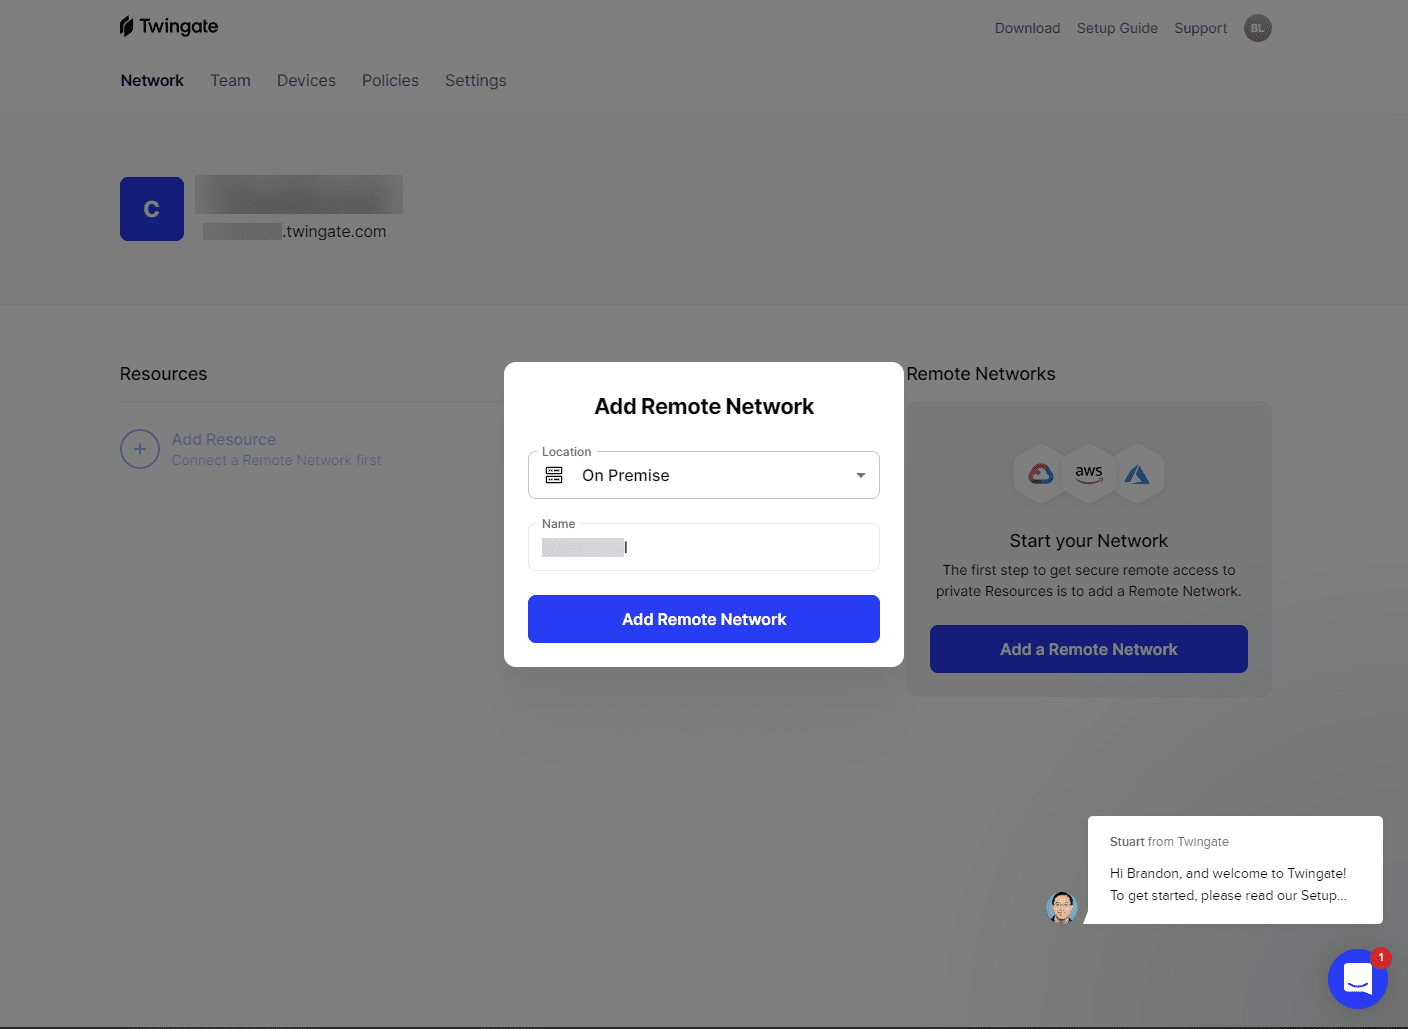
It will launch a dialog box to add a remote network. You can select the location and give the network a name.
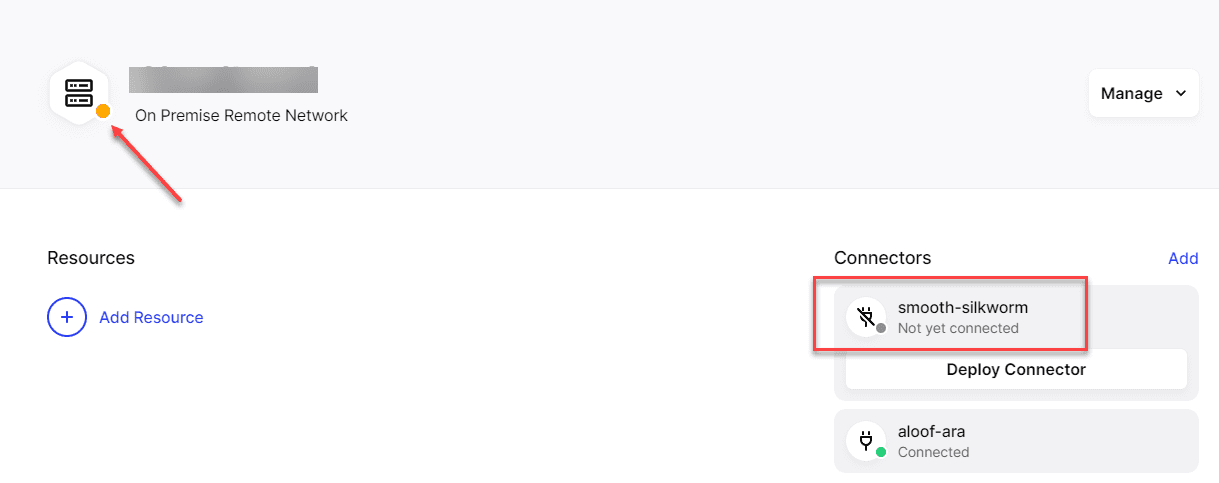
With your on-premises remote network, you will see on the right-hand side the Connectors box and the ability to deploy your connectors. Twingate will display two connectors by default to install. You want to have multiple connectors for redundancy purposes. You can click on either of the connectors and the Deploy Connector button to get started deploying your first connector.
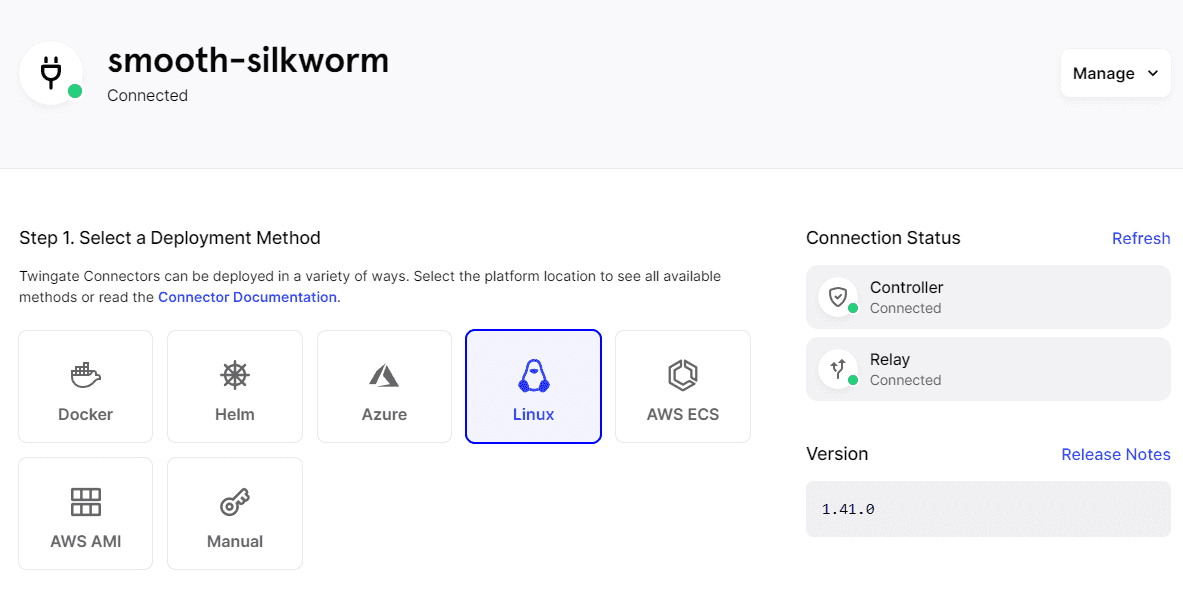
Once you click to deploy a connector, you will see the screen below. It will ask what deployment method you want to use. I am selecting the Linux option. However, as mentioned earlier, there is a wide range of options, including Kubernetes, which was great to see. If I could express one negative here, it would be that it was disappointing that there isn’t a prebuilt OVA appliance download option, but it is easy enough to spin up an Ubuntu server or download a docker appliance to run as well.
You will also see once you choose the option, you will generate a token to authenticate your connector with your cloud Twingate service.
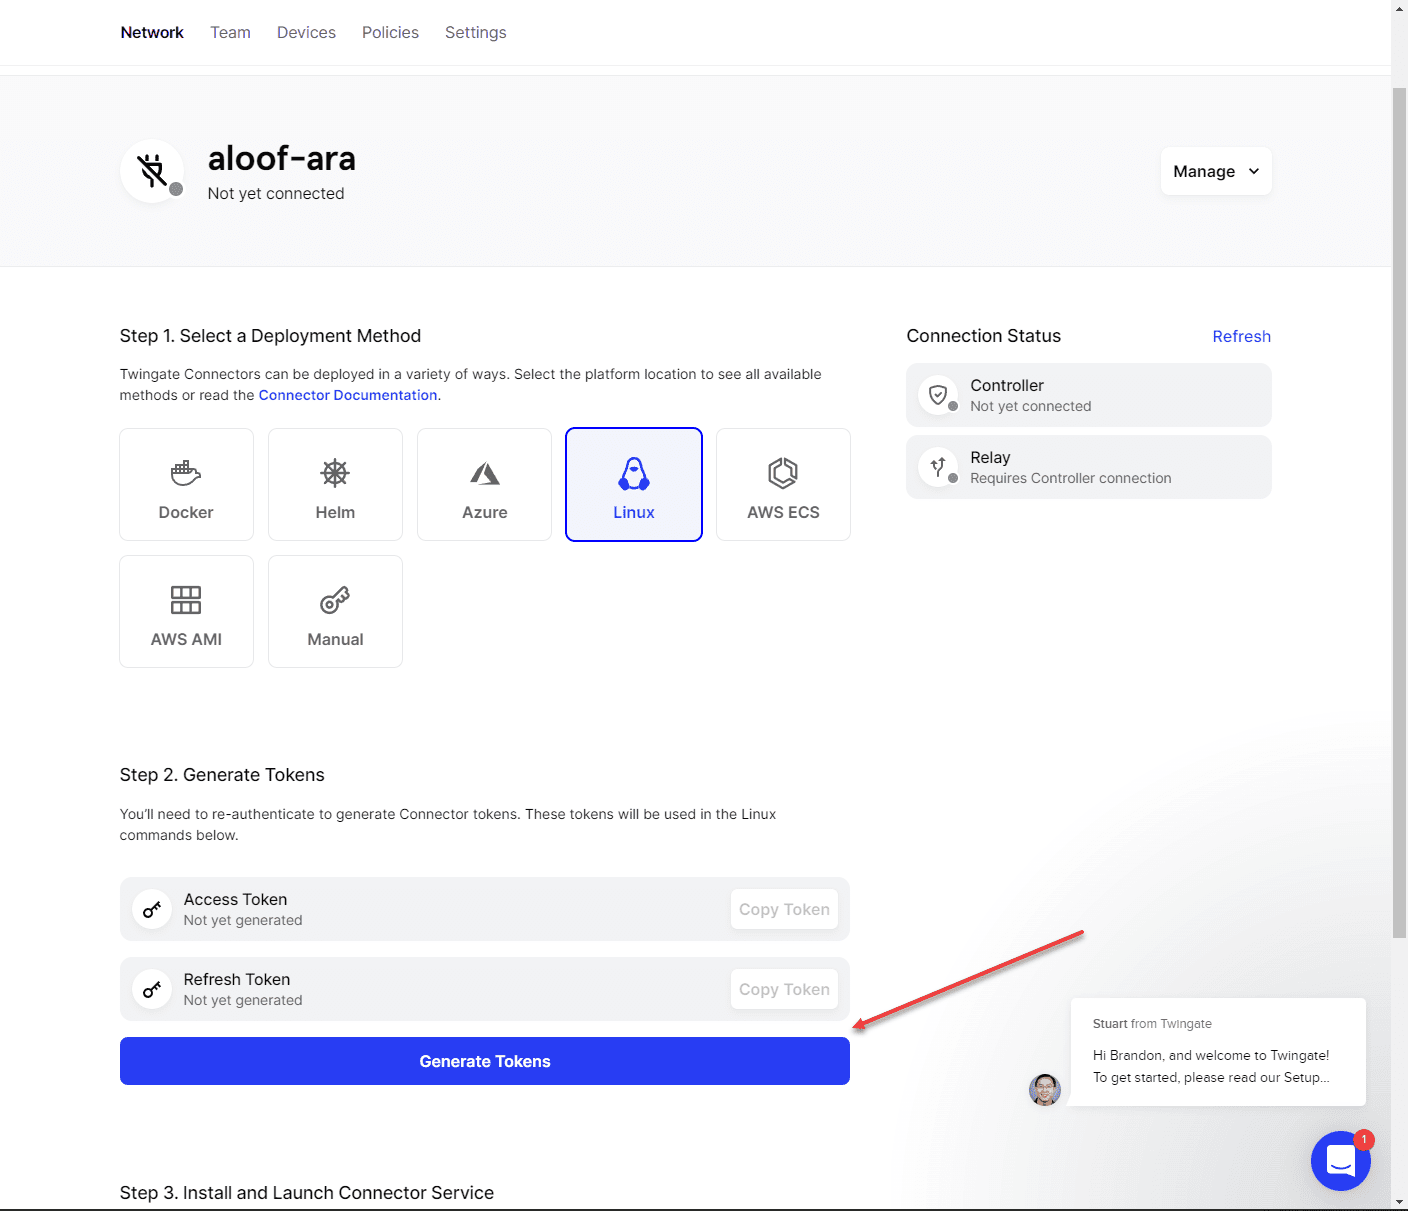
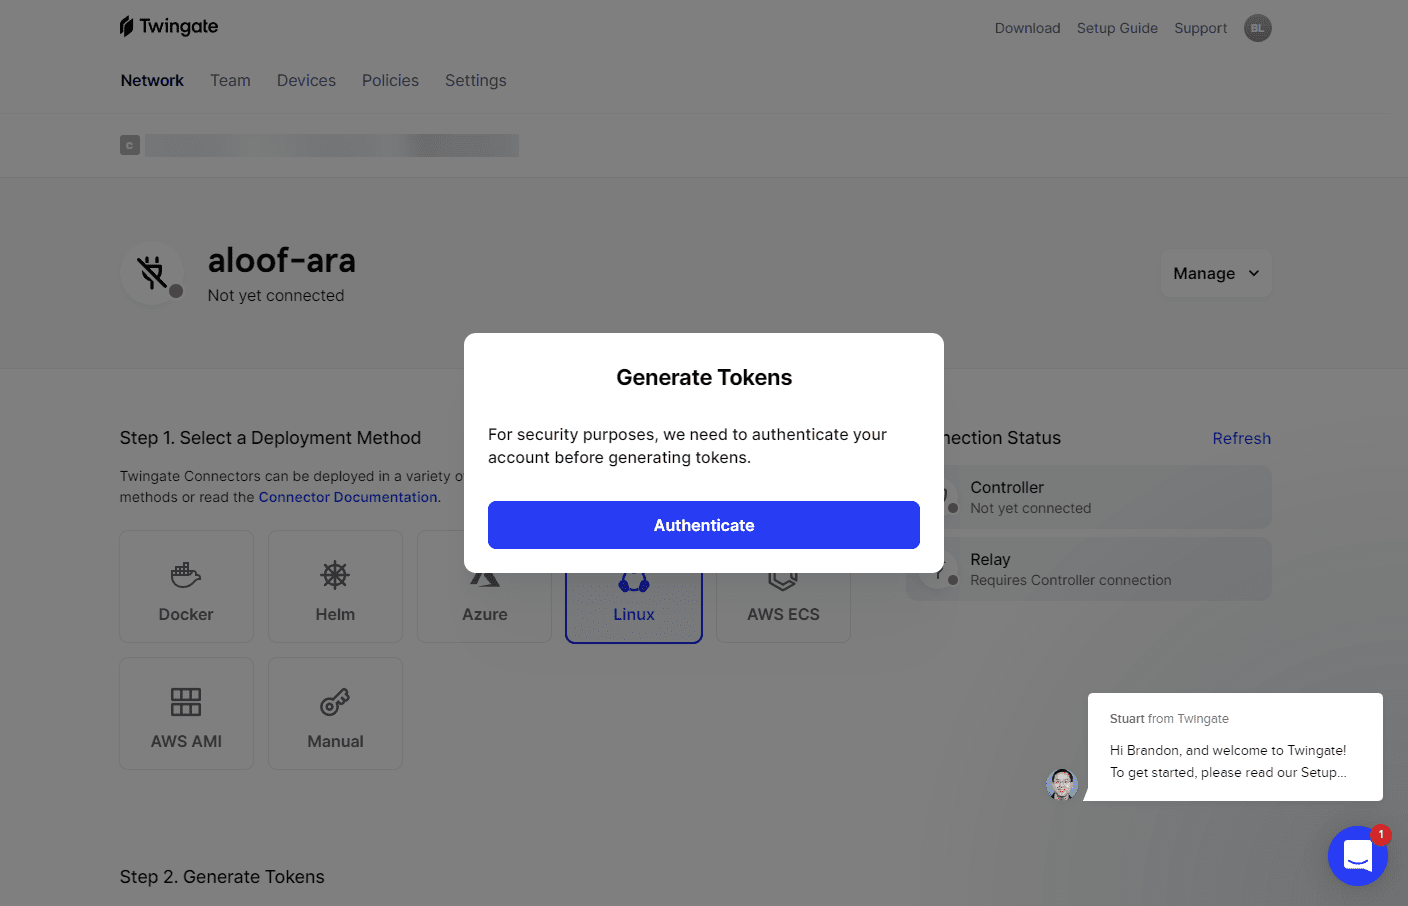
When you choose to generate the tokens, you will be prompted to authenticate again, even if you are logged in, which is a nice security feature, to help ensure you are who you say you are due to the sensitive nature of the tokens. Think of these like an API key.
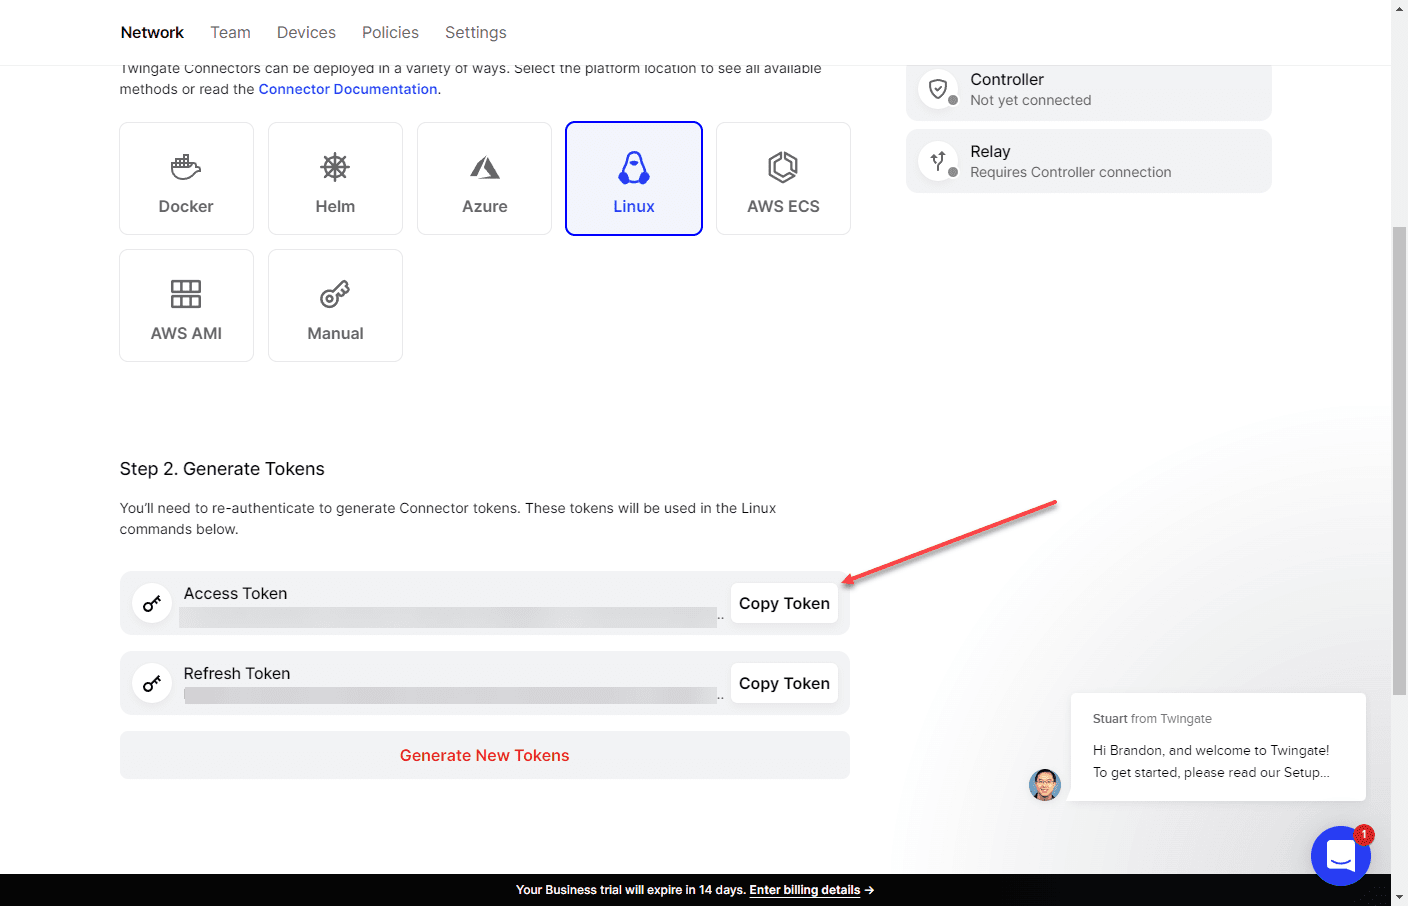
I neglected to get the full screen shown below, but when you choose the Linux option, there is a curl command displayed below what you see in the screenshot that already has the token embedded. So, you literally just copy and paste the curl command in your Linux box, and it will download and install the Twingate connector service.
After copying and pasting the install script with the embedded token, the connector service begins installing.
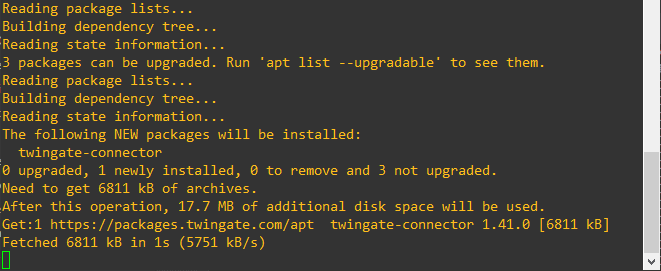
The connector communicates with the Twingate controller and relay services in just a moment after the installation of the connector finishes. It is important to note, you don’t have to open ingress firewall ports for the service to work which is a breath of fresh air. It makes this extremely easy to get up and running. You just need to have TCP port 443 open to connect back to the controller from on-premises.
The Twingate client requires outbound connectivity on TCP ports 443 (HTTPS) and the inclusive range of 30000-31000. It does not usually need any special firewall rules, but it is important to note that certain public hotspots may block non-standard ports.
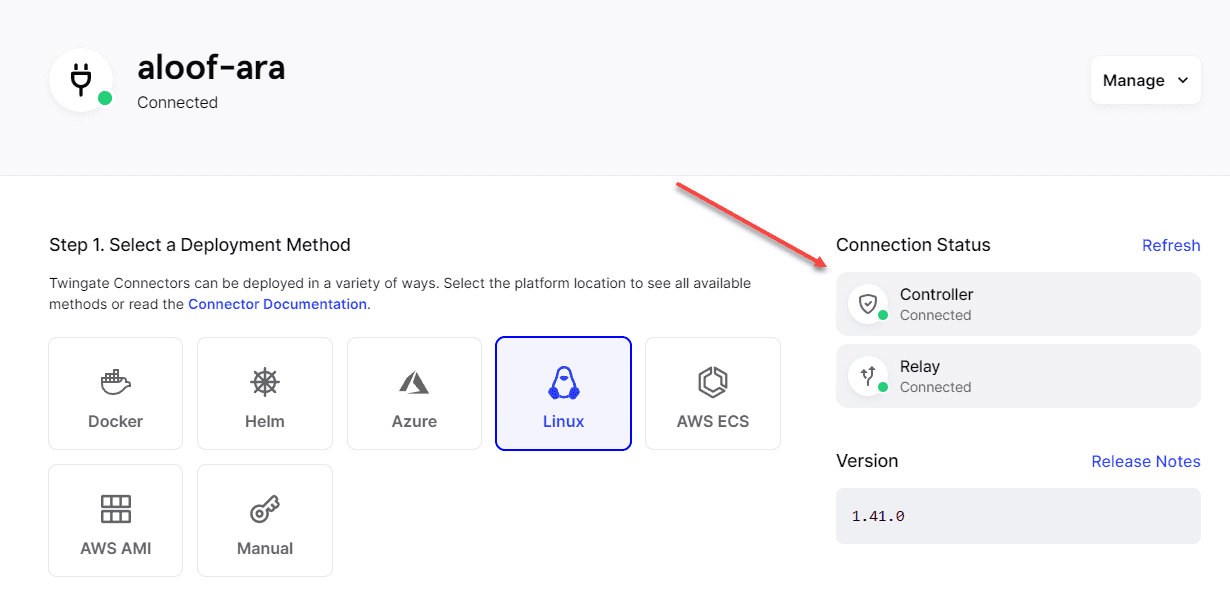
You will see the status change from red to orange, meaning we are heading in the right direction. To get to the green status, we need to install the second connector for redundancy. Click to deploy your second connector.
The screenshot below is after installing the second connector, and it is properly communicating with the Twingate service.
Twingate Settings and features to note
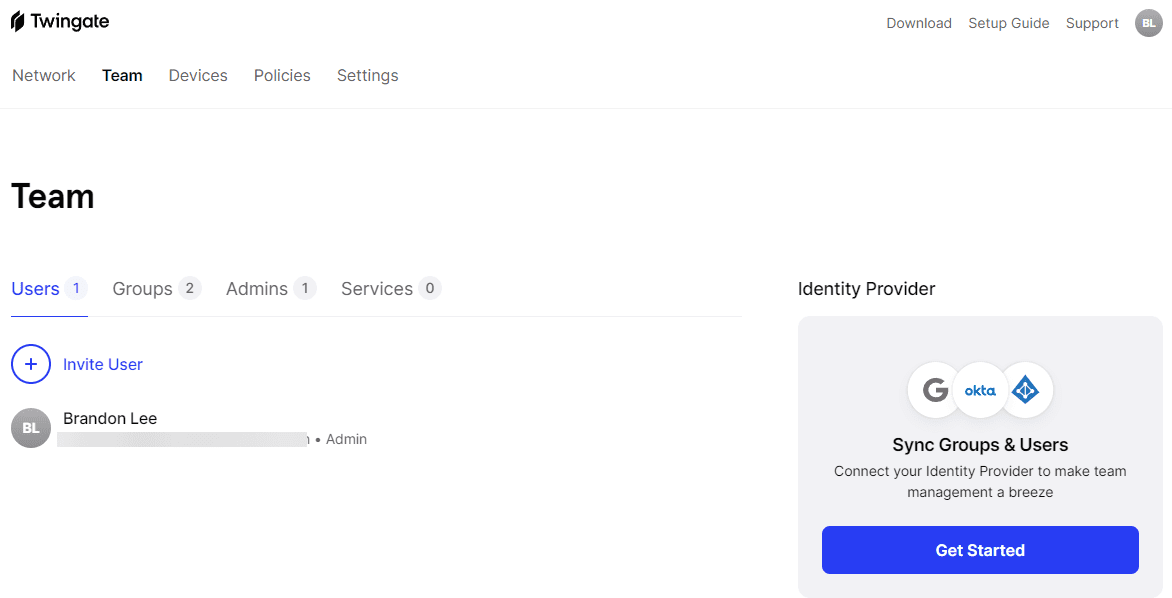
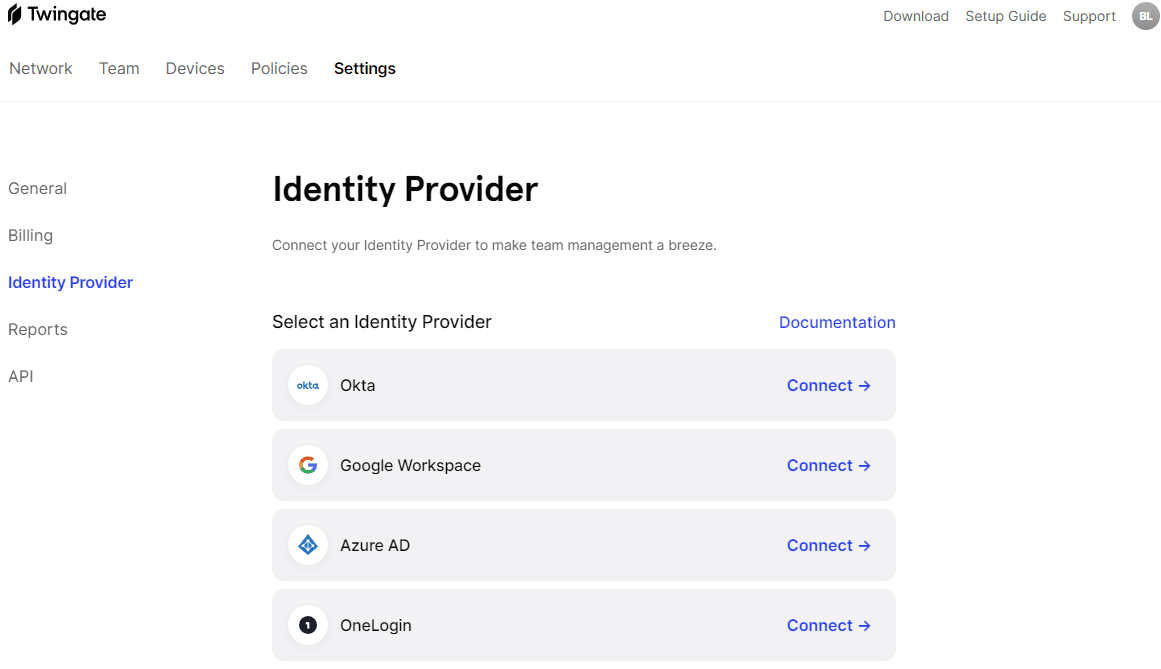
There are many other features and items to note as a brief overview. On the Team configuration, you can invite users to your Twingate organization or use a third-party IdP.
Third-party IdPs available for use with Twingate, including Okta, Google Workspace, Azure AD, and OneLogin.
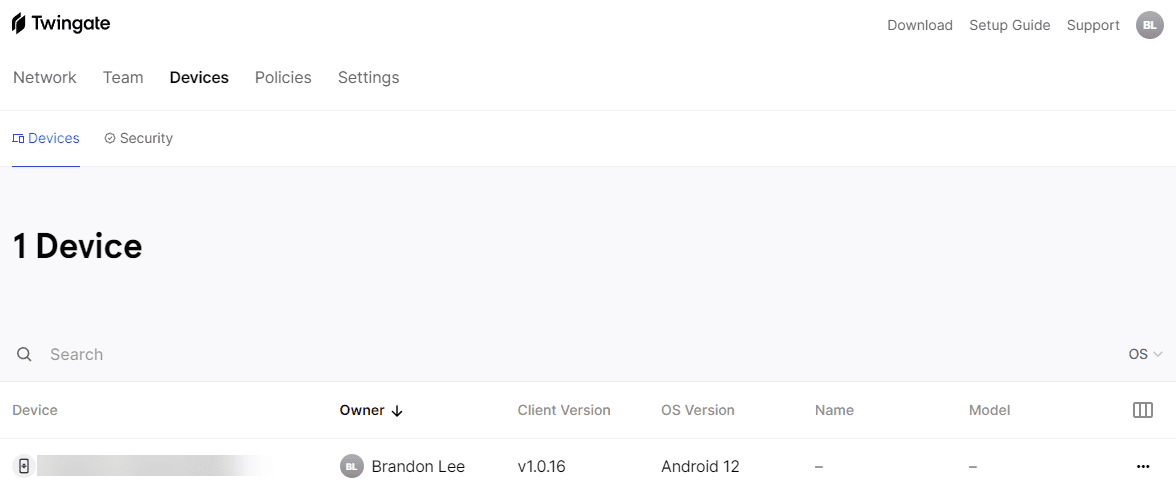
On the Devices tab you can see your connected devices associated with your Twingate network.
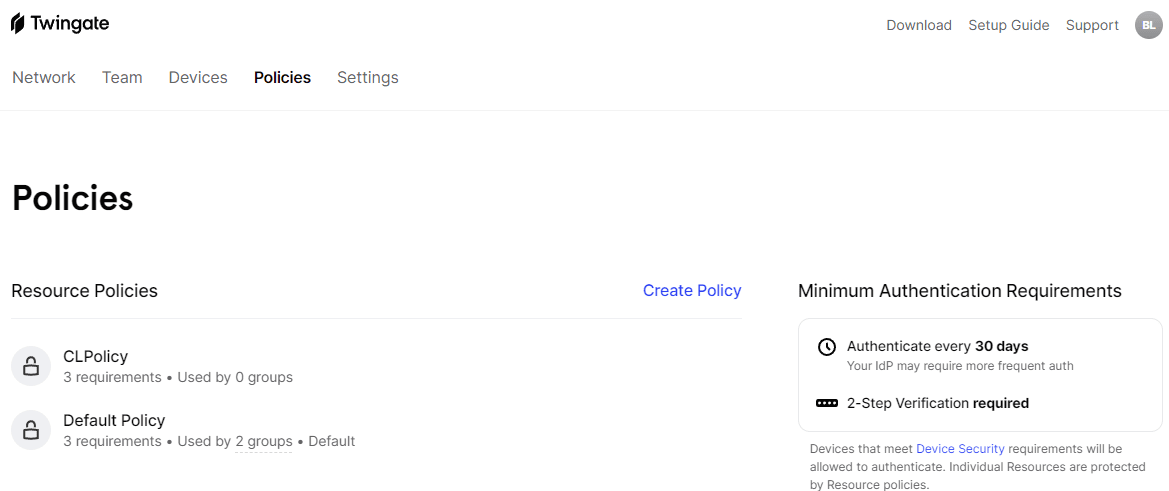
Polices allow you to control your networks and access those networks.
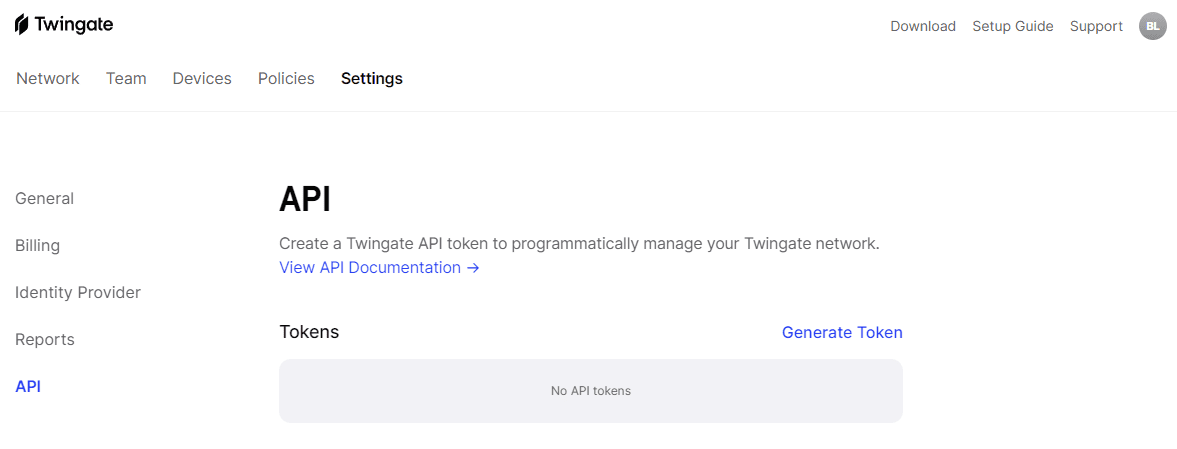
You can programmatically interact with Twingate via API. I am excited to try, but I did see there is a Terraform module available for Twingate.
Zero Trust VPN
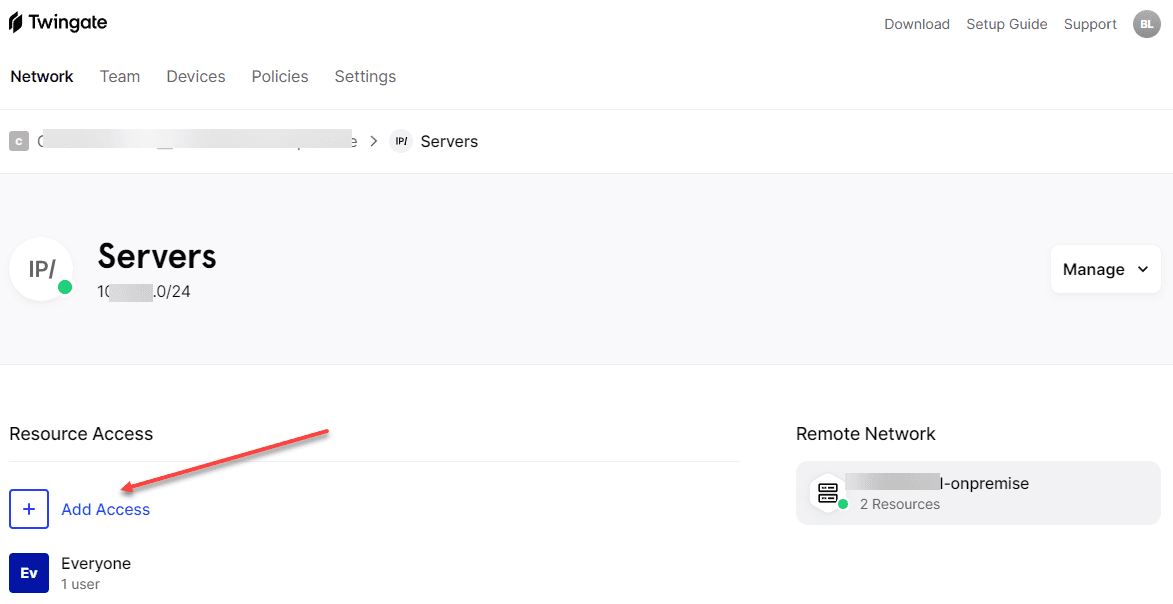
Where does the Zero trust VPN part come into play? Well, in addition to the strong authentication and authorization built into the solution, it is easy to restrict access to resources. Under your Network configuration, you can define which groups can access which resources.
Twingate builds out the ACLs that restrict how clients can connect as defined by the allowed network resources in the configuration.
Concluding thoughts and impressions
I have to say that I am super impressed with the Twingate solution. It is one of the easiest VPN-like solutions I have set up. The connector is easy to install via a simple BASH script using Linux. You can also run this in a Docker container or in Kubernetes. All in all, this is a great service that just works from my testing. In today’s cloud era, this is what we want – things that just work so we can focus on other priorities. Hopefully, this Twingate download and configuration walkthrough and review well help any who are wondering about the solution, how it is configured, and impressions of the service.


0 Comments